Airaid 401-124 User Manual
Installation instructions
Installation Instructions
For Part Numbers:
400-124
700-470 Airaid Oiled Media Filter
401-124
701-470 SynthaMax Dry Media Filter - Red
402-124
702-470 SynthaMax Dry Media Filter - Black
403-124
703-470 SynthaMax Dry Media Filter - Blue
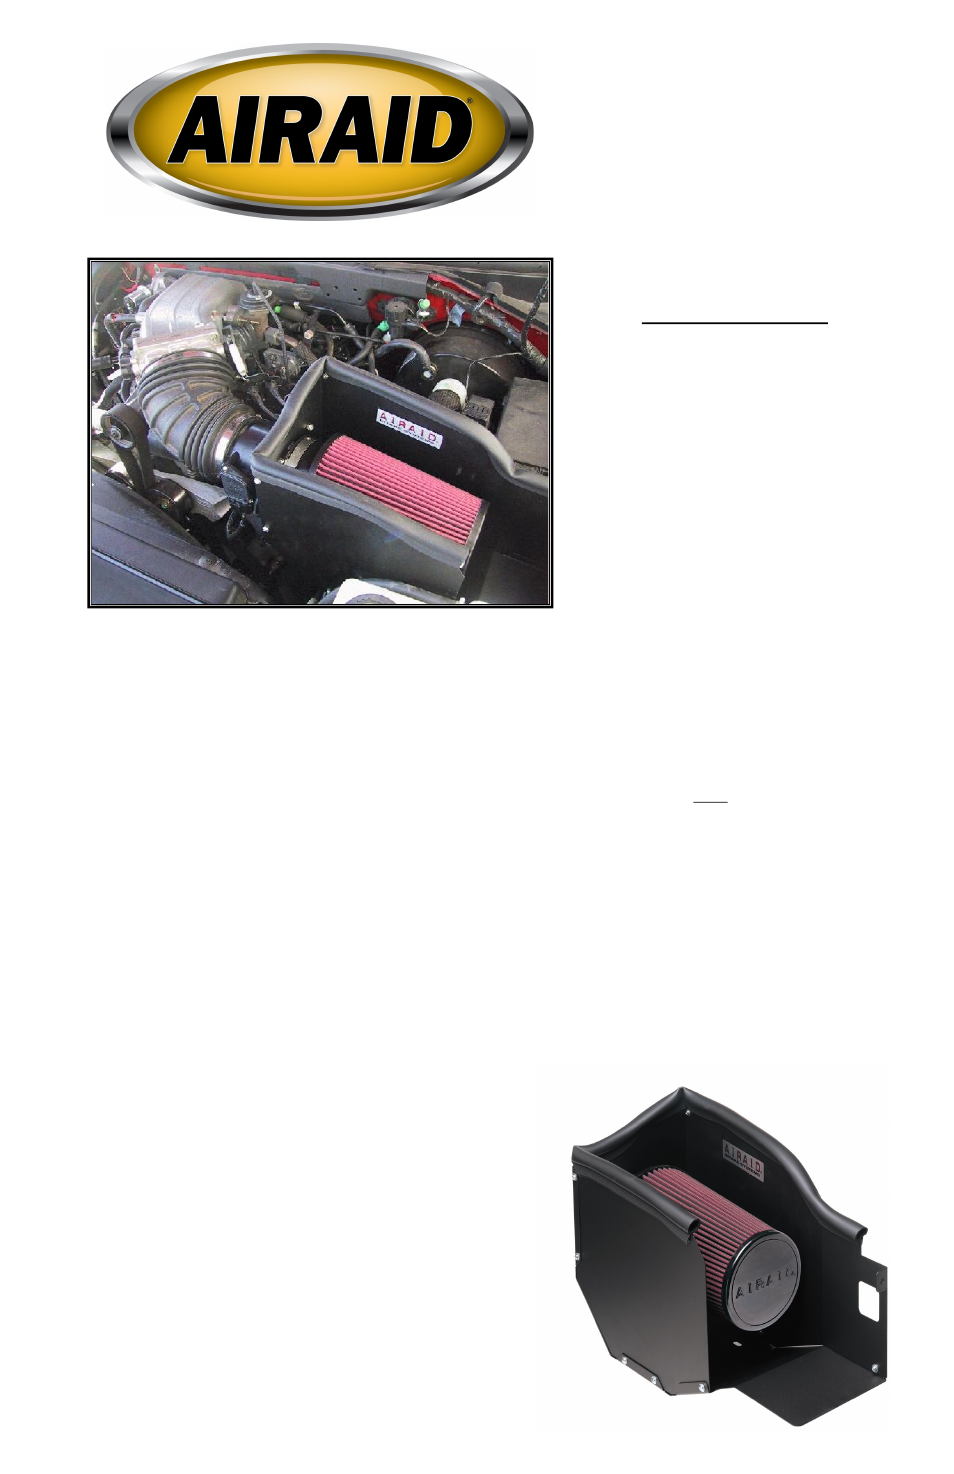
2001-03 Ford Lightning 5.4L V8
2004 Ford Heritage 5.4L V8
Component Identification
1.
Airaid Premium Filter
1
2.
WEATHER STRIP
1
3.
BOTTOM PANEL
1
4.
REAR PANEL
1
5.
FRONT PANEL
1
6.
SCREW 6-32x5/16” 10
7.
NUT 6-32 KEPS
10
8.
#6 Flat Washer
10
9.
¼” Flat Washer
12
10.
BOLT ¼”-20x 7/8” 4
11.
NUT ¼”-20 Nylock 6
12.
BOLT ¼”-20x 1 ¼” 2
13.
BACKING PLATE 1
14.
GASKET MAF
1
Full color instructions can be viewed on our web site at Airaid.com. Use the Product Search function to find your part number, and click View Details.
I DISCONNECT NEGATIVE (-) BATTERY CABLE.
II Remove air cleaner assembly.
a) Unclip air box lid. Remove A.F.M (Air Flow Meter) from lid and set aside.
b) Unscrew the air temperature sensor from the lower half of the air box. (Hint: Lift straight up to re
move lower air box half)
III Assemble Airaid Cool Air Dam (C.A.D)
a) Bolt the rear, front and bottom panels together with the 10 supplied small screws, nuts & washers.
b) Position the Airaid C.A.D. in place of the original air box.
c) Align the two base holes over the factory rubber grommets. Using the two supplied 1/4x1 1/4”
bolts, fasten the silver Airaid backing plate to the underside of the air box mount grommets.
d) Bolt the A.F.M. to the Airaid C.A.D. utilizing the supplied 1/4” hardware.
e) Reinstall the air temperature sensor to the Airaid C.A.D.
f) Mount the Airaid Premium filter on the intake side of the Airaid assembly and tighten.
g) Align and position the Airaid intake system on the engine. When satisfied, fully tighten all
connections.
IV Finishing up.
a) Check over all work.
b) Check hood clearance before closing.
c) Make sure no foreign objects are in the intake path!
d) Reconnect battery cable.
e) Enjoy!