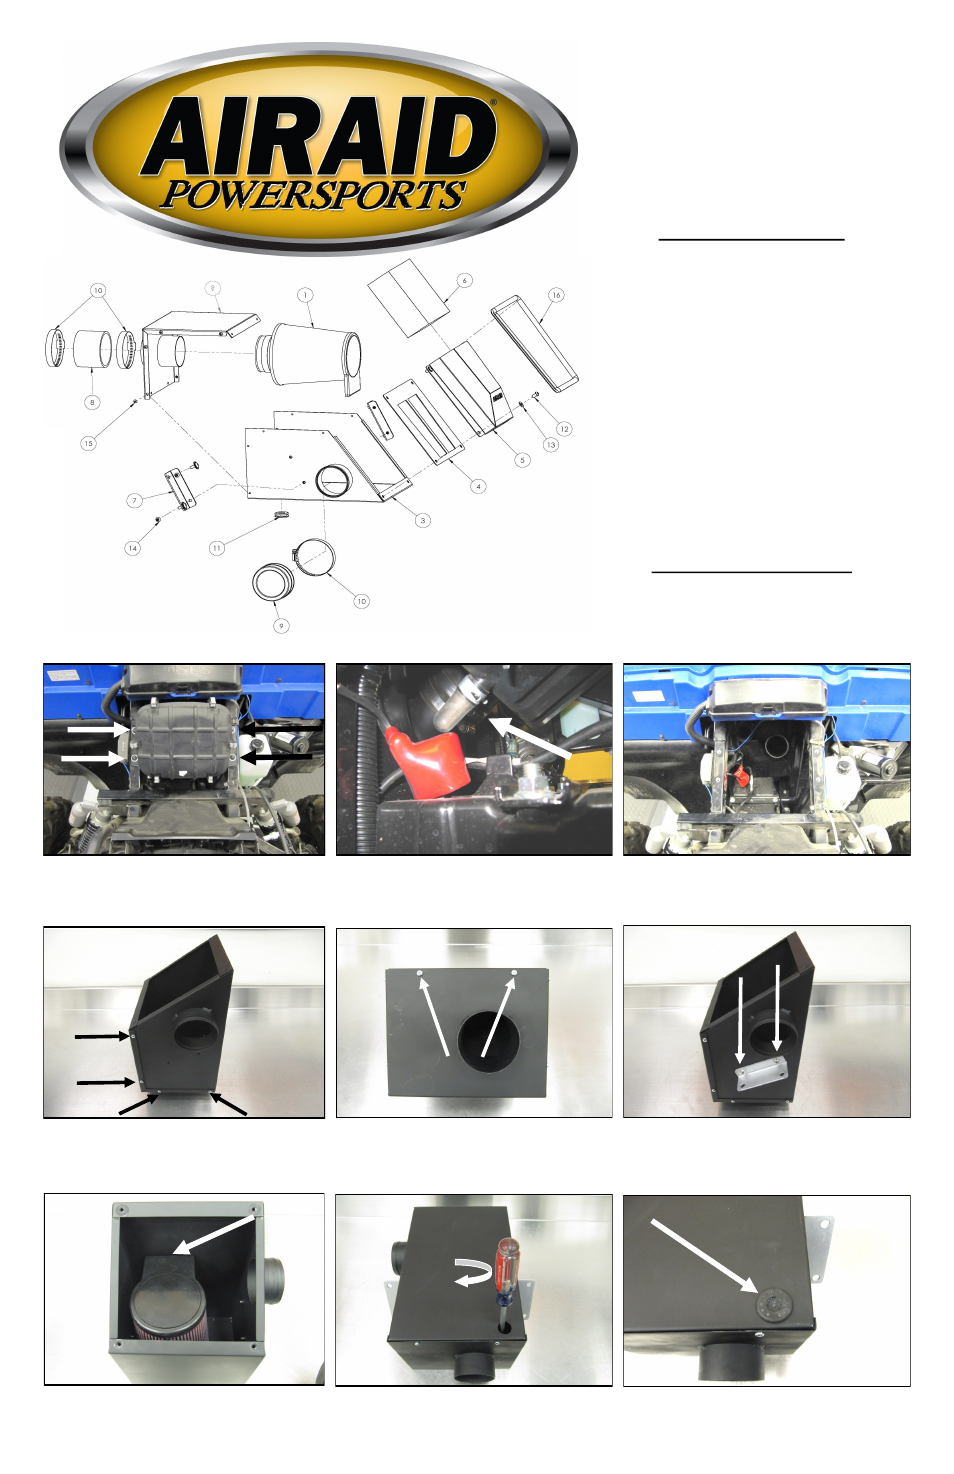
Airaid 883-306 User Manual
Installation instructions
Installation Instructions
For Part Number:
883-306 Intake Kit
2014 Kawasaki Teryx
2012-14 Kawasaki Teryx 4
750cc
2. Loosen the clamps on the factory airbox couplers.
3. Remove the factory airbox and couplers from the vehi-
cle.
4. Create the Airbox Assembly by sliding the Top Panel
(#2) into the Bottom Panel (#3). Use four of the 8-32
Thread Cutting Screws (#15) on each side to secure the
panels.
5. Use the two remaining Thread Cutting Screws on the
bottom of the assembly shown.
6. Install the Mounting Brackets (#7) onto both sides of
the Airbox Assembly a shown using the four 1/4-20 x
1/4” Button Head Bolts (#14)
8. Tighten the Air Filter clamp though the access port
on the back side of the Airbox.
7. Slide the Airaid Premium Filter (#1) onto the mount-
ing tube inside the Airbox Assembly. Note the location
of the isolator tab on the filter inside of the box.
9. Install the Blind Grommet (#11) into the access port.
Component Identification
1.
Airaid Premium Filter
1
2.
Top Panel
1
3.
Bottom Panel
1
4.
Filter Tray
1
5.
Hood Scoop
1
6.
Foam Pre Filter
1
7.
Mounting Bracket
2
8.
Silicone Coupler
1
9.
Urethane Cap
1
10.
#48 Hose Clamp
3
11.
Blind Grommet
1
12.
1/4-20 x 1/2” Button Head screw
4
13.
1/4” Flat Washer
4
14.
1/4-20 x 1/4” Button Head screw
4
15.
#8-32 Thread Cutting Screw
10
16.
Edge Trim, 36”
1
17.
Bubble Sticker
1
Tools Required For Installation:
In addition to common hand tools, this installation requires
the use of a : Hand drill, 1/2” Drill Bit, Jig Saw, Center
punch, and hammer.
1. Raise the hood of the vehicle. Locate and disconnect
the negative battery terminal underneath the airbox. Re-
move the four airbox bolts and set them aside. They will
be reused.
Top Panel
Bottom Panel
Full color instructions can be viewed on our web site at Airaid.com. Use the Product Search function to find your part number, and click View Details.