Airmar – Airmar M192—Survey User Manual
Page 2
2
AIRMAR
®
TECHNOLOGY CORPORATION
35 Meadowbrook Drive, Milford, New Hampshire 03055-4613, USA
www.airmar.com
Note: For diver installations, we suggest attaching the
hex wrench to a lanyard.
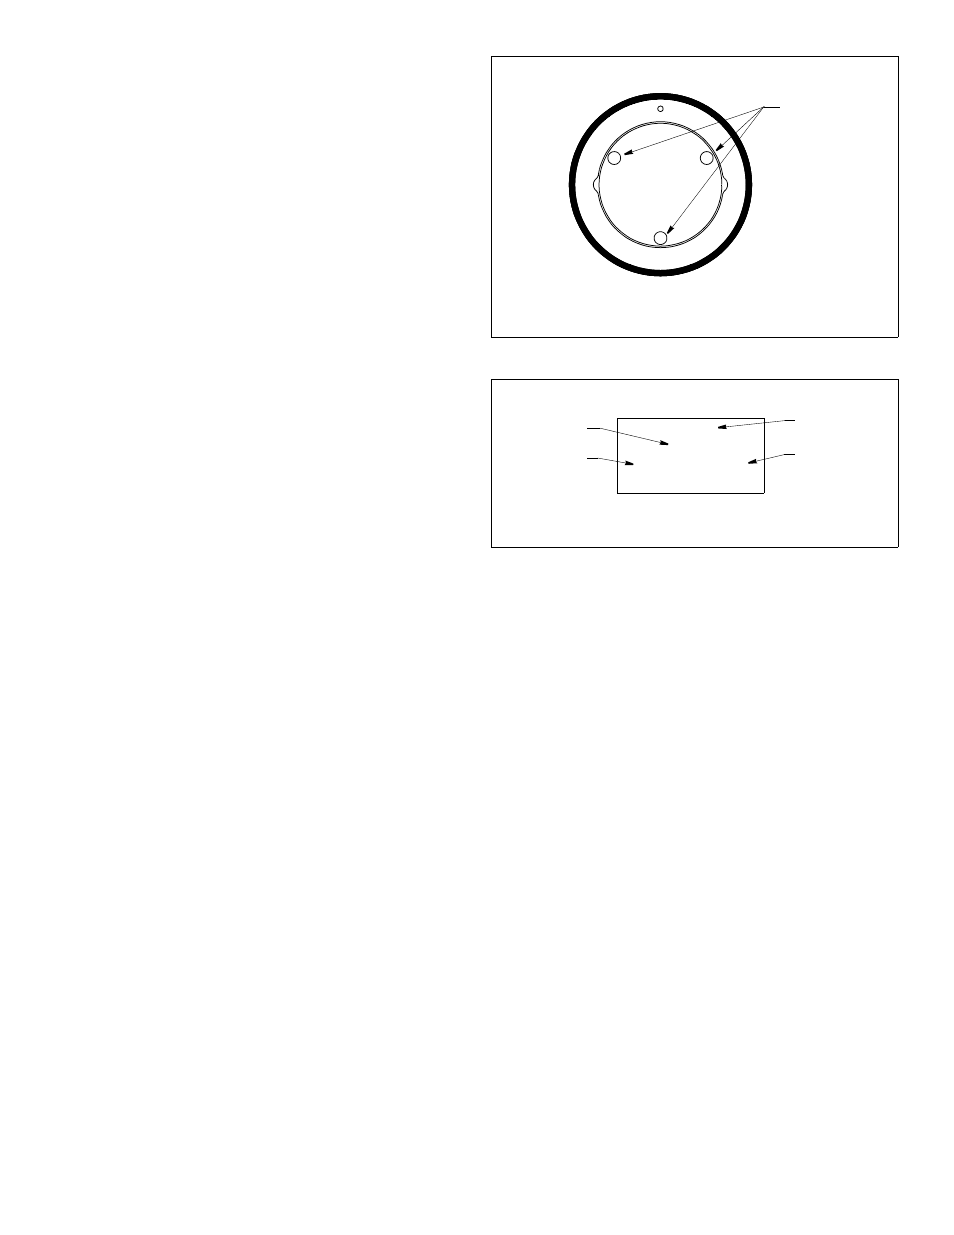
9. Tighten each of the mounting screws using the hex
wrench until the transducer is secured in the housing
and does not move. The recommended tightening
torque is 20N-m (15ft-lb). Fill the screw heads and
counterbores with marine sealant until they are flush
with the transducer’s radiating face. Remove any
excess sealant to ensure smooth water flow over the
transducer (see Figure 2).
Maintenance
Aquatic growth can accumulate rapidly on the transducer’s
surface reducing the performance in weeks. Clean the
surface with a soft cloth and mild household detergent.
Reapply antifouling paint every 6 months.
Transducer Replacement
The information needed to order a replacement Airmar
transducer is printed on the vinyl tag affixed to the
transducer cable. Do not abrade the marking or remove
this tag. Contact your marine dealer or echosounder
manufacturer to obtain a replacement. When ordering,
specify the frequency, date code, and part number
(see Figure 3).
lot number
date code
part number
KXQY9A/ XX-XXX
01-0797
U.S.PAT.# XXXXXXX
120kH
frequency
Figure 3. Sample vinyl tag
Figure 2. Bottom view including transducer’s radiation face
counterbore
filled with
marine sealant