Setup shot director controller, Power on, Adjust lcd dialog box – Grass Valley JSC-2300 SHOT User Manual
Page 39: Calibrate joystick
Ignite JSC-2300 SHOT Director Robotics/Camera Controller Instruction Manual
39
Setup SHOT Director Controller
Setup SHOT Director Controller
Power On
1.
Ensure that one camera is connected and powered on. Refer to
Note
For more information on powering up other devices on the network, see the
operation manual that came with the device.
2.
Press the Power button (
). The Power indicator illuminates.
Note
The first time the JSC-2300 SHOT Director controller powers on, the joystick
calibration dialog box (
) appears. After this initial calibration, every
time the SHOT Director controller powers on, the CAMERA CONTROL home
dialog box (
) appears.
•
The Grass Valley splash dialog box (
) appears briefly
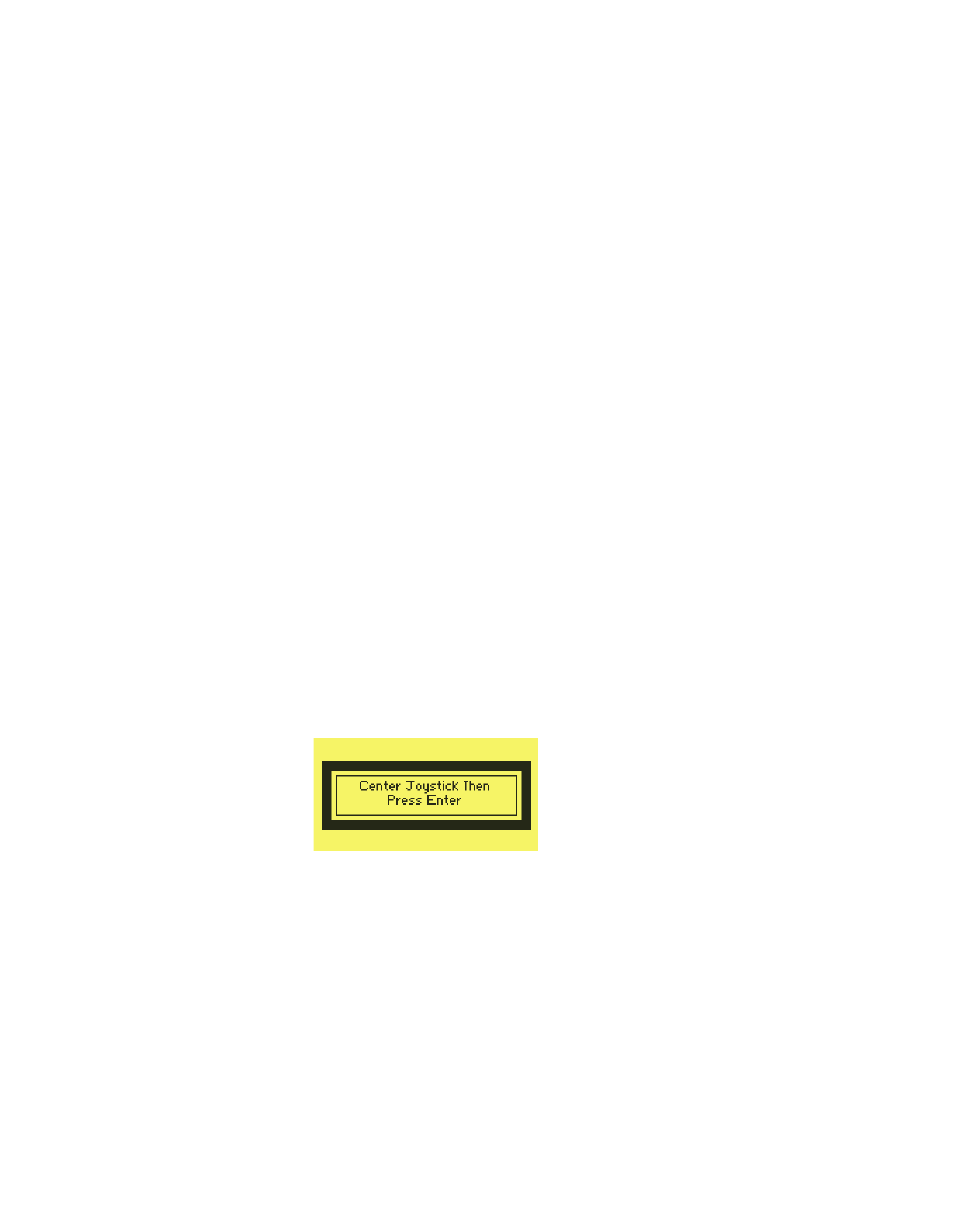
and then the
Center Joystick Then Press Enter
dialog box (
)
appears.
Adjust LCD Dialog Box
•
If necessary, adjust the
LCD CONTRAST
and
LCD BACKLIGHT
on the rear
) of the SHOT Director controller to obtain the best
LCD clarity.
Figure 27. Joystick Calibration Dialog Box 1
Calibrate Joystick
Note
The first time the JSC-2300 SHOT Director controller powers on, the joystick
calibration dialog box (
) appears. After this initial calibration, every
time the SHOT Director controller powers on, the CAMERA CONTROL home
dialog box (
) appears.
8
4
9
3_
sc01_r0