ShoreLand'r SLDB14A-00STS User Manual
Bundles required, Tire size & carrying capacity chart, Tongue weight adjustment
®
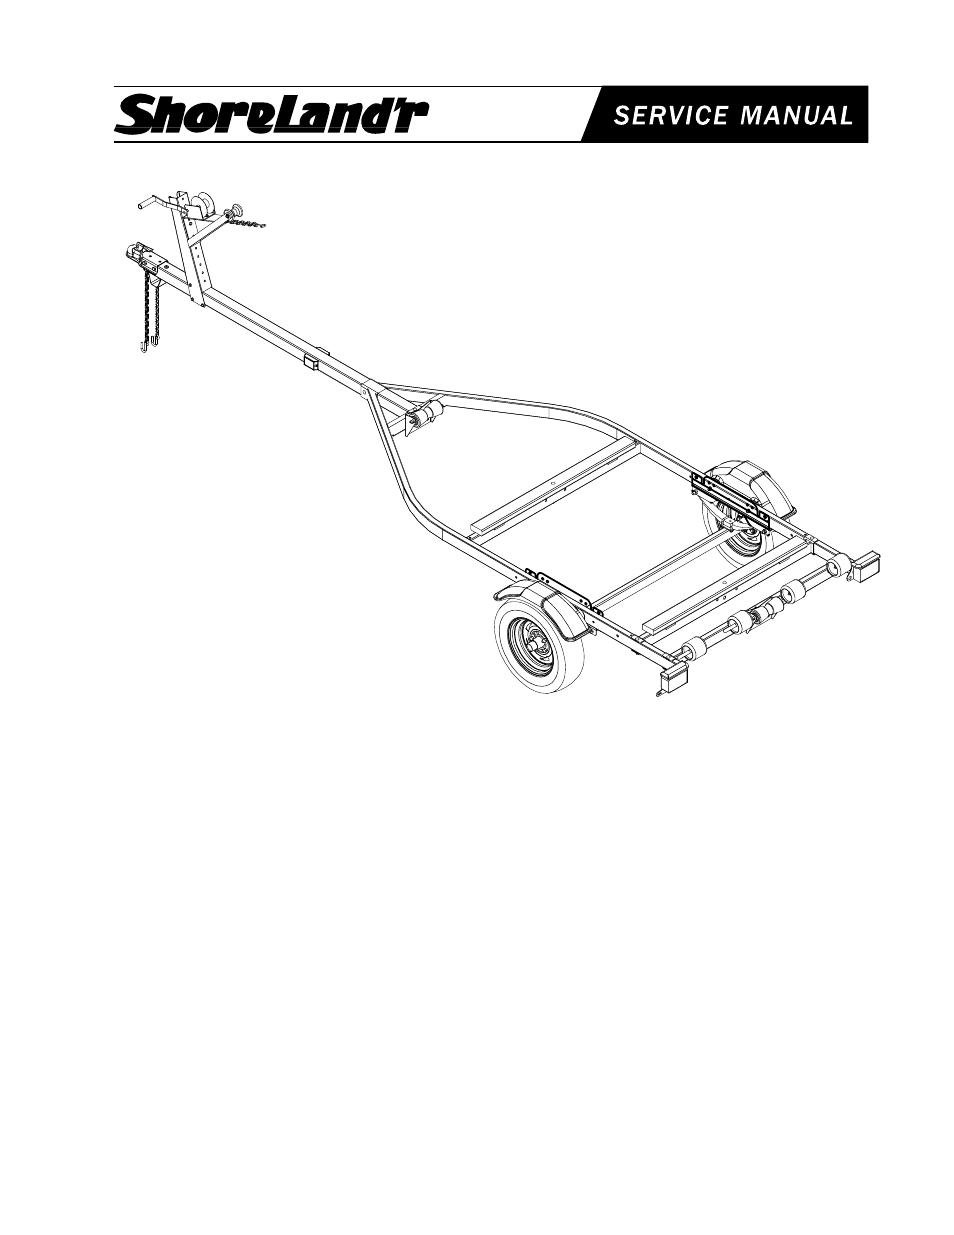
SLDB14A-00STS
Drift Boat - Galvanized W/7 Tongue
Bundles Required
2
4300209
ST155/80R13C Tire/Galv Dir Rim
1
62340
Literature Bag - Trailers
1
6578000
Tongue 3X3X14 Ga. X 7
1
6672800
Frame Bundle - Drift Boat
1
6672900
Hardware Box - Drift Boat
Tire Size &
Carrying Capacity Chart
Tire
Load
Carrying
Size
Range
Capacity
ST155/80R13 C
1100 lbs.p/tire
Refer to tire side wall for correct tire pressure.
Tongue Weight Adjustment
Approximate Tongue Weight for Best Towing.
NOTE: Axle is NOT adjustable. Shift load to obtain
proper tongue weight. Tongue weight should be 5-7%
of total gross weight of trailer and load combined.
Axle:
Place one (1) of the spring bushings into the rear of
the spring bracket and secure with a 1/2 X 3 hex
bolt and a 1/2 flange lock nut. Repeat on the other
side of the trailer. Position the axle under the frame,
then hook the spring loop around the bushing just
installed. Raise the axle assembly up so that the front
of the spring line up with the front spring bracket hole.
Insert the 9/16 X 3-1/4 hex bolt and secure with a 9/
16 hex lock nut. Repeat on the other side of the axle.
Tighten all fasteners. Do not overtighten. The spring
must have room enough to move.
Tires:
Mount the tire and rim assemblies using 80-90 ft./lbs.
of torque on the lug nuts using a proper tightening
procedure.
Rear Keel Roller:
Mount the 8 keel roller assembly to the rear
crossmember using two (2) 1/2 X 3 hex bolts, two
(2) 1/2 pyramidal lock washers, two (2) 1/2 flat
washers and two (2) 1/2 hex finish nuts. Refer to
parts drawing for placement.
Front Keel Roller:
Mount the 8 keel roller assembly to the front
crossmember using two (2) 1/2 X 1-1/4 hex bolts,
two (2) 1/2 pyramidal lock washers, two (2) 1/2 flat
washers and two (2) 1/2 hex finish nuts. Refer to
parts drawing for placement.
Bunk:
Mount the bunks to the two (2) middle crossmembers
Assembly Instructions
continue to page 4