ShoreLand'r TA0134 User Manual
Accessory, Ta0134 shorelock’r
Midwest Industries, Inc.
Ida Grove, IA 51445
800.859.3028
www.shorelandr.com
0003838
Page 1
08/15/07
ACCESSORY
TA0134
ShoreLock’r
The
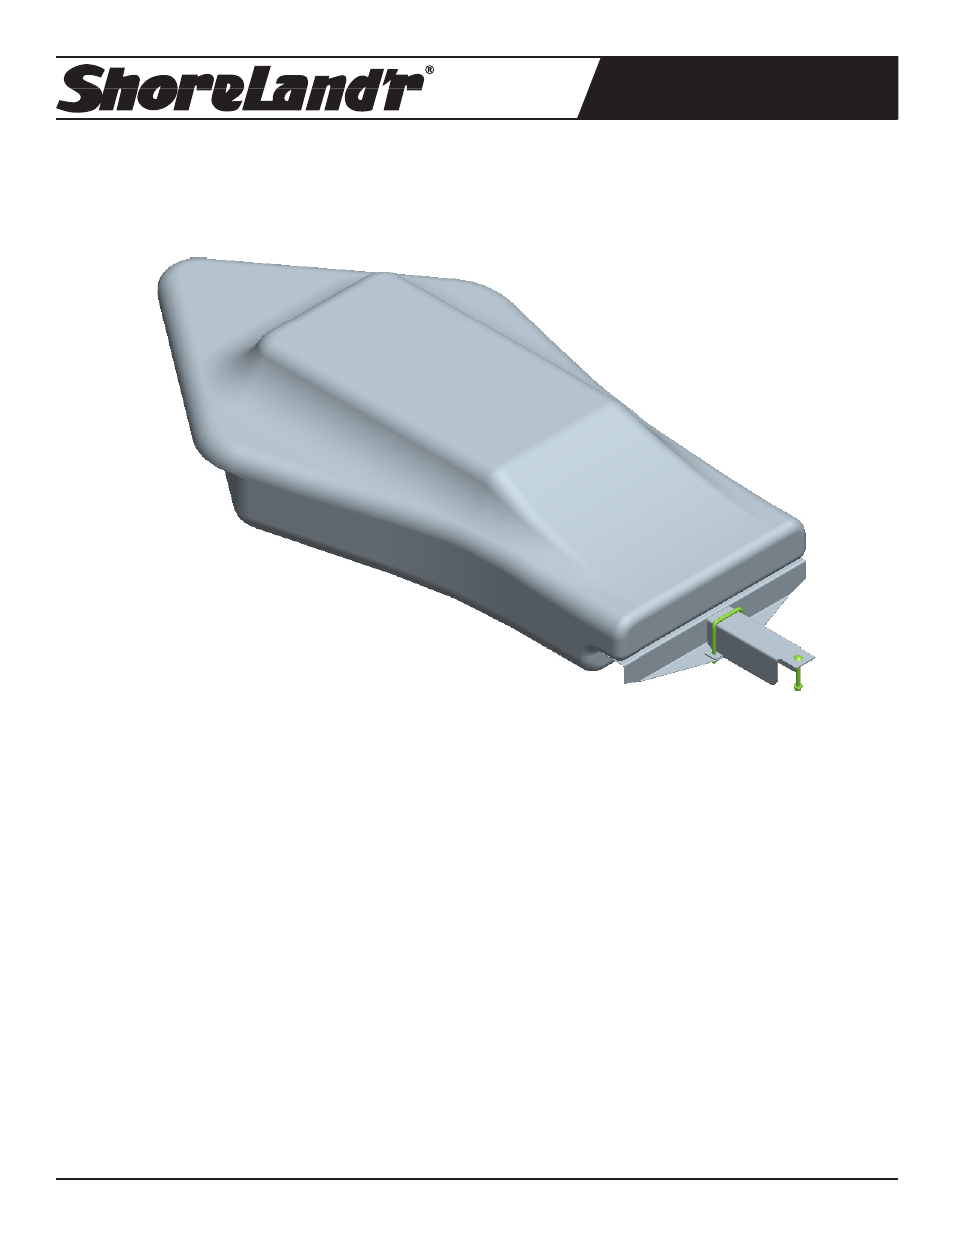
TA0134 ShoreLock’r storage unit is designed to fit the double
PWC trailers. It attaches to the front cross member and the two
side frames.
Assembly Instructions
(Refer to Page 2 for parts drawing)
• Open the ShoreLock’r and locate the mounting hardware
located on the inside. Remove and sort all items by size.
• Locate the ShoreLock’r mounting bracket. Position it on the
rear of the ShoreLock’r storage unit as shown.
• Align the holes in the mounting bracket with the holes in the
ShoreLock’r. Place a 3/8” flat washer on each of two 3/8” x
¾” hex bolts. Thread the bolts into the threaded holes in the
ShoreLock’r. Tighten.
• Locate the channel ShoreLock’r support and the winch tube
strap. Align the holes of the channel with the mating holes in the
ShoreLock’r mounting bracket.
• Drop a 3/8” x 3 7/16” x 4 1/8” U-bolt down over the channel
and through the mating holes of the ShoreLock’r mounting
bracket.
• Place the winch tube strap over the legs of the U-bolts on the
bottom side of the ShoreLock’r mounting bracket. Thread on
3/8” flange lock nuts. Run the nuts on the threads until they are
about tight. Do not completely tighten until after the ShoreLock’r
is totally installed on the trailer.
• Position the assembled unit onto the frame of the trailer so it
is supported by the two side frames and the channel support.
Align the hole in the channel support with the hole provided in
the front cross member.
• Drop a 3/8” x 3 ½” carriage bolt into the aligned holes. Place a
3/8” flat washer, 3/8” lock washer and then a 3/8” hex nut on the
threaded end of the bolt. Hand tighten until instructed to tighten
later.
• Align the holes in the inside front of the ShoreLock’r with the
holes in the side frame. Locate one of the two 3/8” x 5” hex
bolts. Place a flat washer on the bolt and then insert it into one
of the aligned holes. Repeat on the second hole and bolt in the
other side frame. Secure using 3/8” flange lock nuts.
• Once all of the attaching bolts have been installed, tighten all
bolts at this time.
• Assembly is complete.