Lanner IPMI User Manual
Page 32
Version 1.0
30
1.
In
the LAN Destination Tab, choose the slot to be configured. The slot number should correspond to the
number that you have configured for the Destination Selector in the Alert Policy Entry. That is, if you
choose the Destination Selector as 4 in the Alert Policy Entry page of Alert Policy Tab, then you have to
configure the 4th slot of LAN Destination Page.
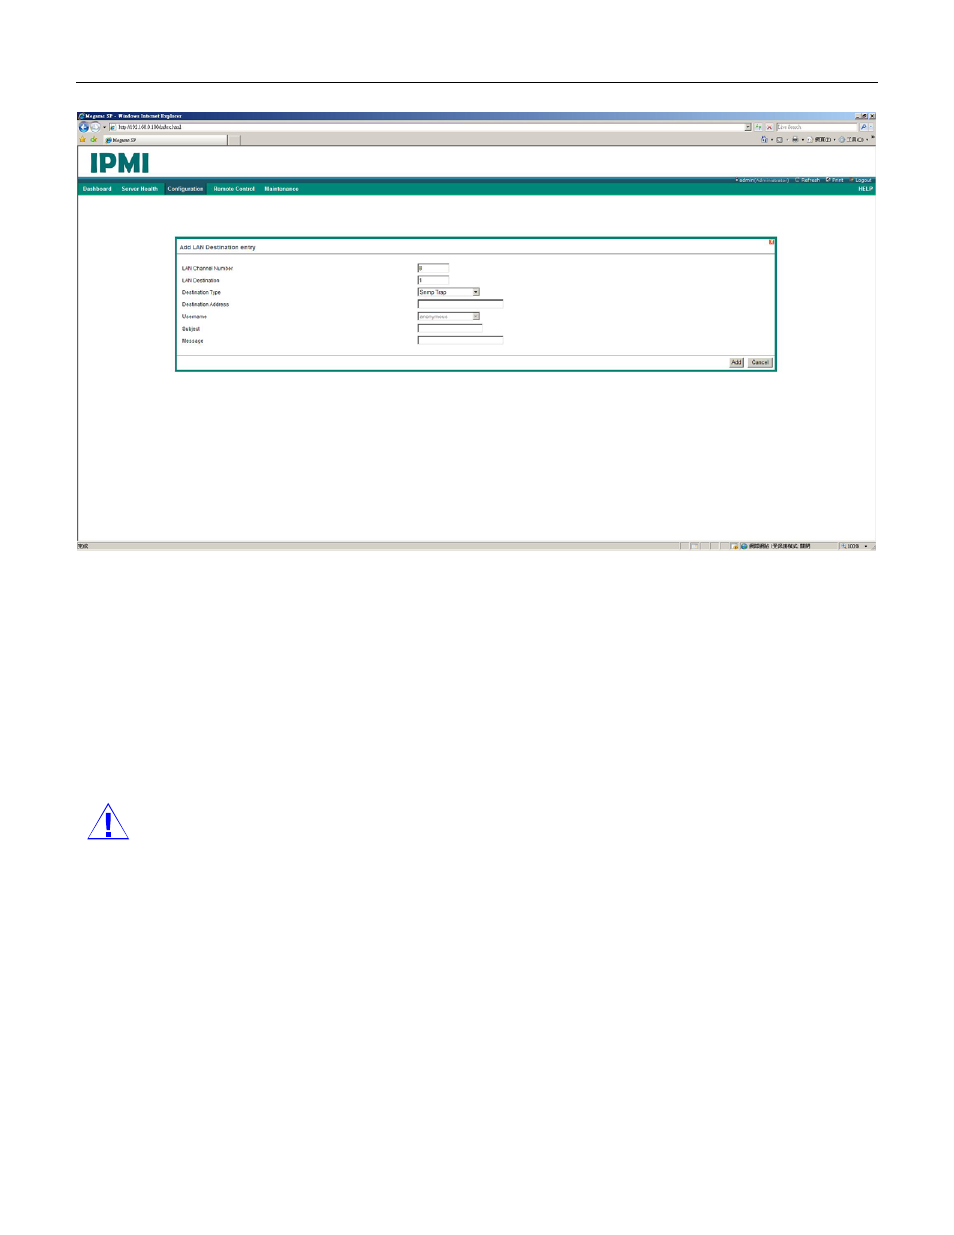
2. Select the designated slot for adding the particular LAN Destination number and click Add. This opens the
Add LAN Destination entry.
3. It shows the LAN Destination number (read-only) in the LAN Destination field.
4. Select
either
SNMP Trap
or Email Alert for the Destination Type field.
5. In
the
Destination Address
field, enter the destination IP address.
NOTE
: If Destination type is Email Alert, specify the user account that will receive the email. The User
Account can be accessed under Configuration->Users.
6. Select
the
User Name
from the list of users.
7. Enter the subject in the Subject field,.
8. Enter the message in the Message field.
9. Click
Add
to add the new LAN destination or Cancel to cancel this new setting.