Original accessories / attachments, Preparing for use, Information about saw blades – Parkside PSTK 730 A1 User Manual
Page 10: Mounting / replacing saw blades, Attaching the chip guard
10 GB
General safety advice for electrical power tools / Preparing for use
draw the saw blade
14
from the cut until after
it has come to a standstill.
J
After switching off do not brake the saw blade
14
by pressing it sideways against an object.
It could cause the saw blade
14
to be dam-
aged, break or initiate a kickback.
J
Use only undamaged, defect-free saw blades.
Distorted or blunt saw blades can break or
cause a kickback.
J
Always keep the device clean, dry and free of
oil or grease.
Q
Original accessories /
attachments
J
Use only the accessories and attach-
ments detailed in the operating instruc-
tions. The use of inserted tools or accessories
other than those recommended in the operating
instructions could lead to you suffering an injury.
Q
Preparing for use
Q
Information about saw blades
The Parkside equipment supplied as standard with
your tool includes saw blades intended mainly for
sawing wood and metal.
1 blade (wood) for quick cutting
in softwood (green arrow marking)
1 blade (wood) for clean
cutting in softwood (orange arrow marking)
1 blade (special) for metal up to 3 mm thick
(black arrow marking)
Note: Use a suitable coolant, e.g. cutting oil. This
improves the endurance and increases the service
life of the metal saw blade.
Saw blades are available which have been opti-
mally designed for particular tasks. You can use
any of these saw blades provided they have the
correct shank fitting (single lug shank).
Q
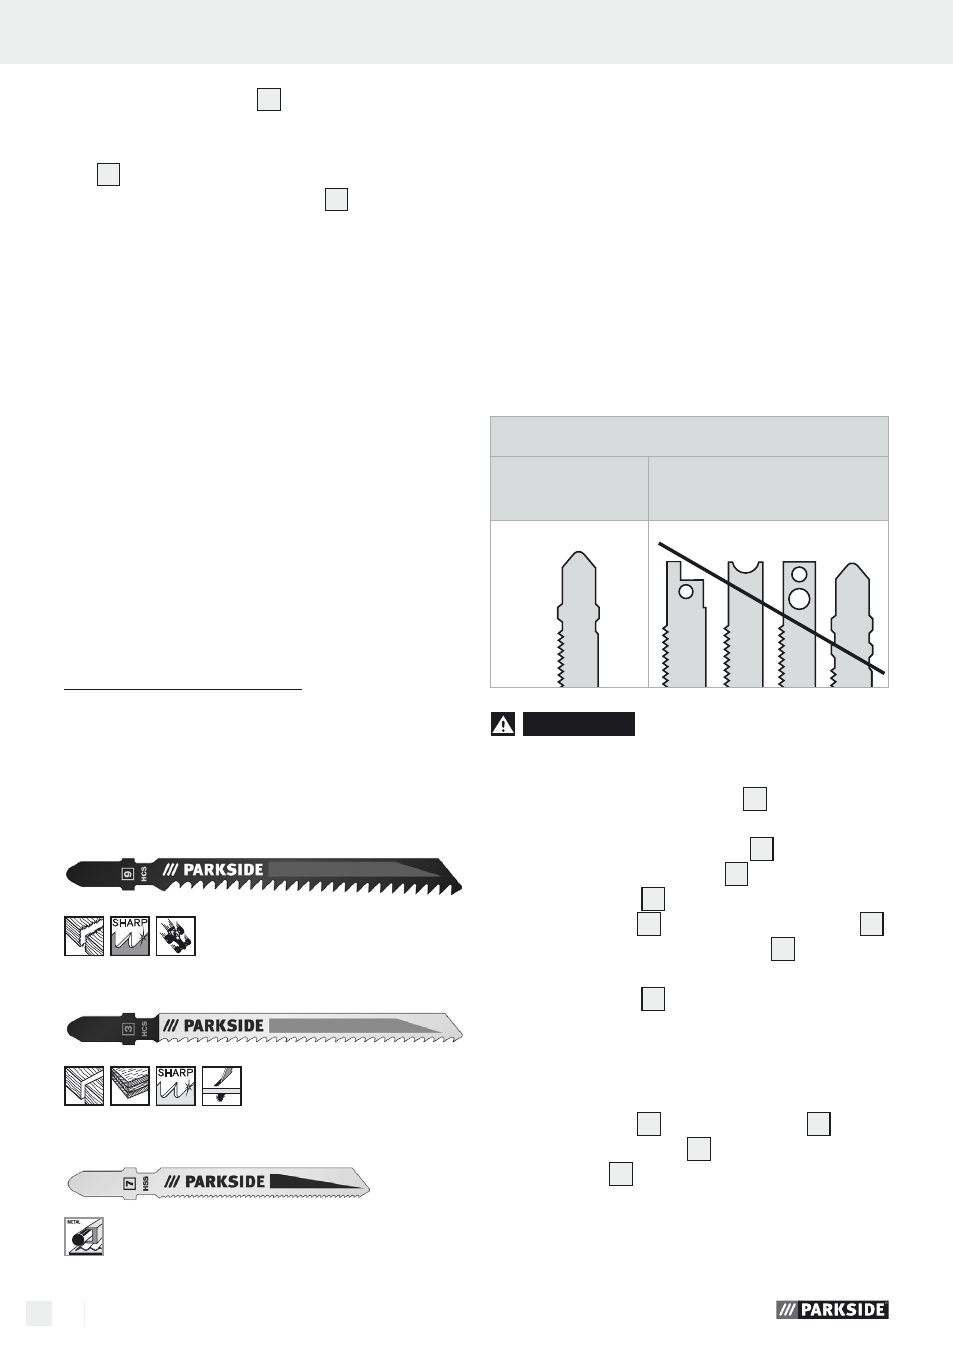
Mounting / replacing
saw blades
Saw blade type
Suitable for
PSTK 730 A1
Unsuitable
WArNING!
Pull the mains plug out of the
socket before you carry out any task on the
device, otherwise there may be risk of injury.
j
Turn the quick-release chuck
18
and hold it in
the turned position.
j
Press the selected saw blade
14
up to the stop
in the quick-release chuck
18
.
The saw blade
14
should then engage.
j
The saw blade
14
must lie in the guide roller
13
.
j
Release the quick-release chuck
18
. The chuck
must then return to its original position.
The saw blade
14
is then locked in place.
Q
Attaching the chip guard
j
Pull the runner
10
off the base plate
9
.
j
Insert the chip guard
16
from below into the
base plate
9
and slide it into the slots provid-
ed. The chip guard can help prevent breaking
out of the surface.