Bringing into use, Connecting the compressed air source, Using the tyre inflator gauge – Parkside PDSS A1 User Manual
Page 26: Using the blow gun
26 GB/MT
Bringing into use
Q
Bringing into use
Q
Connecting the
compressed air source
NOTE: Operate the product only with cleaned, conden-
sate- and oil-free compressed air and never exceed the
maximum working air pressure at the device of 8 bar.
NOTE: The compressed air source must be fitted
with a (filter) / pressure reducer so that the air pres-
sure can be regulated.
j
Connect the product to a suitable compressed air
source by connecting the quick-release coupling
of the air supply hose with the plug-in nipple
4
to
the product. It locks itself in place automatically.
Q
Using the tyre inflator gauge
2
1. Place the valve connector
5
on to the valve.
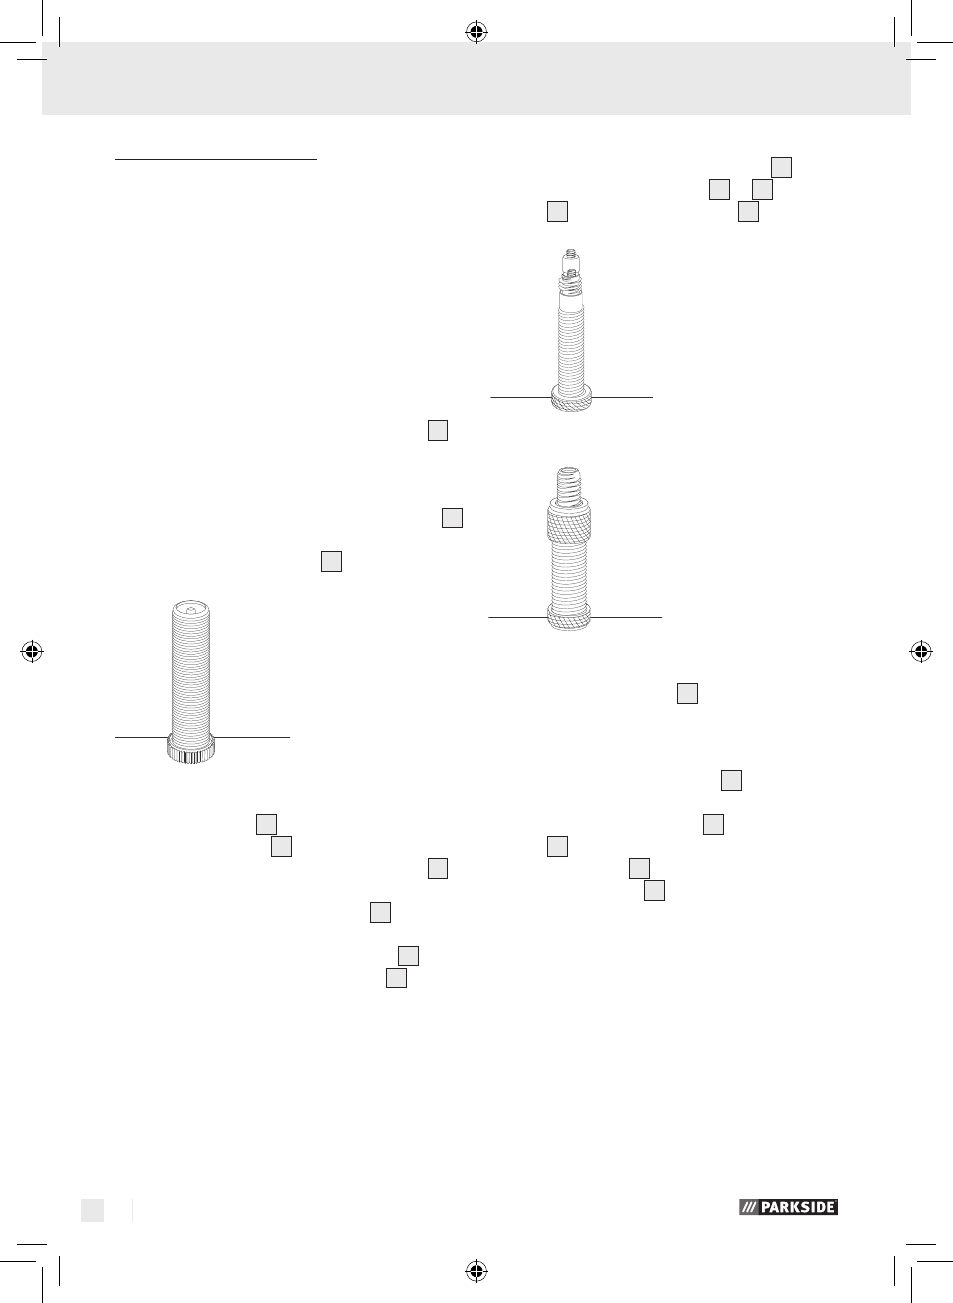
Schrader valve
(e.g. often used on mountain bikes)
2. Press the trigger
6
to start the delivery of air.
3. Release the trigger
6
to stop the delivery of air.
Read off the filling pressure on the gauge
1
.
4. If the object is overfilled with air (air pressure
too high): Press the deflator valve
3
to release
some air.
5. Press the lever of the valve connector
5
down-
wards and pull the valve connector
5
off the
valve.
6. After you finish work, disconnect the device
from the compressor.
NOTE: First disconnect the hose from the com-
pressor and only then disconnect the compressed
air supply hose from the device. This will ensure
that the compressed air supply hose does not
wave around in an uncontrolled manner.
Using accessories:
j
Press the lever of the valve connector
5
and
insert the desired accessory
10
to
13
or the
cap
9
into the valve connector
5
.
Presta valve, e.g. cycle tyre valve
Dunlop valve, traditional cycle tyre valve
TIP: Use the valve adapter
13
for the cycle tyre
valves shown.
Q
Using the blow gun
7
1. Screw an extension nozzle
8
on to the blow
gun
7
.
2. Press the trigger
6
to start the delivery of air.
3. Release the trigger
6
to stop the delivery of air.
4. After you finish work, disconnect the device
from the compressor.
NOTE: First disconnect the hose from the com-
pressor and only then disconnect the compressed
air supply hose from the device. This will ensure
that the compressed air supply hose does not
wave around in an uncontrolled manner.
64573_par_Druckluft-Zubehoer-Set_content_LB5.indd 26
17.03.11 13:03