Assembly, Operation – Parkside PNTS 1400 D1 User Manual
Page 8
8
GB
• Observe the instructions for cleaning
and maintenance of the machine.
• Store the appliance in a dry place and
out of reach of children.
Assembly
Pull out the mains plug.
Danger of electric shock.
The appliance is supplied with the
folded filter (
23) fitted.
1. Place the 4 steering castors (11) onto
the mounts on the stainless steel con-
tainer (9). Attach each steering castor
with a crosshead bolt (11a).
2. Fit the bow handle (1) onto the two
bow handle tie bars (2) and screw it in
place with 2 crosshead bolts (1a).
3. Fold down the bow handle (1) towards
the suction nozzle (8). Place the motor
head (3) on the stainless steel contain-
er (9). Close the stainless steel contain-
er by folding up the bow handle and
fixing it with the locking levers (14)
. The tension can be adjusted
with the locking lever adjusting screw.
Several positions are possible for the
bow handle.
4. Fit the accessories:
- Connect the suction hose (19).
- Fit the handle (20)
- Fit the telescopic suction pipe (17).
(Press the knob on the telescopic
suction pipe in the direction and
separate to the desired length).
- Fit the desired nozzle (25/26).
Never vacuum without a filter!
To store the suction set during
breaks, push together the telescopic
suction hose (17) and plug the suc-
tion pipe holder (18) into the socket
on the motor housing (see picture
below).
Operation
Fully unwind the suction hose (
19) before commencing work.
Switching on/off
Connect the mains plug.
Do not vacuum without a filter!
(How to insert the filter is described
in the chapters “dry vacuuming“
and “wet vacuuming“).
Switching On:
On/Off Switch (see
6) In position “I“.
Switching Off:
On/Off Switch (see
6) In position “0”.
Dry vacuuming
The appliance is supplied with the
folded filter (
23) fitted.
Vacuuming with a fluted filter:
1. For dry vacuuming, fit the fluted filter
(23) onto the filter basket (27) on the
motor head (3). The sealing lip that
curves upward must point away from
the motor head.
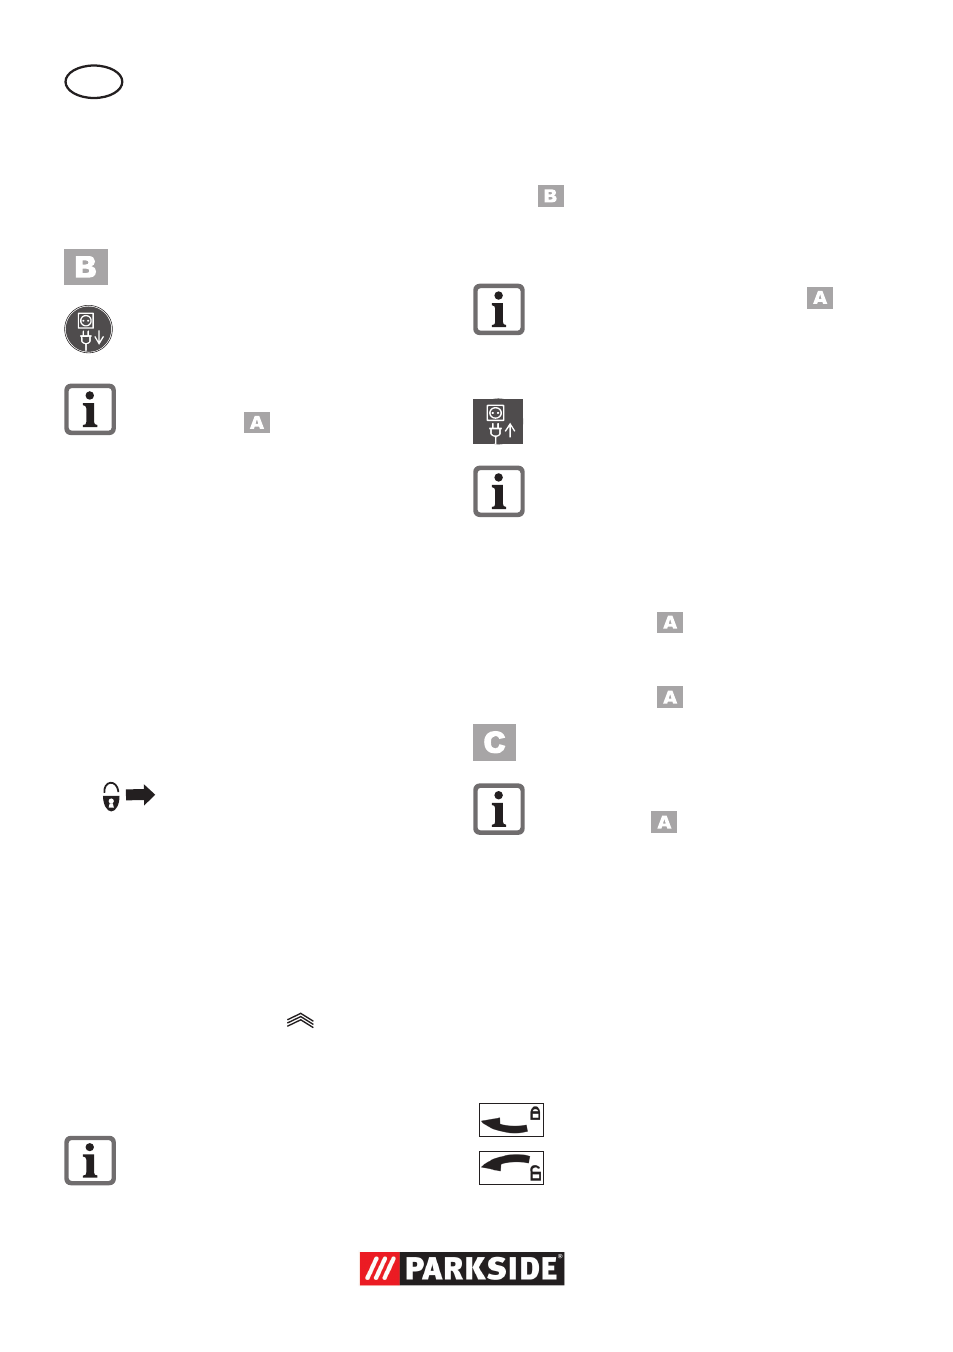
2. Fit the filter cover (22) and lock it with
a light turn:
Lock the filter cover
Unlock the filter cover