Casio XJ-H2650 User Manual
Page 3
3
To prepare firmware you downloaded from the CASIO website
1.
Visit the CASIO website below and download “YC-400 Firmware Update Software ver.1.1” to your
computer.
http://www.casio-intl.com/support/download/
2.
Double-click the file you downloaded and then follow the instructions that appear on your
computer screen. When you click [OK] on the dialog box for specifying the file extraction
destination, the file will self-extract and create a file named “YC-400.bin” in the folder you specify.
3.
Next, perform the procedure under “To install the update software on your camera”.
To prepare firmware on the CD-ROM (that comes with some projector
models)
1.
Place the CD-ROM that comes with the projector into your computer’s CD-ROM drive.
2.
On the menu screen that appears, click the [Open Folder] button to the right of “Multi Projection
Camera Update Software”.
3.
In the folder that opens, double-click the file named “YC-400.exe” and then follow the instructions
that appear on your computer screen. When you click [OK] on the dialog box for specifying the file
extraction destination, the file will self-extract and create a file named “YC-400.bin” in the folder
you specify.
4.
Next, perform the procedure under “To install the update software on your camera”.
To install the update software on your camera
1.
Connect the AC adaptor to the camera or load a fully charged battery into the camera. Next, load
a memory card into the camera.
2.
Place the camera onto its USB cradle and establish a USB connection with your computer. Next,
copy the extracted file (YC-400.bin) to the root directory (the top directory on the drive) of the
memory card.
3.
After the copy operation is complete, remove the camera from the USB cradle.
4.
On the camera, hold down the [MENU] button as you press the [ON/OFF] (Power) button to turn
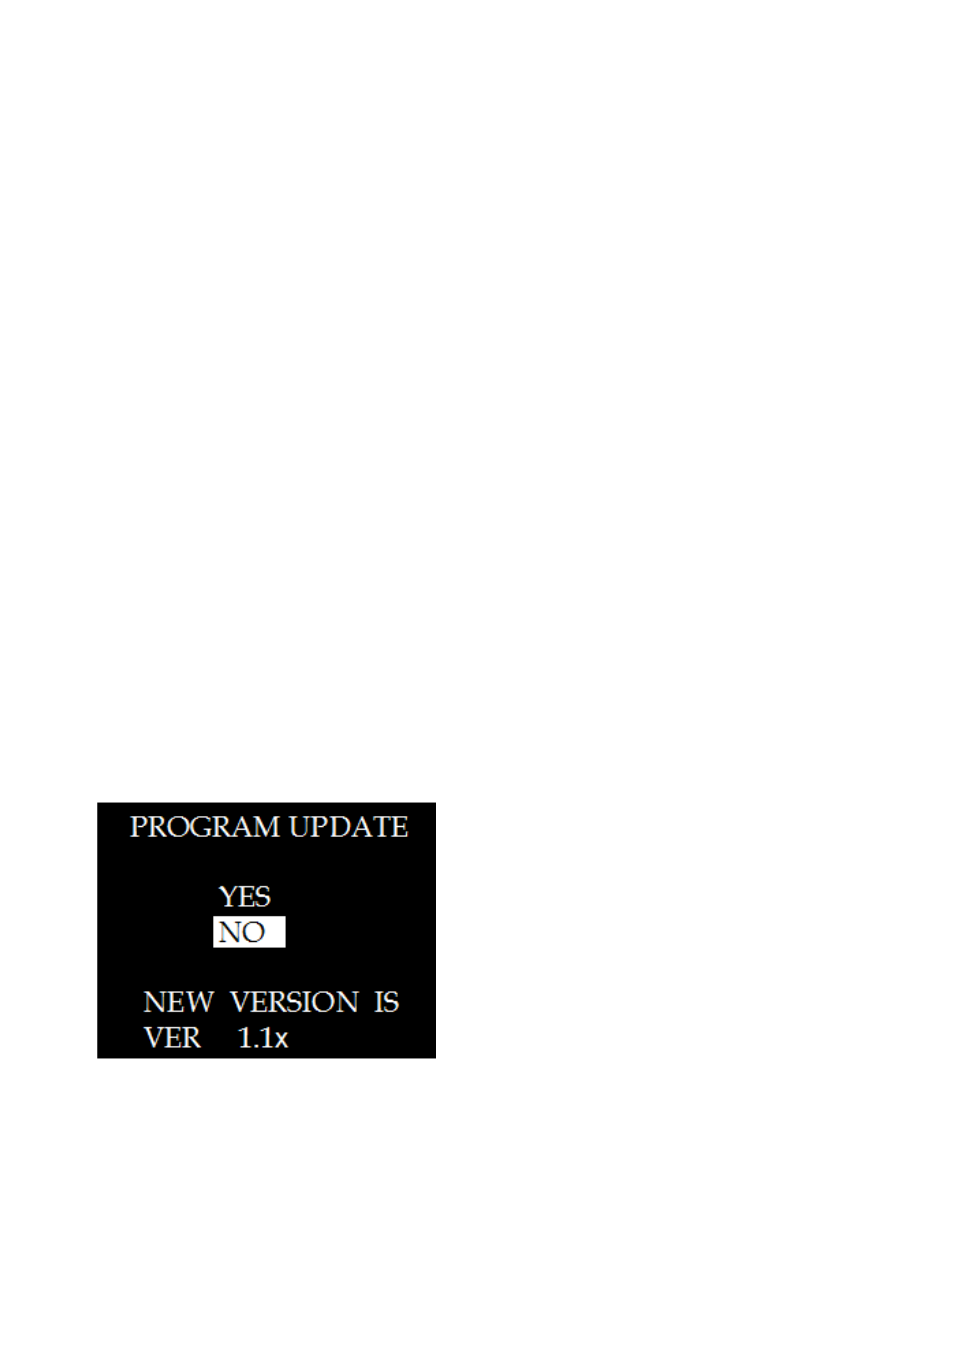
on power. Keep the [MENU] button depressed until the message “PROGRAM UPDATE” appears
on the monitor screen.
5.
On the “PROGRAM UPDATE” screen, move the highlighting from [NO] to [YES] by pressing [e].
Next, press the [SET] button.