Maintenance and care, Selecting the correct helmet size – Crivit DS-MULTIX301 User Manual
Page 16
18
as far back towards the neck as possible .
Fasten it as tight as possible. The right degree
of tension is reached once you find it difficult
to insert your finger between the chinstrap and
neck, yet finding it easy to breath and swallow .
Make sure that the helmet sits securely once
the retention system is on . Make sure that the
helmet does not restrict your movements, e .g .
when turning your head to look behind you .
• Make sure the helmet carries a sticker certify-
ing homologation .
Maintenance and Care
Regular maintenance and care contributes to
safety and maintaining the helmet .
Cleaning of the Helmet
• Never use solvents, petrol or other detergents
when cleaning the shell and interior of your
helmet .
• Only use water and pH balanced soap.
Visor care and cleaning
• After using the helmet, lightly wipe off any
grime (e .g . dead insects, dirt, sand, dust etc )
from the visor with a soft cloth and then fully
wipe it clean using a dry soft cloth .
• When the visor gets wet (e.g. rainwater) it
should always be wiped with a soft cloth .
• When cleaning the visor, never use any petro-
leum-based solvents or detergents containing
abrasives .
GB
Winter Collar
To reduce the wind inlet at the bottom of the hel-
met during periods with very cold temperatures,
the pre-installed standard collar (14) can be
replaced with the supplied winter collar (15) .
Removing the standard collar
Pull the one-piece standard collar out of the
helmet (see Fig. J).
Inserting the Winter Collar
First attach the plastic clip in the centre at the
back part of the helmet in the groove between
the outer shell and the padding .
Once the plastic clip is completely locked, press
the complete winter collar again firmly onto the
padding of the helmet (see Fig. K).
Visor Replacement
If the pre-mounted visor (7) is damaged or
severely scratched, you can exchange it with the
replacement visor .
Removal of the Visor
• Slide the visor into the highest position (fully
opened) (see Fig. L).
• Pull the red visor-locking lever and remove the
visor (see Fig. M).
Inserting the Visor
• Place the replacement helmet on the hold-
down device and observe the correct position-
ing in the process (fully opened) (see Fig. L).
• Pull the red visor-locking lever and place the
visor appropriately (see Fig. N).
• Allow the replacement visor to snap in and
close the visor .
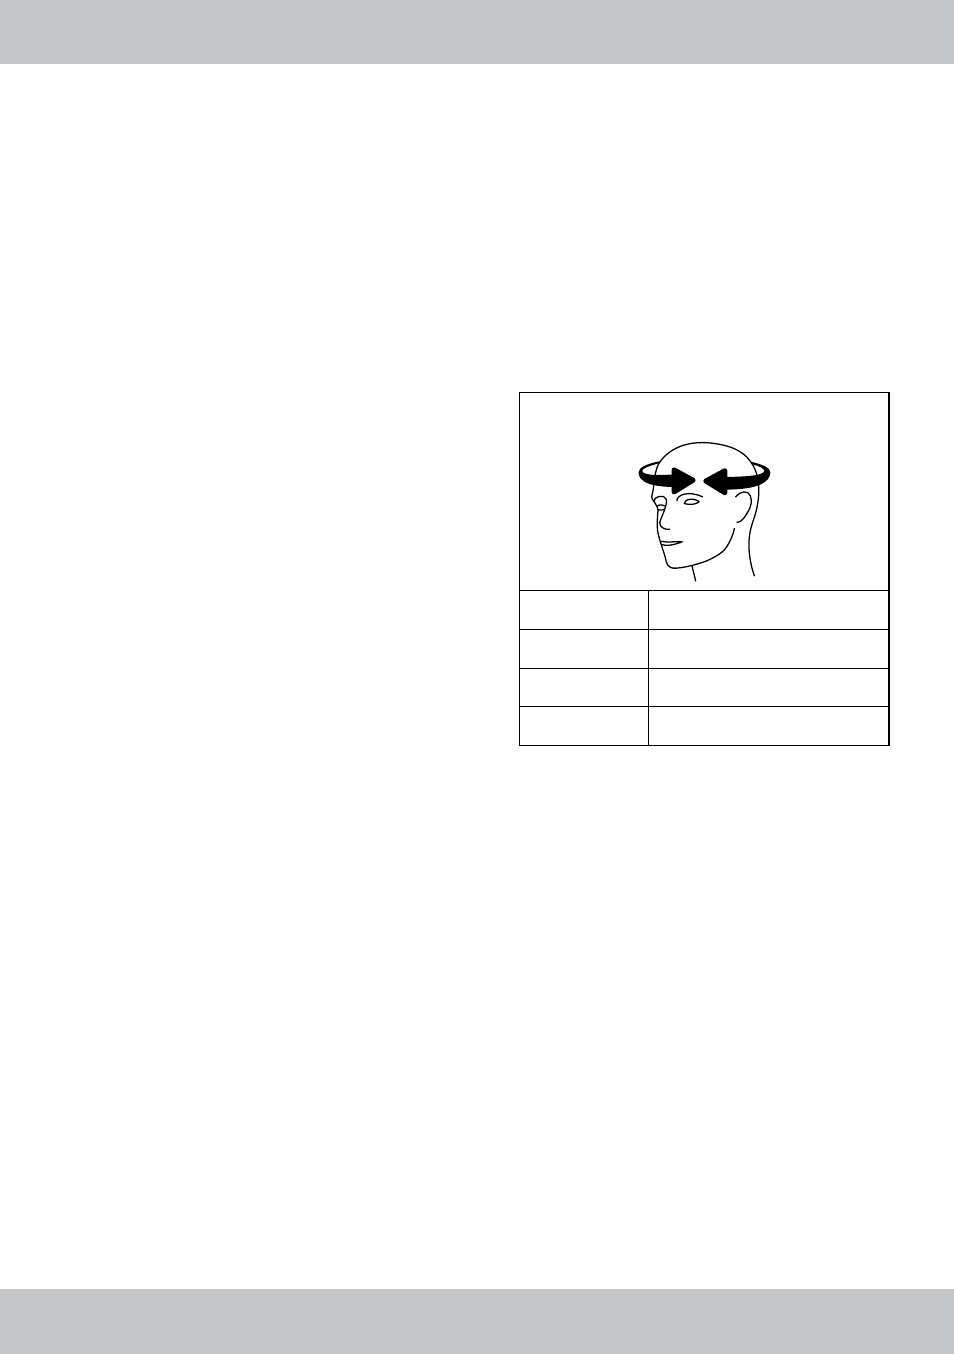
Selecting the correct
helmet size
• Choose your helmet by measuring the circum-
ference of your head with a flexible tape meas-
ure . Always try on a couple of different sizes
before buying a close fitting helmet . When
wearing the helmet, the skin of your temples
should ideally move with it .
• Make sure that the helmet does not move
around when the retention system is open .
• The retention system must be set securely. The
chinstrap must sit comfortably under the chin
Size table
Size
Head circumference
M
57 – 58 cm
L
59 – 60 cm
XL
61 cm