Environmental protection, Weee regulations, Fig.7 fig.8 – Sealey SMS2002C User Manual
Page 4: Maintenance
6.1.
Keep the sharpener clean and free of dust, metal debris and dirt.
6.2.
Check the grinding wheel before each use for damage.
DO NOT use a grinding wheel if it is chipped, cracked or worn.
6.3.
To fit a new grinding wheel, ensure the machine is unplugged, remove the three screws holding the cover, hold the wheel with one hand,
undo the thumbscrew and fit the new wheel. Ensure the cover is replaced before use.
01284 757500
01284 703534
Sole UK Distributor, Sealey Group,
Kempston Way, Suffolk Business Park,
Bury St. Edmunds, Suffolk, IP32 7AR
www.sealey.co.uk
W e b
NOTE:
It is our policy to continually improve products and as such we reserve the right to alter data, specifications and component parts without prior notice.
IMPORTANT: No liability is accepted for incorrect use of this product.
WARRANTY: Guarantee is 12 months from purchase date, proof of which will be required for any claim.
INFORMATION: For a copy of our catalogue and latest promotions call us on 01284 757525 and leave your full name, address and postcode.
Environmental Protection.
Recycle unwanted materials instead of disposing of them as
waste. All tools, accessories and packaging should be sorted,
taken to a recycle centre and disposed of in a manner which
is compatible with the environment.
WEEE Regulations.
Dispose of this product at the end of its working life in compliance
with the EU Directive on Waste Electrical and Electronic Equipment.
When the product is no longer required, it must be disposed of in an
environmentally protective way. Contact your local solid waste
authority for recycling information.
Original Language Version
© Jack Sealey Limited
Parts support is available for this product. To obtain a parts listing and/or diagram, please log on to
www.sealey.co.uk, email [email protected] or phone 01284 757500.
SMS2002C Issue: 1 26/02/14
6. MAINTENANCE
5.6.
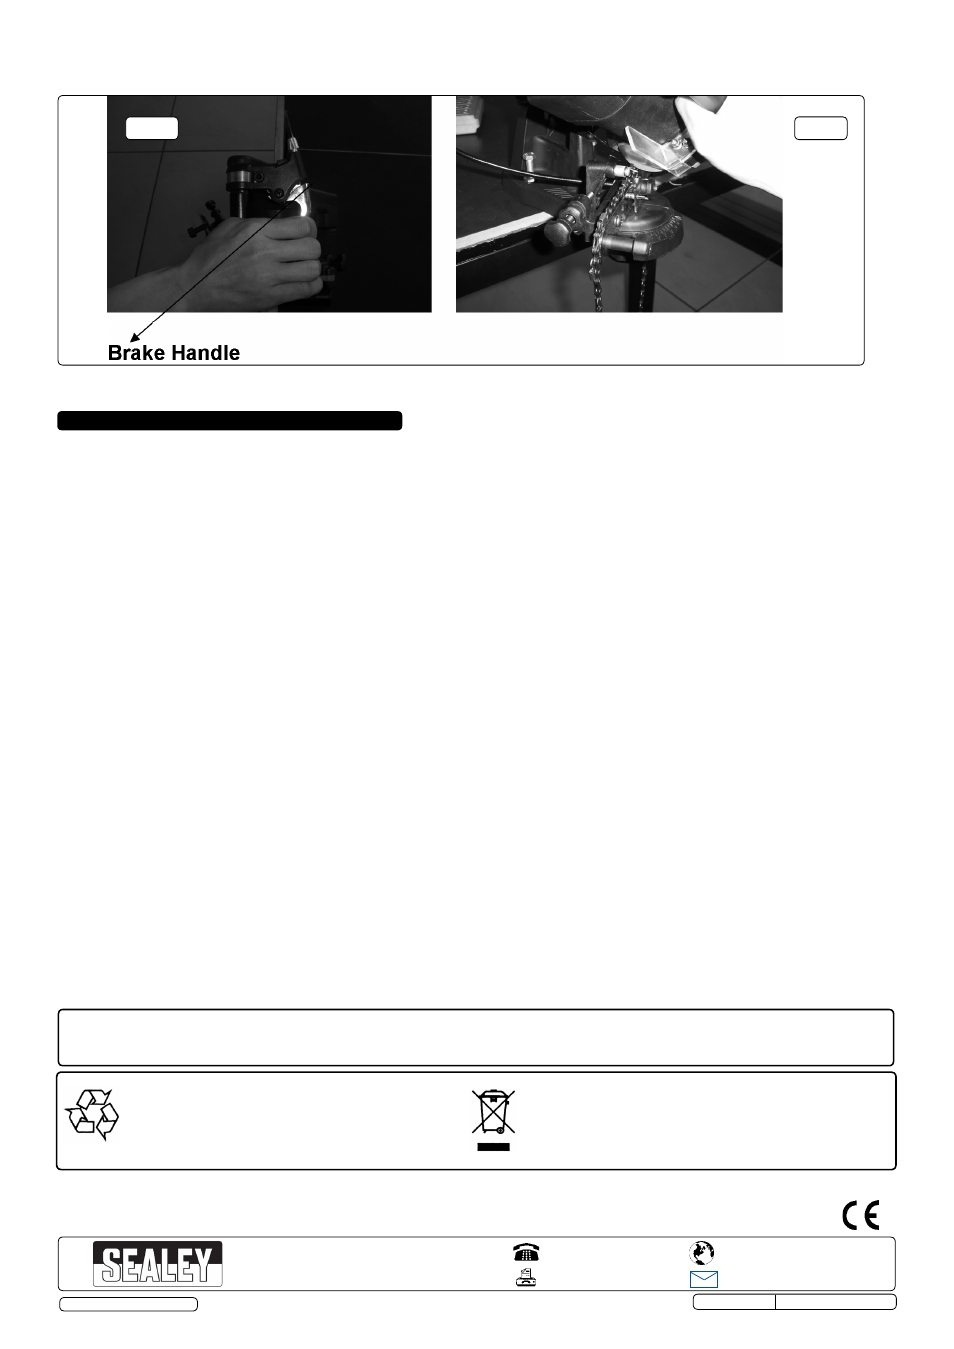
After sharpening one tooth, slowly lift the machine head and let it return to its top position. Release the brake lever handle and turn knob A
clockwise, so that the next link is positioned in the chain stop. Repeat step 5.5 until all the links have been sharpened up for this angle.
Fig.7
Fig.8
5.5.
Lock the saw chain by grasping the round handle and the brake handle. Slowly pull the grinding wheel towards the saw chain, (see figs. 7 &
8).