Sealey VS907 User Manual
Infrared laser thermometer 12:1, Vs907, Instructions for
InstructIons for:
INFRARED LASER THERMOMETER
12:1
Model no:
VS907
thank you for purchasing a sealey product. Manufactured to a high standard this product will, if used according to these instructions
and properly maintained, give you years of trouble free performance.
IMPORTANT: PLEASE READ THESE INSTRUCTIONS CAREFULLY. NOTE THE SAFE OPERATIONAL REQUIREMENTS, WARNINGS AND CAUTIONS.
USE THE PRODUCT CORRECTLY AND WITH CARE FOR THE PURPOSE FOR WHICH IT IS INTENDED. FAILURE TO DO SO MAY CAUSE
DAMAGE AND/OR PERSONAL INJURY AND WILL INVALIDATE THE WARRANTY. PLEASE KEEP INSTRUCTIONS SAFE FOR FUTURE USE.
1. SAFETY INSTRUCTIONS
1.1. General Safety
WARNING! Ensure that Health & Safety, local authority and general workshop practice regulations are
adhered to when using this equipment.
WARNING! DO NOT aim the laser beams at your or another person’s or animal’s eye and beware of
reflections from mirrors or other shiny surfaces.
familiarise yourself with the applications, limitations, and potential hazards of the thermometer.
Keep the thermometer clean and in good condition.
Protect the thermometer from the following:
Electro-magnetic fields from engine components, arc welders and induction heaters closer than 125mm.
static electricity.
thermal shock caused by large and/or rapid ambient temperature change.
High temperatures.
DO NOT get the thermometer wet or use in damp or wet locations or areas where there is condensation.
DO NOT take readings through transparent materials such as glass or clear plastic. the surface
temperature of these materials will be measured.
DO NOT use the thermometer in areas where there is steam, dust or smoke. these conditons will
result in erroneous readings.
DO NOT use the thermometer
for any purpose other than that for which it is designed.
DO NOT allow untrained persons (particularly children) to operate the thermometer.
DO NOT operate the thermometer
when you are tired or under the influence of alcohol, drugs or
intoxicating medication.
1.2. Laser Safety
the Vs907 utilises a class II laser that emits low levels of visible radiation (i.e. wavelengths between 400 and 700 nanometres) which
are safe for the skin but not inherently safe for the eyes. the class II emission limit is set at the maximum level for which eye protection
is normally afforded by natural aversion responses to bright light. Accidental eye exposure is therefore normally safe, although the
natural aversion response can be overridden by deliberately staring into the beam, and can also be influenced by the use of alcohol or
drugs.
WARNING! DO NOT look or stare into the laser beam as permanent eye damage could result.
Be aware that reflections of the laser beam from mirrors or other shiny surfaces can be as hazardous as direct eye exposure.
2. INTRODUCTION/SPECIFICATION
2.1. Introduction
High resolution laser thermometer that detects energy emission in the infrared spectrum and converts reading into a display of temperature.
features laser pointer, Maximum/Minimum/Average/Difference readings, data storage and data hold function, high/low alarm setup, auto
power off. temperature is displayed on a large 29mm LcD panel with back-lit display for use in low light areas. temperature can be shown in
either °c or °f. Powered by 9V cell (supplied). storage case included.
2.2. Specification
Temperature Range
-50°c to +700°c (-58°f to +1292°f)
Accuracy(0°C to +550°C)
(-50°C to 0°C)
+/-1.5°c or +/-1.5°c whchever is greater
+/- 3°c
Response Time
500msec
Focal Range
12:1
Operating Temperature
0°c to +40°c (+32°f to +104°f)
Storage Temperature
-20°c to +60°c (-4°f to +140°f)
3. SET UP
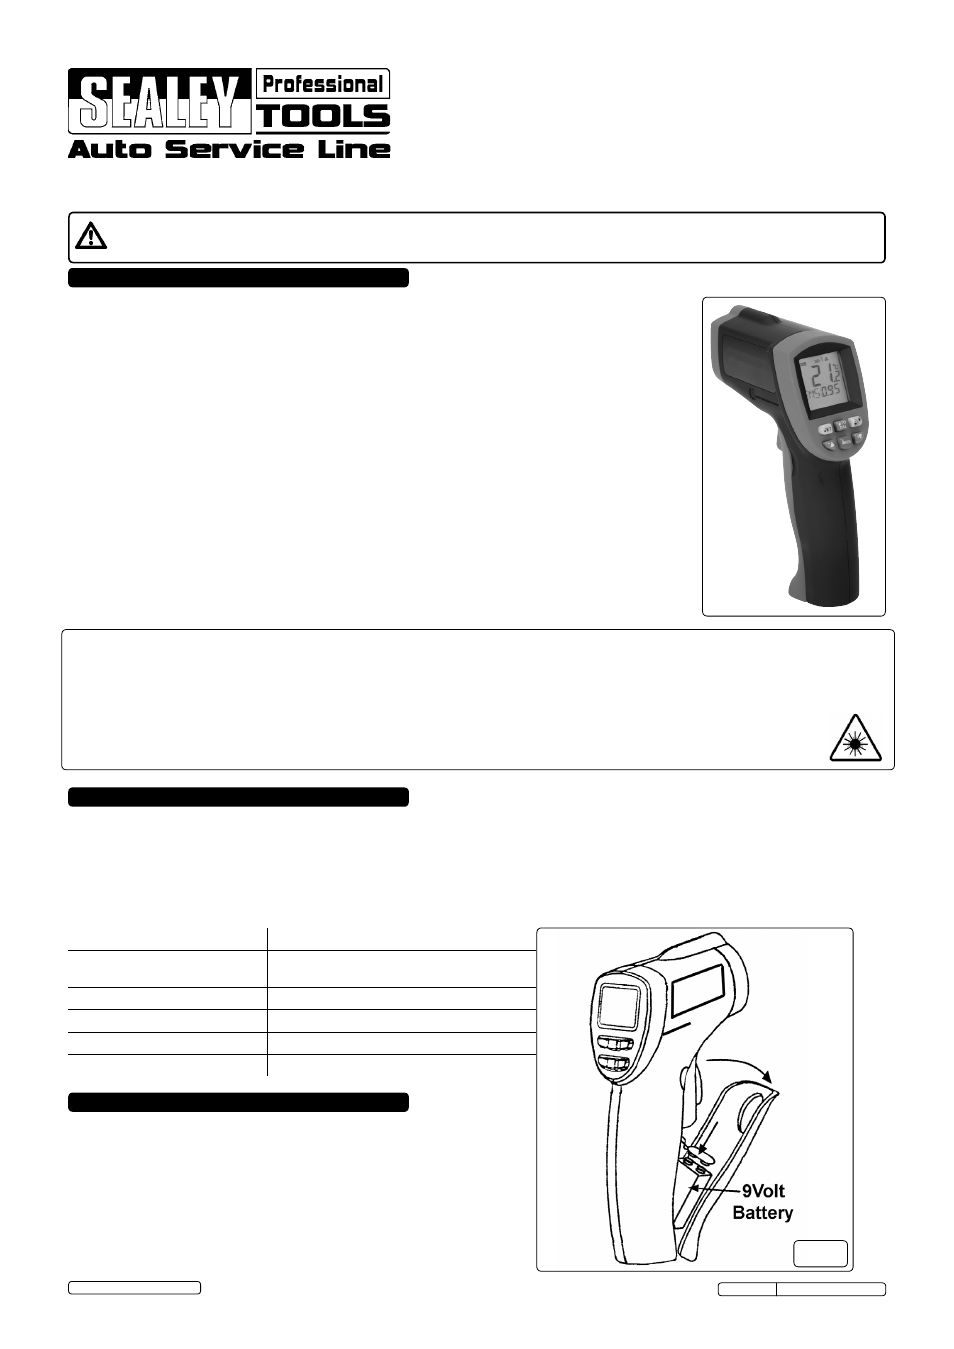
3.1. Installing/Changing Battery (fig.1)
3.1.1. on either side of the trigger, where the handle moulding meets
the main body there are two very shallow recesses. Place thumb
and finger into these recesses and pull the front section of the
handle forward and down to reveal the battery compartment.
3.1.2. Attach the battery connector to the battery terminals and place
the battery into the battery compartment making sure that the
connection leads will not foul the cover when it is closed.
3.1.3. When the ‘battery low’ indicator appears on the display replace
the battery immediately.
Original Language Version
Vs907 Issue: 2 (sP) - 22/07/13
© Jack sealey Limited 2012
fig.1