Introduction & specifications, Preparation – Sealey SAC42755BLN User Manual
Page 2
3.1.
remove compressor from packaging and inspect for any shortages or damage. If anything is found to be missing or damaged contact
your supplier.
3.2.
save the packing material for future transportation of the compressor. We recommend that you store the packing in a safe location, at
least for the period of the guarantee. then, if necessary, it will be easier to send the compressor to the service centre.
3.3.
confirm the mains voltage corresponds with the voltage shown on the compressor data plate. Have a qualified electrician carry out
the installation, in accordance with section 1.1. check that the motor operates in the correct direction (see arrow on belt cage) to
confirm correct wiring of the 3-phase plug.
3.4.
fit the 4 rubber anti-vibration supports (fig.5), raise the compressor using a suitable pallet truck or fork lift and push the supports into
the base of each foot.
3.5.
the compressor should be operated on a flat surface, or one that does not exceed 10° either transversely or longitudinally and should
be in a position that allows good air circulation around the unit with at least a 100cm gap between it and any obstacles or walls (fig.1).
3.6.
Before using the compressor, check the oil level by observing the sight glass (sAc72775BLn - fig.2), or the reference marks on the
oil dipstick (sAc42755BLn - fig.3). If the oil is not up to the maximum mark, it should be topped up with synthetic oil (see section 5.6).
We do not recommend using mineral oil in these compressors.
dO NOt overfill.
NOtE: the top cover will need to be removed (4 bolts) for access to the dipstick (sAc42755BLn) and the filling apertures on both
models. Ensure that the compressor is unplugged before removing panels.
3.7.
When fully installed, start the compressor and ensure that everything is in good working order before operational use. re-check the oil
level.
2. iNtROdUCtiON & SPECiFiCatiONS
Heavy-duty low noise compressors suitable for garage, bodyshop and industrial applications. fitted with cast iron cylinder heads enabling
slower revving and improved pump life. fully enclosed, insulated design gives silent running and protects vital components from damage.
features fully automatic pressure cut out switch and tank pressure gauge. Heavy-duty three phase electric motors with soft start feature.
control box features hour meter for monitoring use and optimising service times. supplied with full cE certification and test certificate.
3. PREPaRatiON
sAc42755BLn, sAc72775BLn Issue: 2 - 22/02/12
Original Language Version
1.2. gENERal SaFEtY iNStRUCtiONS
3
familiarise yourself with the application and limitations of the compressor.
3
Ensure that the compressor is in good order and condition before use. If in any doubt do not use the unit and contact an electrician/
service agent.
iMPORtaNt! the compressor must be installed and commissioned by qualified personnel.
WaRNiNg! Compressor must only be serviced by an authorised agent. dO NOt tamper with, or attempt to adjust, pressure
switch or safety valve.
3
Before moving or maintaining the compressor ensure it is unplugged from the mains supply and that the air tank pressure has been
vented.
3
maintain the compressor in good condition and replace any damaged or worn parts. use genuine parts only. Unauthorised parts may
be dangerous and will invalidate your warranty.
3
read the instructions regarding any accessory used with the compressor. Ensure the safe working pressure of any air appliance used
exceeds the compressor regulator. If using a spray gun, check the area selected for spraying is provided with an air change system or
ventilation.
3
Ensure the air supply valve is turned off before disconnecting the air supply hose.
3
use the compressor in a well ventilated area and ensure it is placed on a firm surface away from any heat sources.
3
Keep tools and other items away from the compressor when it is in use and keep area clean and clear of unnecessary items.
3
Ensure the air hose is not tangled, twisted or pinched.
3
Keep children and unauthorised persons away from the working area.
7
dO NOt dis-assemble compressor for any reason. the unit must be checked by qualified personnel only.
7
dO NOt use the compressor outdoors, or in damp, or wet, locations and dO NOt operate within the vicinity of flammable liquids,
gases or solids.
7
dO NOt touch compressor cylinder, cylinder head or pipe from head to tank as these may be hot and will remain so for some time
after shutdown.
7
dO NOt attempt to move the compressor by pulling the air tool hose.
7
dO NOt use this product to perform a task for which it has not been designed.
7
dO NOt operate the compressor with any of the panels removed.
7
dO NOt deface the certification plate attached to the end of the compressor tank.
7
dO NOt cover compressor or restrict air flow around the machine whilst operating.
dANGER! dO NOT direct the output jet of air towards people or animals.
7
dO NOt operate the compressor without an inlet air filter.
7
dO NOt allow anyone to operate the compressor unless they have received full instructions and adequate training.
WaRNiNg! The air tank is a pressure vessel and the following safety measures apply:
7
dO NOT tamper with the safety valve and dO NOT modify or alter the tank in any way, dO NOT strap anything to the tank.
7
dO NOT subject the tank to impact, vibration or to heat and dO NOT allow contact with abrasives or corrosives.
3
Inspect inside walls for corrosion as per the maintenance section, have a detailed tank inspection carried out annually. Tank
shell must not fall below the certified thickness at any point.
WaRNiNg! if an electrical fuse blows, ensure that it is replaced with one of identical type and rating.
3
When the compressor is not in use, it should be switched off, isolated from the mains supply and the air drained from the tank
.
3
When not in use, store the compressor carefully in a safe, dry, childproof location.
motor
output
(hp)
Voltage/
Phase
Input
current
(Amp)
speed
(rpm)
Air
Displacement
(cfm/Lm)
max free Air
Delivery
(cfm/Lm)
max.
Pressure
(psi/bar)
tank
capacity
(Ltr)
Dimension
(WxDxH)
(mm)
Weight
(kg)
noise
(dB.A)
noise
LwA
(dB.A)
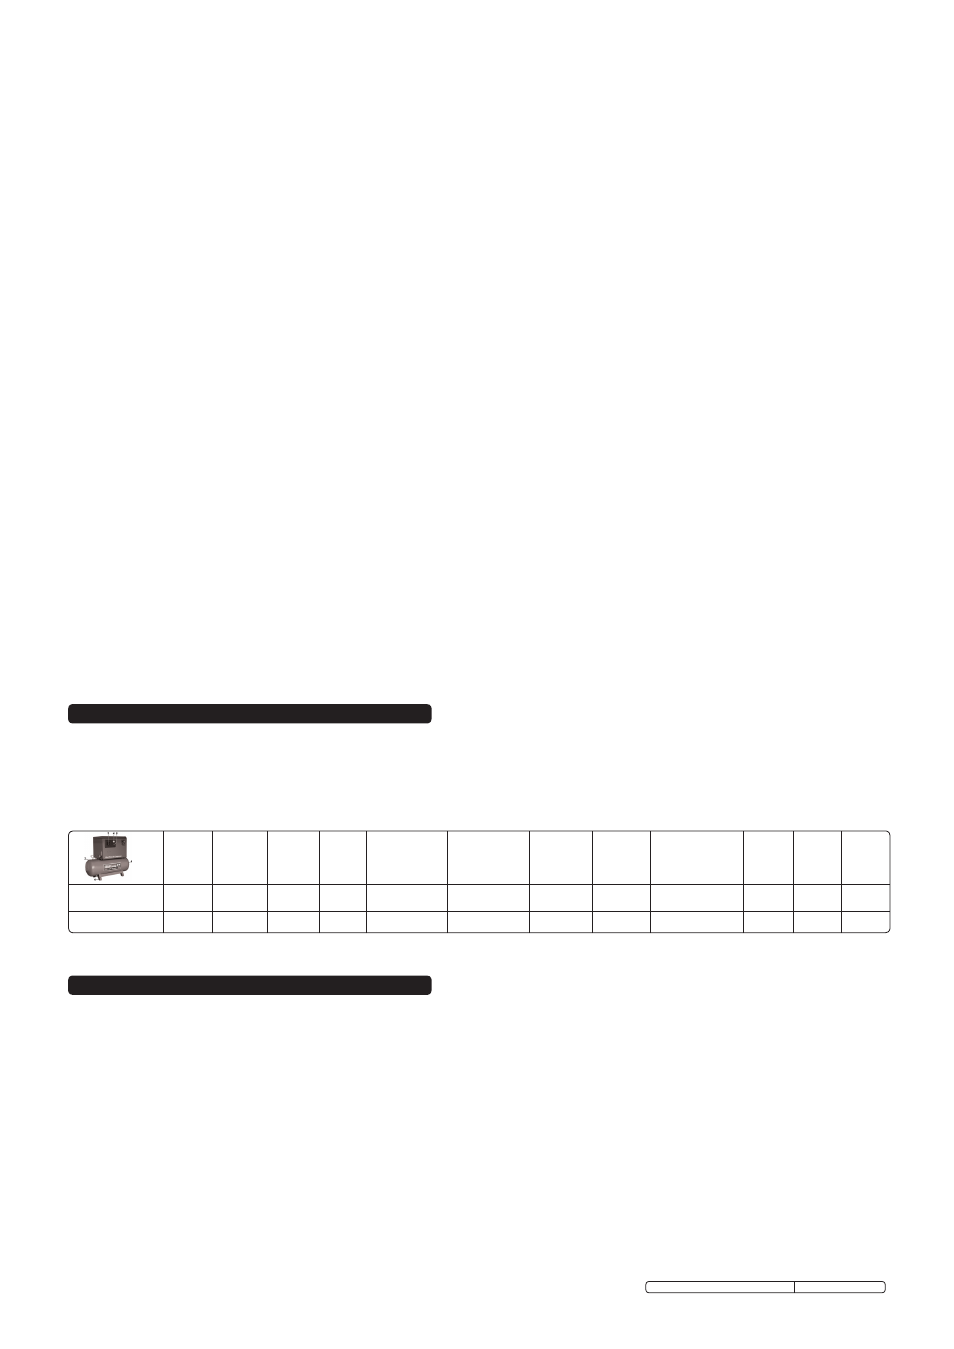
sAc42755BLn
5.5
415V/3
32
1516
21.1/598
15.3/434
145/10
270
1550x600x1260
198
69
95
sAc72775BLn
7.5
415V/3
32
1280
32.6/924
23.6/668
145/10
270
1550x600x1260
213
66
95