Sealey TP69 User Manual
Mobile oil & fluid extractor, Tp69, Fig 1
3. OPERATING INSTRUCTIONS
1. SAFETY INSTRUCTIONS
2. APPLICATION
IMPORTANT: PLEASE READ THESE INSTRUCTIONS CAREFULLY. NOTE THE SAFE OPERATIONAL REQUIREMENTS, WARNINGS AND CAUTIONS. USE THIS
PRODUCT CORRECTLY AND WITH CARE FOR THE PURPOSE FOR WHICH IT IS INTENDED. FAILURE TO DO SO MAY CAUSE DAMAGE OR PERSONAL INJURY,
AND WILL INVALIDATE THE WARRANTY. PLEASE RETAIN THESE INSTRUCTIONS FOR FUTURE USE.
Thank you for purchasing a Sealey product. Manufactured to a high standard this product will give you years of trouble free performance
if these instructions are carefully followed and the product is correctly maintained.
3.1.
OIL EXTRACTION
3.1.1. Ensure the vehicle is on level ground and run the engine for
approximately 5 minutes to warm the oil and allow any
contaminants within the oil to thoroughly mix and turn the
engine off.
3.1.2. Remove the vehicle’s oil dipstick.
3.1.3. Select and insert the appropriate diameter probe (fig 2 A) into
the dipstick hole until it reaches the bottom of the sump.
3.1.4. Connect the main suction tube (B) to both the pump inlet and
probe (A).
3.1.5. Raise the handle to its highest limit and pump it fully several
times to create a vacuum which will automatically begin to
extract the oil/fluid. Observe the oil/fluid as it rises up the
chamber and stop pumping when the fluid is 6”(150mmm)
from the top.The unit will continue to fill and will automatically
shut off when the internal float valve operates.
DO NOT
continue to pump after the unit has shut off as this may result
in liquid entering the inner pump chamber.If this should occur
refer to section 3.1.7 on how to expell fluid from the pump.
3.1.6. Once completed, remove the main suction tube from the
pump, pour the oil/fluid into a suitable container and dispose
of it in accordance with local authority regulations.
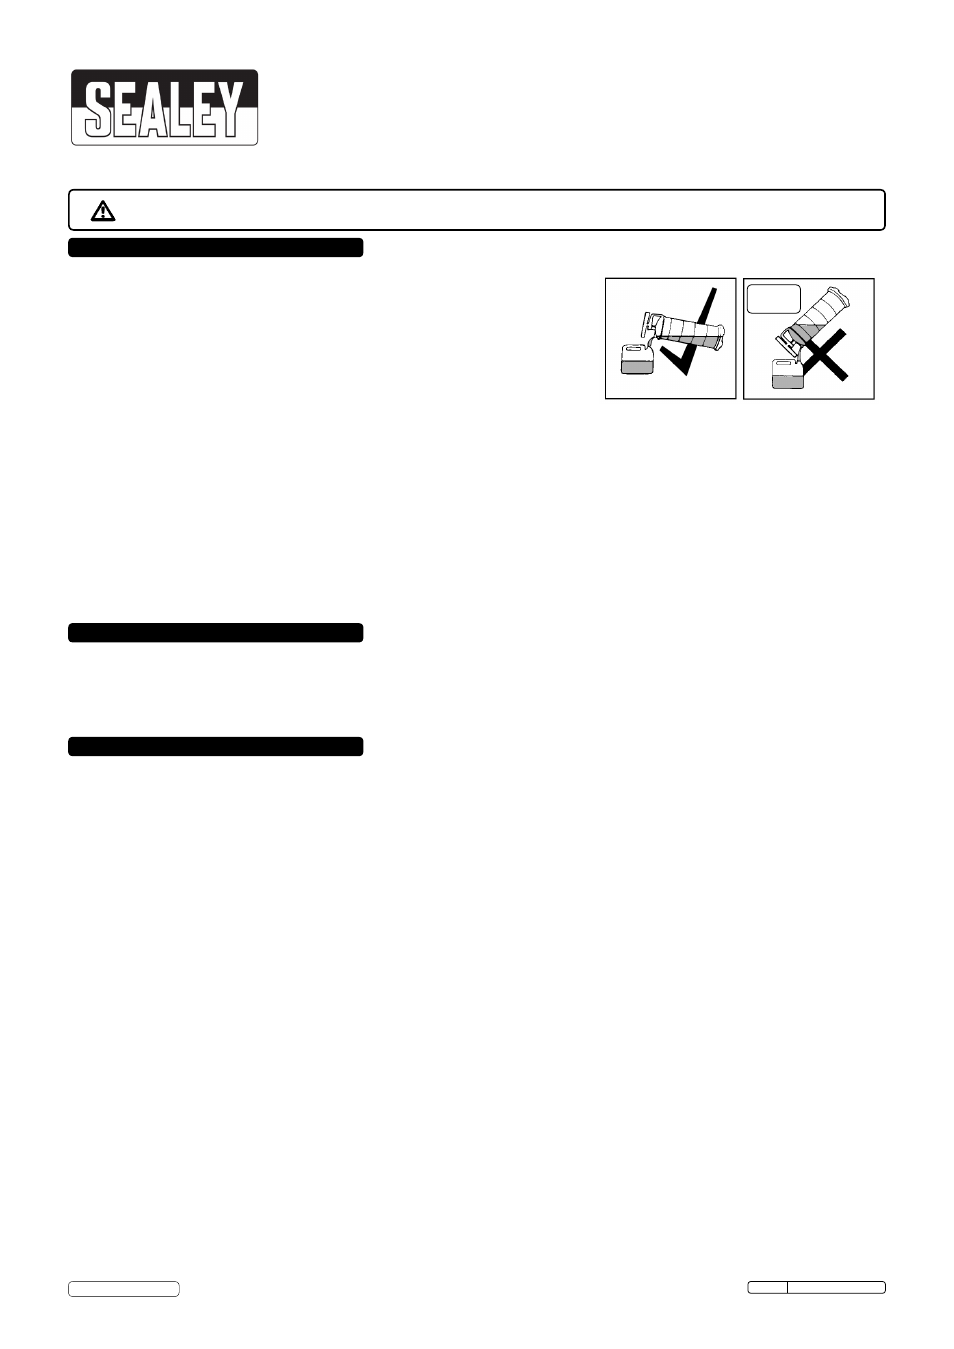
DO NOT
over tip the extractor when emptying it as this may cause
fluid to enter the inner pump chamber (See fig.1). Before
using the pump again press the vacuum release valve for 5
seconds to release the vacuum within the pump. This valve is
situated on the top of the unit underneath the handle.
3.1.7 In the event of fluid entering the inner pump chamber it can
be expelled from the unit as follows. Firstly press the vacuum
release valve for 5 seconds to release the vacuum within the
pump. Seal off the fluid entry/pouring hole by placing your
hand over it, then pump the handle up and down several
times. Any fluid that has entered the pump will be expelled
from the air valve on the underside of the unit.
3.2.
OTHER FLUIDS
3.2.1. Select and insert the appropriate diameter probe into the fluid
to be drained.
3.2.2. Connect the main suction tube (B) to both the pump inlet and
probe (A).
3.2.3. The operation of the extractor is the same as described in
sections 3.1.5 to 3.1.7
3.3.
SPARE PARTS.
Replacement tubes are available as follows:
Item in figure 2.B Main Tube 9.52mmØ part no TP69/01
Item in figure 2.A. Small Tube 5.8mm Ø part no TP69/03
Medium Tube 6.7mm Ø part no TP69/02
Base part no TP69/B
Piston Rod Seal part no TP69/PRS
O-Ring part no TP69-O
Internal Rubber Seal part no TP69/RS
WARNING! Ensure health & safety, local authority, and general workshop practice
regulations are strictly adhered to when using this equipment.
Familiarise yourself with the extractors application and limitations, as well as the specific
potential hazards peculiar to this product.
Maintain the extractor in good condition (use an authorised service agent).
Replace or repair damaged parts. Use genuine parts only. Non authorised parts will
invalidate the warranty.
Use only to extract engine or transmission oils, or similar NON-Corrosive fluids. Unit may
also be used for the transfer of water.
Ensure safety eye protection and protective clothing are worn when using this product.
Keep the work area clean, uncluttered and ensure there is adequate lighting.
Maintain correct balance and footing. Ensure the floor is not slippery and wear non slip shoes.
Keep children and unauthorised persons away from the working area.
Dispose of waste liquids in accordance with local authority regulations.
DO NOT store fluids in the TP69 container. Once used to extract fluid, it must be emptied into an approved receptacle
as soon as possible.
DO NOT over tip the extractor when emptying as this may cause fluid to enter the inner pump chamber. See fig.1
DO NOT use to extract hazardous or harmful chemicals, solvents, petrol, diesel, kerosene, alkaline or acids. If by
chance such fluids are used in the unit, it must be immediately drained and thoroughly cleaned. Use with prohibited
fluids will invalidate your warranty.
DO NOT dismantle, tamper or adapt the extractor for any purpose other than for which it is designed.
DO NOT use the unit if it has been dropped or mishandled, check the unit to ensure there is no damage.
Keep the extractor clean and store in a safe dry location.
DO NOT store in areas of high temperature, direct sunlight, rain or snow.
The TP69 is a 6.5ltr capacity device constructed from composite materials and suitable for the extraction of all types of engine, transmission
and lubricating oils from cars, motorcycles, marine engines, stationary engines and industrial machinery. Suitable also for low viscosity fluids
such as water. Supplied with Ø6.7 and Ø5.8mm suction probes, used to drain engine oil through the dipstick hole, and a 1000mm main
extraction hose which connects to the pump unit and may be used for extracting or connect to a probe. The unit is also suitable for draining
such items as fish-tanks, basins, baths, cisterns, sinks etc.
fig 1
Original Language Version
© Jack Sealey Limited
TP69 Issue: 4(I) - 06/03/14
INSTRUCTIONS FOR:
MOBILE OIL & FLUID EXTRACTOR
MODEL NO:
TP69