Fig.1 fig.2, Introduction & specifications 3. operation – Sealey WPL117A User Manual
Page 2
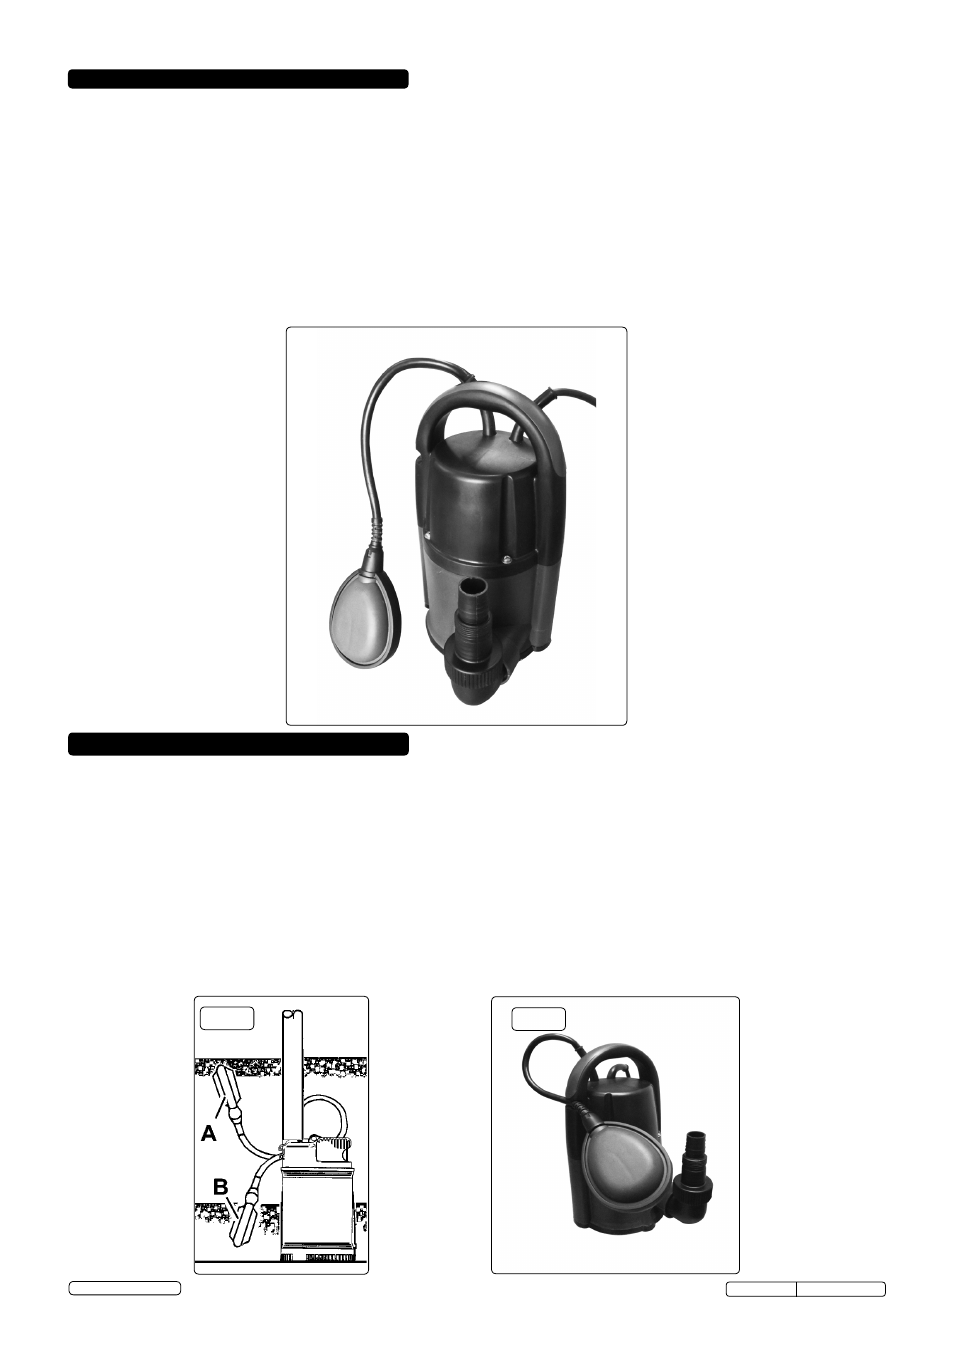
2. INTRODUCTION & SPECIFICATIONS
3. OPERATION
Manufactured from corrosion resistant materials with stainless steel motor case and Noryl base cover. Fitted with automatic cut-out. Puddle
pump with minimum water depth of just 2mm makes this ideal for flood recovery. Designed for clean water although these pumps will accept
small particles up to 5mm. Suitable for the effective drainage of cellars, sinks, cisterns, baths and the general transfer of water.
SPECIFICATION:
Model No: . . . . . . . . . . . . . . . . . . . . . . . . . . . . . . . . . . . . . . . . . . . . . . . . . . . . . . . . . . . . . . . . . . . . . . . WPL117A
Cut-out: . . . . . . . . . . . . . . . . . . . . . . . . . . . . . . . . . . . . . . . . . . . . . . . . . . . . . . . . . . . . . . . . . . . . . . . . . Automatic
Outlet O/D:. . . . . . . . . . . . . . . . . . . . . . . . . . . . . . . . . . . . . . . . . . . . . . . . . . . . . . . . . . . . . . 32mm(1"BSP)/24mm
Maximum Output:. . . . . . . . . . . . . . . . . . . . . . . . . . . . . . . . . . . . . . . . . . . . . . . . . . . . . . . . . . . . . 117ltr(26gal)/min
Maximum Head:. . . . . . . . . . . . . . . . . . . . . . . . . . . . . . . . . . . . . . . . . . . . . . . . . . . . . . . . . . . . . . . . . . . . . . . .7mtr
Maximum Water Depth: . . . . . . . . . . . . . . . . . . . . . . . . . . . . . . . . . . . . . . . . . . . . . . . . . . . . . . . . . . . . . . . . . .5mtr
Minimum Water Depth: . . . . . . . . . . . . . . . . . . . . . . . . . . . . . . . . . . . . . . . . . . . . . . . . . . . . . . . . . . . . . . . . . 2mm
Maximum Particle Size: . . . . . . . . . . . . . . . . . . . . . . . . . . . . . . . . . . . . . . . . . . . . . . . . . . . . . . . . . . . . . . . . . 5mm
Motor Power: . . . . . . . . . . . . . . . . . . . . . . . . . . . . . . . . . . . . . . . . . . . . . . . . . . . . . . . . . . . . . . . . . . . . . . . . .400W
Supply:. . . . . . . . . . . . . . . . . . . . . . . . . . . . . . . . . . . . . . . . . . . . . . . . . . . . . . . . . . . . . . . . . . . . . . . . . . . . . . 230V
WARNING! Ensure you read, understand and apply safety instructions.
3.1. Fit an appropriate discharge pipe to pump outlet and secure with a clip. Ensure the diameter of the discharge pipe is the same as or
greater than the outlet diameter, as a smaller pipe will adversely effect the pump flow rate.
3.2.
Position the pump in the water accordingly, and place the outlet pipe securely in the discharge receptacle or area. It is recommended
that the pump is sunk with its discharge outlet facing up, to release any trapped air.
3.3.
Connect the pump to the electrical mains supply and switch it on.
3.4.
USING AS A CONVENTIONAL SUBMERSIBLE PUMP: The pump will turn on automatically as the level of water rises (fig.1.A). As the
water level lowers, the float will switch the pump off automatically as it reaches the minimum height (fig.1.B). The float may be adjusted
by shortening or lengthening the cable (fig.2). The pump will switch on if the water level is up to or above the maximum length of the
float cable. To function correctly the float must move freely. Ensure the float can do so and that the cable is not restricted. Check that
the pump and discharge are working correctly.
Original Language Version
WPL117A Issue: 1 - 28/11/13
© Jack Sealey Limited
fig.1
fig.2