Scanning using epson scan – Epson WorkForce DS-860 User Manual
Page 28
C
Click
(Scan) icon.
D
Set all of the items, and then click Scan.
If you want to make detailed settings such as image quality, click Detailed Settings to display the “Epson Scan”
scanner driver screen, and then make the necessary settings.
The scanned document is displayed in Document Capture Pro.
E
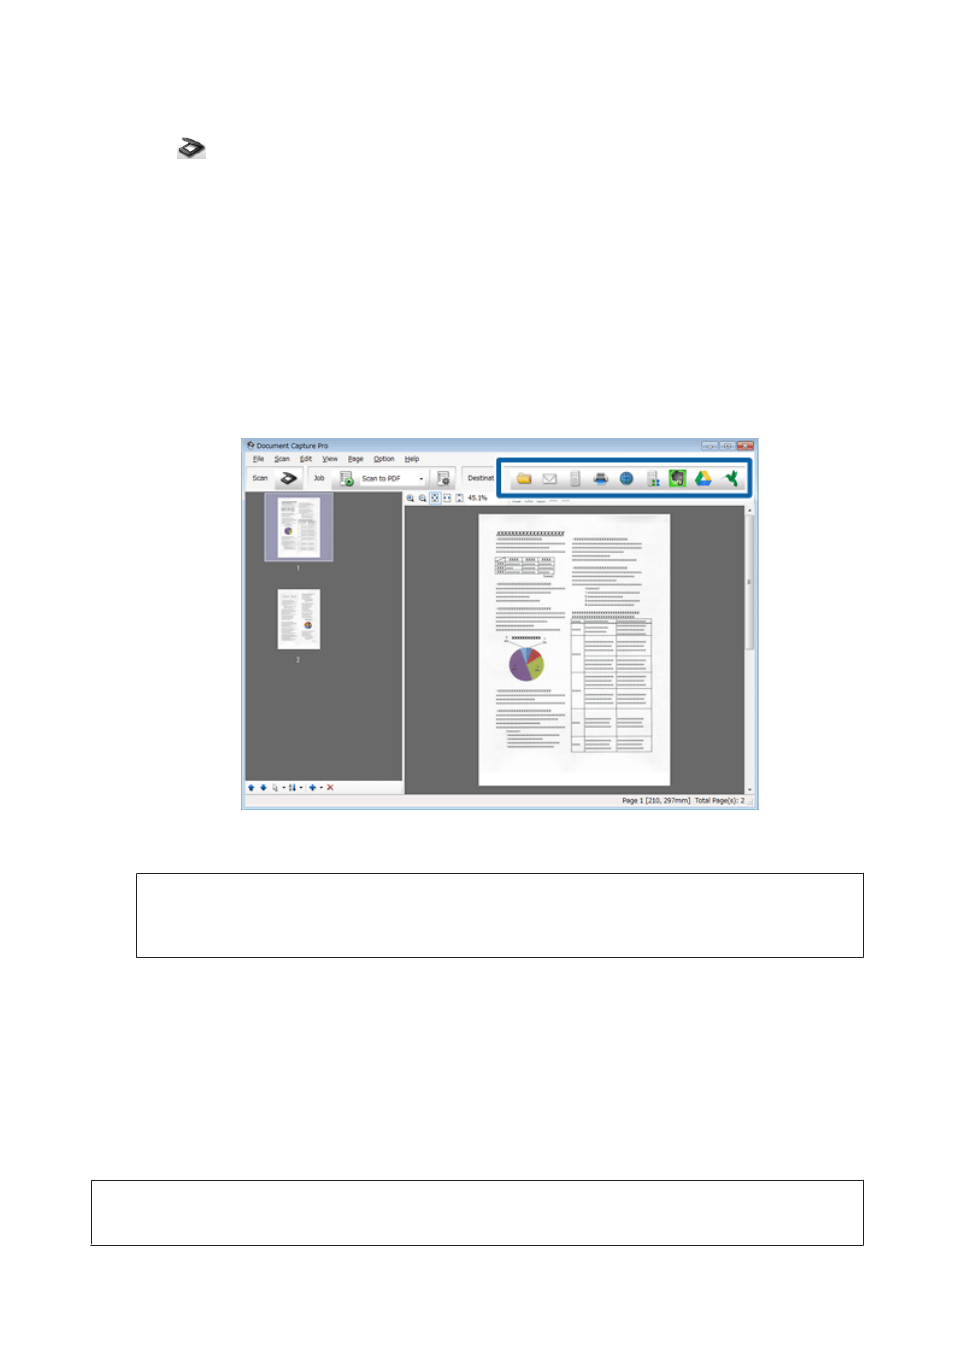
Check the scanned images (pages), and then edit as necessary.
F
When you have finished checking the image, click the destination icon.
G
Make settings for each item, and then click OK or Send.
Note:
On the Batch Save window or the Transfer Settings window, click File Name Settings and then select Apply job
separation
to sort the documents into separate files by detecting blank pages or barcodes in your scanned images.
The scanned image is saved to the folder you specified.
Scanning Using Epson Scan
This section explains basic scanning procedures using EPSON Scan.
See the Help for details on Epson Scan.
Note:
Do not use the Fast User Switching function while using your scanner.
DS-860 User’s Guide
Basic Scanning
28