Off on, Remote control max – MCZ Cap NATURAL User Manual
Page 57
TIMER
6:30 8:00
MO TU WE TH FR
SA SU
ON
OFF
20
P1
°C
TIMER
ECO
OFF
ON
55
10-REMOTE CONTROL MAX
Technical Dept. - All rights reserved - Reproduction is prohibited
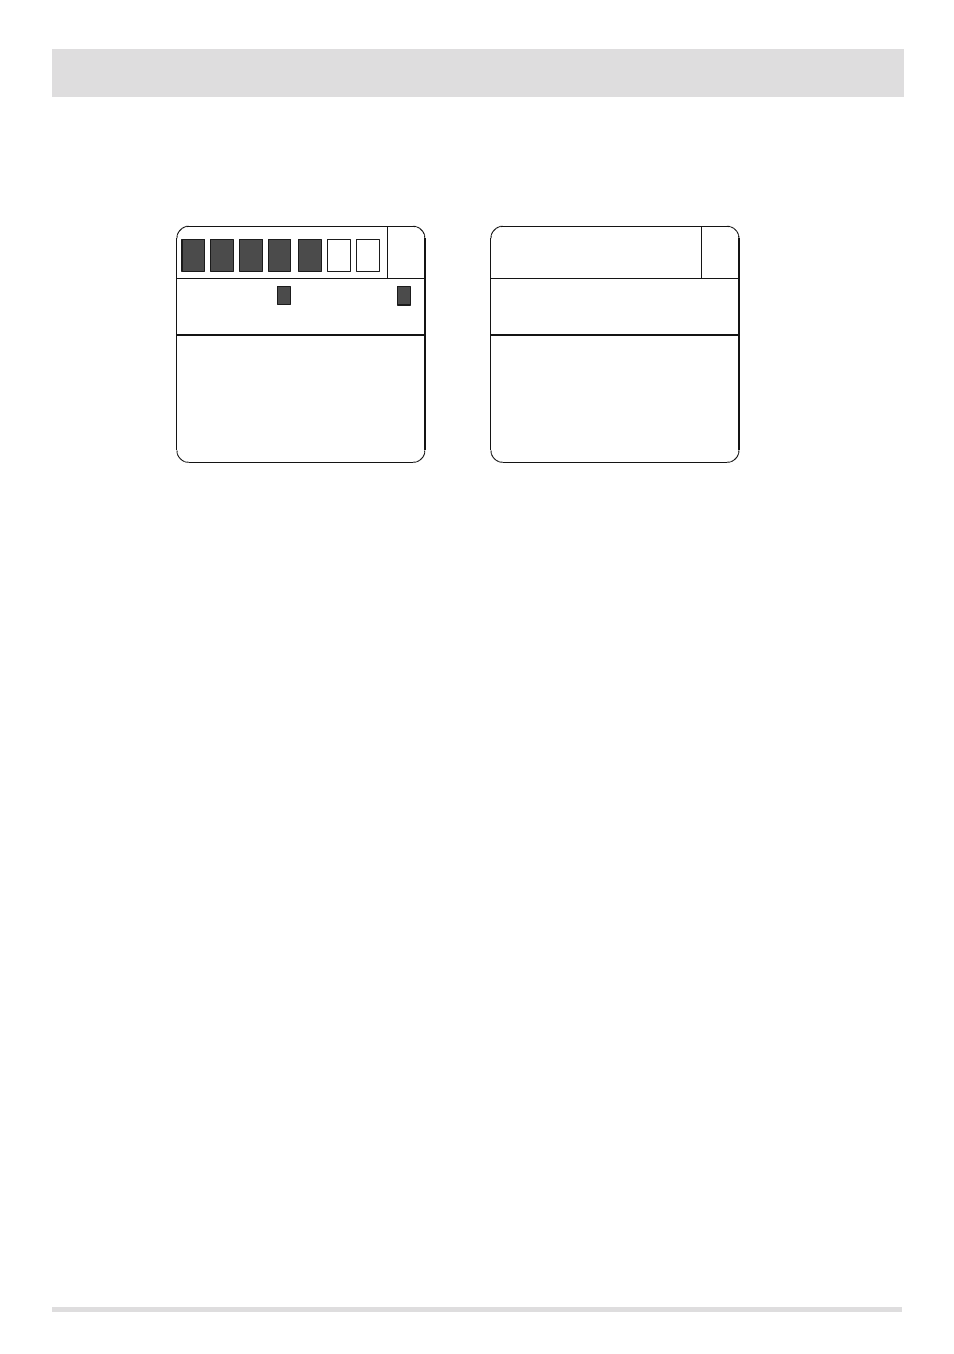
TIMER settings
TIMER time slot display
In TIMER mode, to display the time slots simply press key D for 2”. With key C one can scroll the 6 time slots freely, quickly checking the
saved settings (figure 8). By pressing key D or A one goes back to the basic display.
Modifying the TIMER time slots
To modify a time slot, display it as described in the previous paragraph and then press key E. The first parameter to be set will start to flash,
i.e. room temperature. Press key C to modify the value and key E to confirm and set the next parameter. The parameters of a time slot can
be set in the following sequence:
•
Room temperature. Can be set between 5° and 35°C. 2 dashes "--" appear if set below 5°C or above 35°C, and if this is confirmed, the
programme is disabled(therefore, the product will not be switched on).
•
Switch-on time. The value is adjusted in 10 minute intervals (from 00:00 to 23:50)
•
Switch-off time. The value is adjusted in 10 minute intervals (from 00:10:00 to 24:00).
•
Days of the week in which the programme is active. Monday (MO) will start to flash, followed by the other days of the week. Use key
C to activate/disable the day. The activated days will be displayed on a dark background. When the Sunday (SU) setting is complete,
press key E to exit the editing page and return to the time slots display.
By pressing key D at any time one exits the time slot editing mode, saving all variations confirmed with key E up to that time, and one
goes back to the time slot display condition.
While by pressing key A (or leaving the keypad idle for 30”) one goes directly to the basic display, saving all variations confirmed with
key E up to that time.
Activating the TIMER-ECO time slots
In ECO mode one can activate up to 6 time slots, customising switch-on and switch-off (E1 – E6): by pressing key D for 2” the TIMER
activation/disabling function will appear (figura 9). If the ON option is confirmed one can display/modify the 6 time slots of the TIMER-
ECO with the same procedure described previously for the TIMER. By confirming the OFF option, the TIMER is disabled and the product
goes back to operate in ECO mode without active time slots.
REMOTE CONTROL SYNCHRONIZATION
When the product is started up for the first time, it may be necessary to synchronize the new remote control with the stove. To do this,
follow these simple instructions:
•
connect the socket to the stove and turn on the power switch
•
make sure the selector D on the emergency panel is in the REMOTE position
•
when the first message appears on the emergency panel's display, use a pointed object to press the chased G button (toothpick, etc.)
•
the panel's display will show 3 flashing lines “---“. Press the remote control's on/off button to launch the learning process.
The three flashing lines will disappear from the display and the stove will learn the remote control's new communication address. The
learning process is also confirmed by 4 audio signals.
FIG.9
FIG.8