Powering-up the ip camera, Connecting the ip camera to the network – RISCO Group VUpoint Indoor IP Camera RVCM11H User Manual
Page 7
7
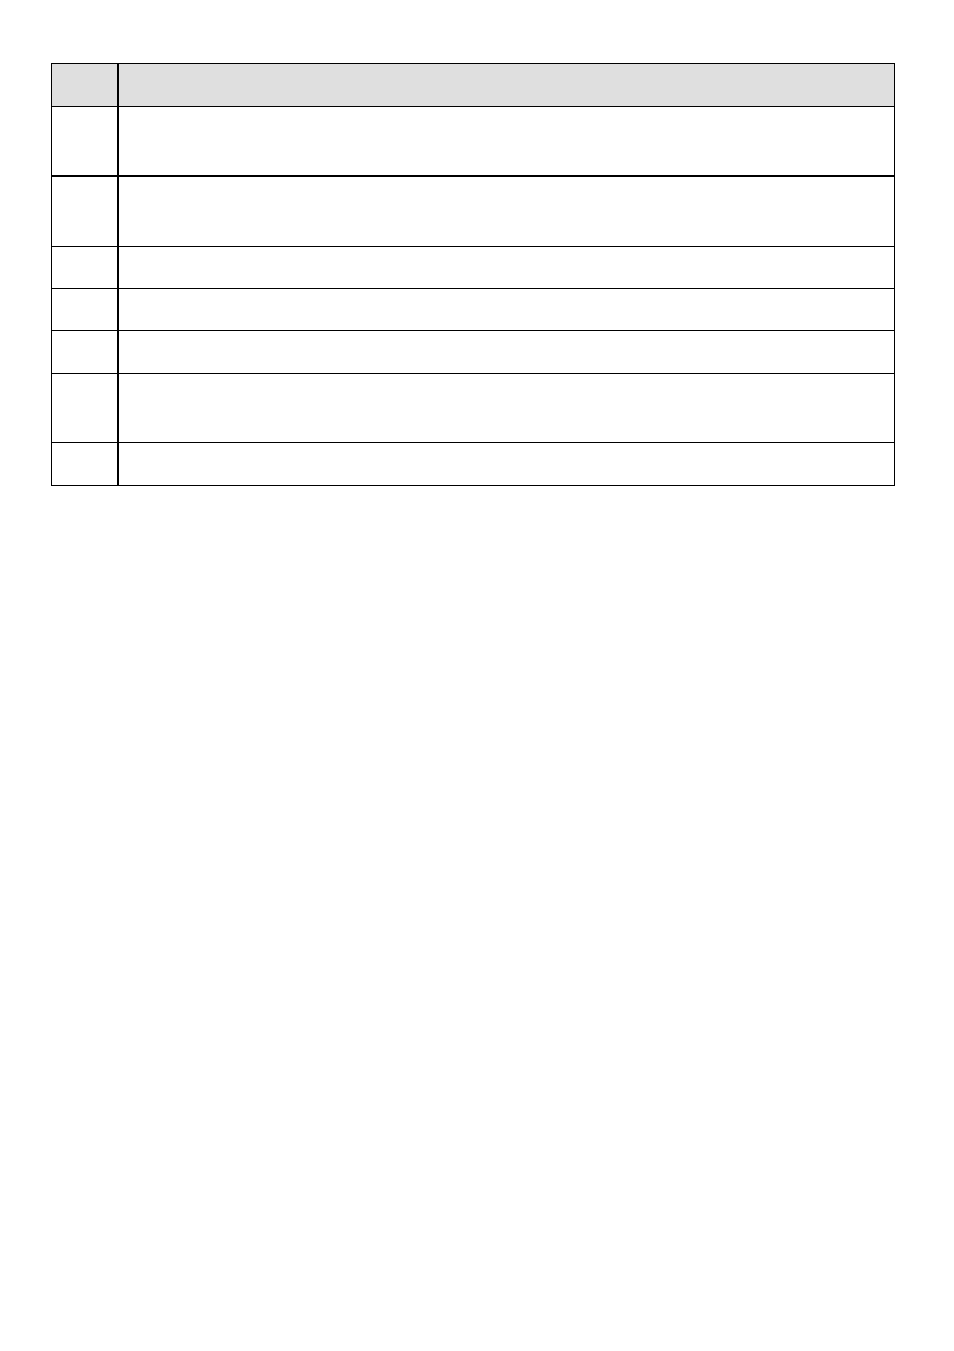
Step Description
1
Place the installation positioning template on the installation surface such as
ceiling or wall.
2
Make holes in the installation surface according to the installation positioning
template.
3
Insert the expansion bolts from the accessories bag into the holes you just made.
4
Position the IP camera base over the holes
5
Use the screws from the accessories bag to secure the IP camera firmly.
6
Loosen the adjust knob and adjust the IP camera to the correct surveillance
position according to your actual requirements.
7
Secure the adjust knob to fix the IP camera.
Powering-up the IP Camera
1. Connect the provided electrical power adapter to the Power port on the IP
camera.
2. Connect the power adapter to an electrical outlet. When the IP camera boots
up, the GREEN power indicator light turns on.
Connecting the IP Camera to the Network
The IP camera supports several network connection options including LAN and
Wireless.
Connecting to a LAN Network
Connecting the IP camera to a network using the LAN (Local Area Network)
enables easy connection and setup with compatible APs (Access Points), e.g.
gateway or router.
1. Connect the incoming network cable to the Network port on the IP camera.
2. Wait just a few minutes while the IP camera automatically connects to the
RISCO Cloud. The RED network indicator light indicates that your IP camera
is now ready for defining camera settings (Refer to Defining IP Camera
Settings).