Quickguide blower door – Retrotec Blower Door with DM-2 User Manual
Page 2
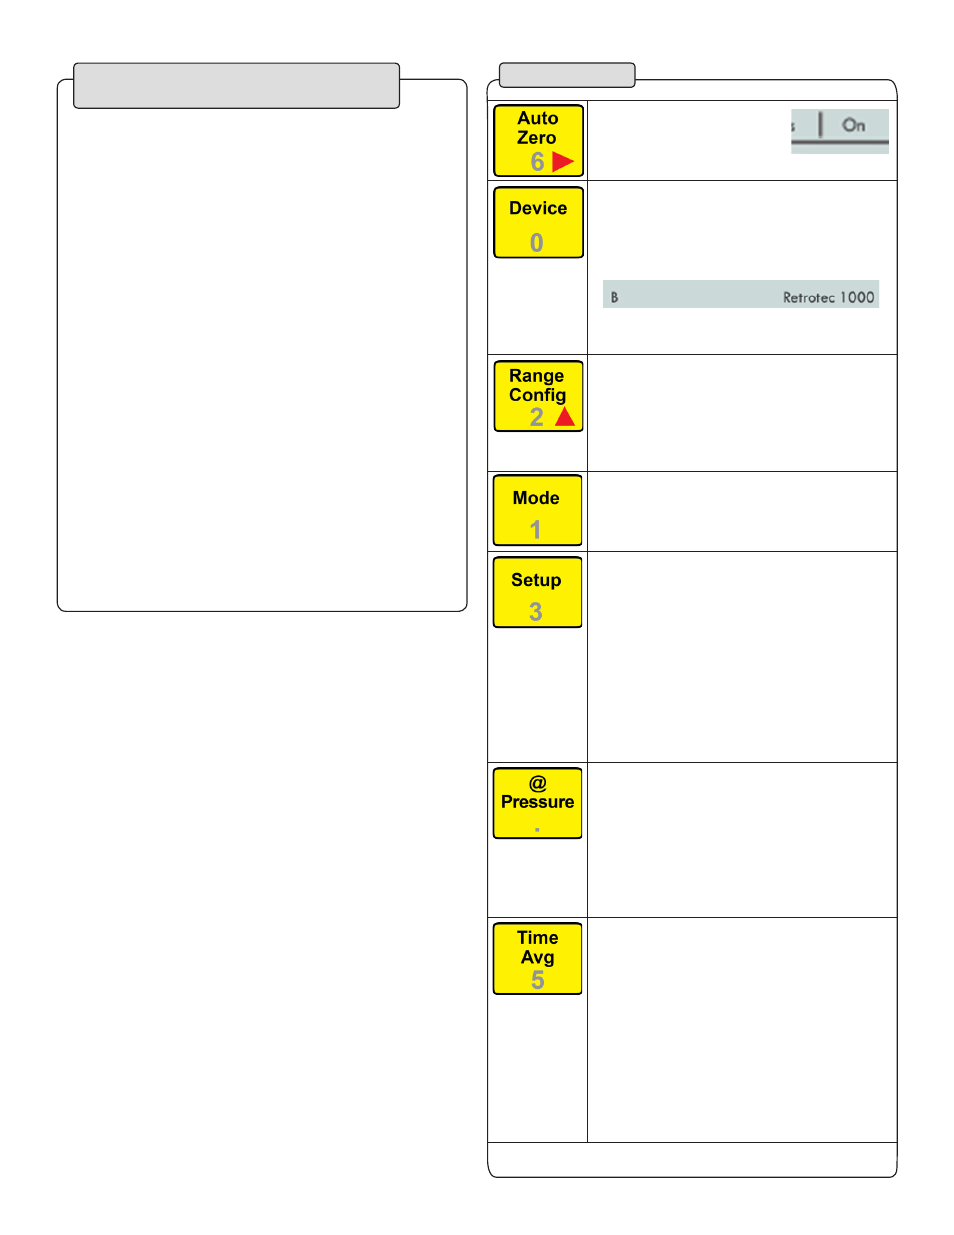
Turn [Auto Zero] “On” to
zero gauge (every 8 seconds).
This is normally left on
unless batteries are low.
Press [Device] until “Retrotec 1000” is
displayed for 1000 systems, “Retrotec
2000” for Q46 & Q56 systems, “Retrotec
3000SR” for QMG, Q4E & Q5E systems, or,
“Retrotec DU200” for DU200 Systems.
Other devices can be removed using the
Setup Menu.
Use Range Ring B for most houses, try “C8”
for tighter new houses, or “A” for looser
older houses, if required.
Press [Mode] to cycle through results.
Check the Door Fan Operation Manual to
see the results required for
your region.
Follow the QuickGuide DM-2 mark II to
eliminate unused Devices, Range
Configurations and Modes.
Press [@ Pressure] to display results
exactly at (@) a test pressure. Use
[Set Pressure], or the menu in [Setup], to
change the @ Pressure value displayed.
Set [Time Avg] to “10s”. Increase if the test
pressure fluctuates over 1 Pa.
Wait for twice the Time Average length
before taking a reading. e.g. Set
[Time Avg] to “10s”, then wait
for 20 seconds
before taking
a reading.
Tip: Use longer time averaging in
windy conditions.
620 CFM is the flow rate that would occur at
25 Pa, even though only 22 Pa was achieved.
Flow reads “TOO LOW” or “----” at test pressure?
If the test pressure has been reached, but
“TOO LOW” or “----” appears, the fan is running too
slowly to measure flow.
□
Add the next Low-Range Ring.
□
Change [Range Config] on the DM-2 to match.
□
Re-adjust speed.
Cannot achieve test pressure at full speed?
If fan reaches 100% speed before reaching the target
pressure:
□
Remove a Range Ring and try again.
□
Change [Range Config] on the DM-2 to match.
□
Check seals on all registers. Look for disconnected
ducts or ducts open to outdoors.
□
Press [@ Pressure] to get the gauge to calculate
what the flow would be at exactly 25 Pa.
Step 4:
Desired results not achieved?
QuickGuide Blower Door
See: QuickGuide DM-2 mark II Digital Gauge
□
Press [On] twice. Gauge will start at previous setup.
□
Press [Baseline]. Wait 20 seconds on a calm day and
60 seconds on a windy day, the press [Enter].
□
Uncover fan. Install Range Ring B.
□
Press [Range Config] to show “B” on display.
Gauge set up
Step 3:
Conduct depressurization
test, (CFM@50)
□
Disconnect Speed Control Cable, then adjust Speed
Control knob until pressure
is about 50 Pa.
□
Record results.
Page 2 of 4