Thermo Pride Gas/Propane Furnace Concentric Vent (CMA) User Manual
Page 9
ALL INSTALLATIONS AND SERVICE MUST BE PERFORMED BY QUALIFIED SERVICE PERSONNEL.
INSTALLING CONCENTRIC VENT KIT OUT SIDE WALL.
1. Determine best location for horizontal (sidewall) termination kit. Be sure to consider
possible damage from vapor to plants shrubs, other equipment and building materials.
Also possible damage to the terminal from foreign objects and the possible wind effect
of re-circulated flue gas.
2. Cut one 3-1/2” to 4” diameter hole for the concentric vent kit through the structure.
3. Determine horizontal length dimension (DIM-G) of WYE fitting to rain cap, see FIG-11.
This dimension may decreased to a minimum of 12” or increased to a maximum of 60”.
4. To extend the concentric vent assembly, the two pipes supplied in the kit will need to be
replaced with single piece (no coupling connections allowed) same diameter solid core,
field supplied SDR-26 PVC (ASTM D2241) pipe. See FIG-1 for calculating new pipe cut
lengths.
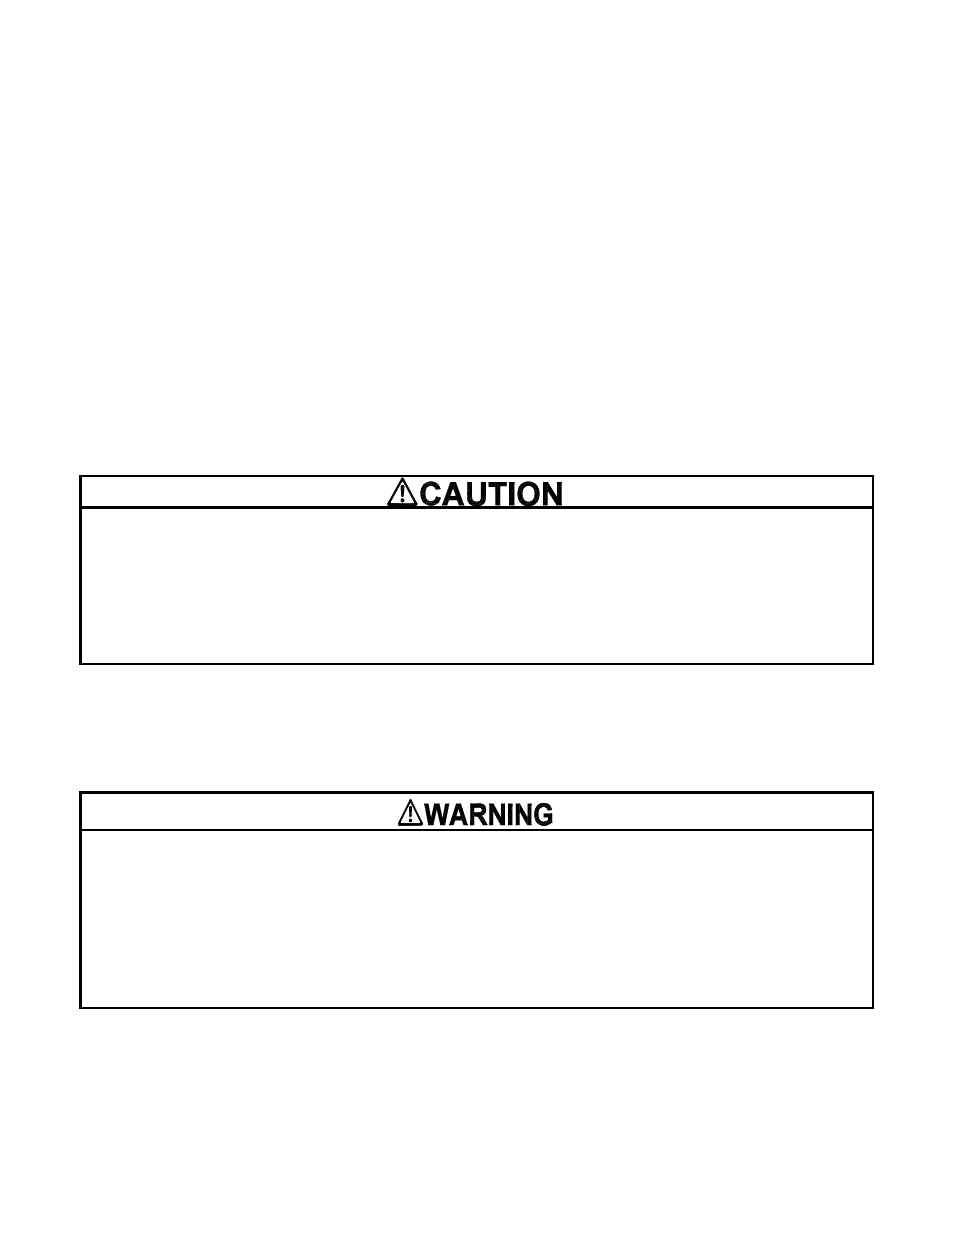
UNIT OPERATION HAZARD.
Failure to follow this caution may result in intermittent unit operation.
Do not use field supplied couplings to extend the pipes. Airflow restriction will occur and the
furnace pressure switch may cause intermittent operation.
5. Affix the WYE fitting to the large 3” diameter pipe with PVC cement, see FIG-9.
6. Affix rain cap to 2” pipe with either PVC cement or a field supplied stainless steel screw,
see FIG-10.
CARBON MONOXIDE POISONING, FIRE AND EXPLOSION HAZARD.
Failure to follow this warning could result in death, personal injury and/or property damage.
When using the alternate screw assembly method, drill a clearance hole in the rain cap and a
pilot hole in the vent pipe for screw size being used. Failure to drill adequate holes cause
cracking o the PVC components, allowing flue gasses to be recirculated.
7. Install the 3” pipe assembly (FIG-9) through the structure’s hole leaving the required
length of pipe outside of wall to ensure installation clearances are maintained. Secure
with field supplied strap to prevent movement in sidewall, use appropriate caulk or
sealant to ensure no leakage around 3” pipe after installation, see FIG-11.
- 9 -