DE DIETRICH DVH1200JU User Manual
Instruction manual
1
This appliance, which is intended exclusively for domestic use, has been designed for washing
dishes.
Very important: Read all of this manual before installing and using the dishwasher. You will find the
documentation and accessories inside.
This manual is designed so that the text matches the corresponding drawing.
Instruction Manual
Identify your dishwasher model (“a”, “b”, “c”,
“d” or “e”) by comparing the control panel with
the illustrations.
1.1 Connection to the water supply (1.1.1)
The hose should run between the wall
and the bottom of the dishwasher (1.1.2),
making sure that the pipes are not twisted
or pulled too tight (1.1.3).
The water supply pressure should be
between 0.05 and 1 Mpa (0.5 to 10
kg/cm2)
If your dishwasher has a hot water intake,
you can connect the pipe to the hot water
tap. In this case, the maximum
temperature should not exceed 60ºC.
1.2 Drain. Fit the elbow supplied and
observe the levels in the drawing (1.2.1).
1.3 Connection to the mains electricity
supply. Take the information on the
nameplate (1.3) into account and never
attempt to remove it.
As this is a built-in appliance, the
electrical plug must be accessible after
installation.
1.4 For fitting the dishwasher under a
worktop, first take into account the
dimensions shown in the diagram (1.4.1).
loosen and remove the leg supports
(1.4.2). Then place the dishwasher in
front of the worktop and use a
screwdriver to raise the rear leg from the
front (1.4.3), leaving a space of approx. 3
mm from the worktop.
Insert the dishwasher and ensure that the
pipes and cable do not get trapped
behind the skirting. Adjust it to the
worktop by turning the front legs (1.4.4)
and rear leg (1.4.3) until the top of the
appliance is just touching the worktop.
0
Identification
1
Installation
If the appliance is to form part of a row of
kitchen fittings, fit the kitchen skirting and
if opening the door interferes with it, trim the
end until the door can open properly.
If you need to fit a piece of wood to the
front, follow the instructions that come with
the appliance documentation.
For column mounting, take the height of
the drain into account (1.2.2)
2.1 Open the door and switch on the
dishwasher by pressing the button
(2.1).
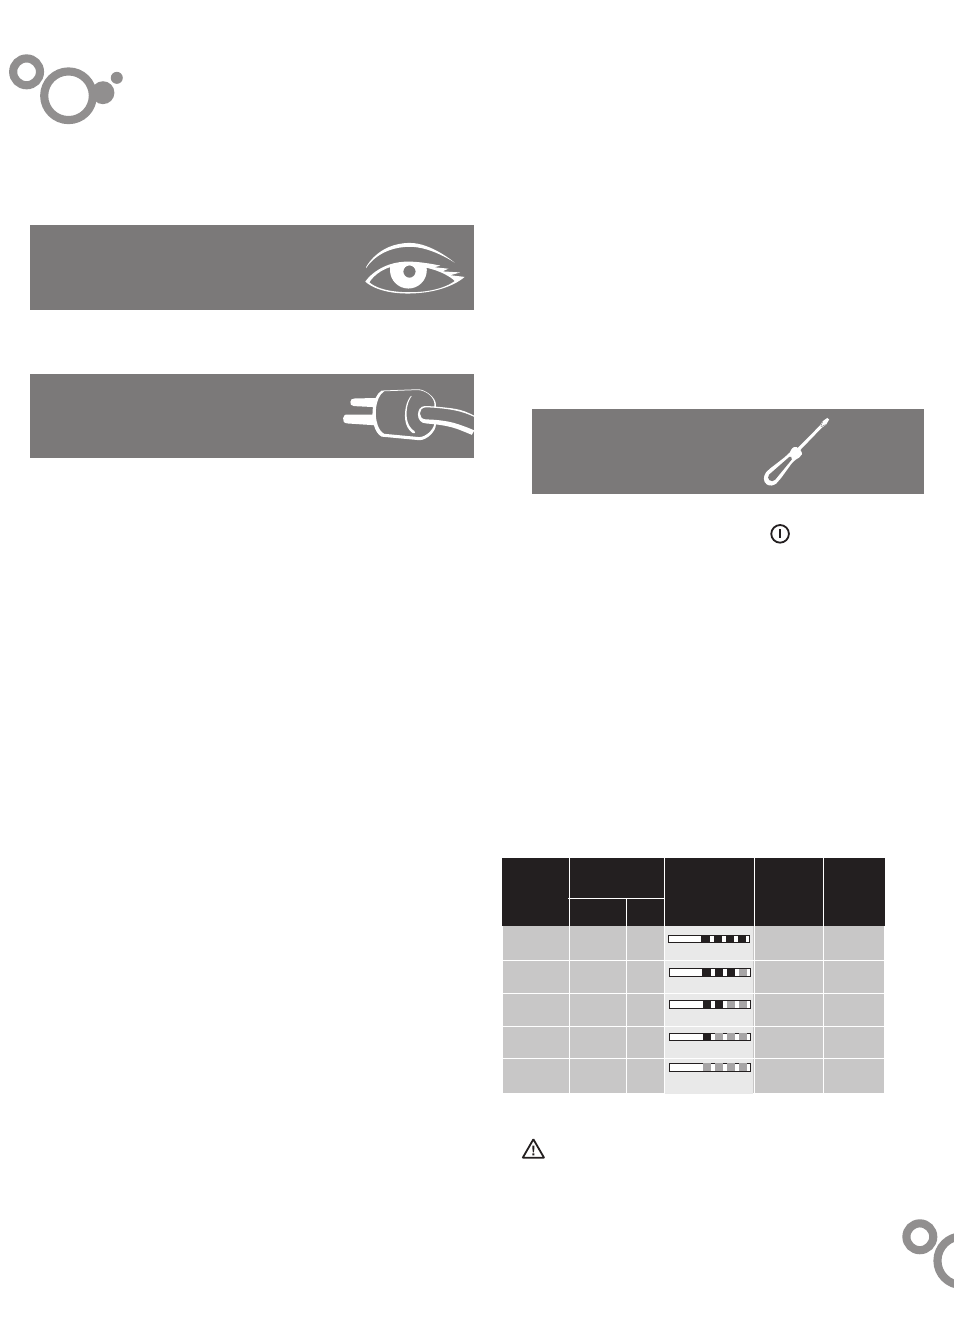
2.2 Hard water. Water contains lime and its
hardness increases in direct proportion
to the quantity found.
Before using the dishwasher, you
should find out the hardness level of
the water by consulting the water
company, consulting the Technical
Support Service or using the Aquadur
strip included in the accessories bag.
Dip the stick in a glass of water for one
second. Shake it and wait for one
minute. The strip will tell you the water
hardness level according to the following
table:
This simple adjustment of the
dishwasher is vital for correct operation.
Please ensure that you do it.
Otherwise your appliance could be
seriously affected.
2
Initial settings
Scale
level (HF)
Scale
level (DH)
Test
result
Dial
position
Man
Elec
Hardness
0-13 HF
0-13 DH
Green
No salt
needed
L0
Soft
1 red strip
2 red strips
3 red strips
4 red strips
Standard
Medium
Hard
Very hard
Pos. 1
Pos. 2
Pos. 3
Pos. 4
L1
L2
L3
L4
8-21 DH
22-28 DH
29-35 DH
>35 DH
14-38 HF
39-50 HF
51-63 HF
>63 HF
HF: Water hardness (French system) DH: Water hardness (German system)