Т³гж 4, Led display battery backup installation, Setting clock time listening to radio – Mpman FRA200 User Manual
Page 4
5
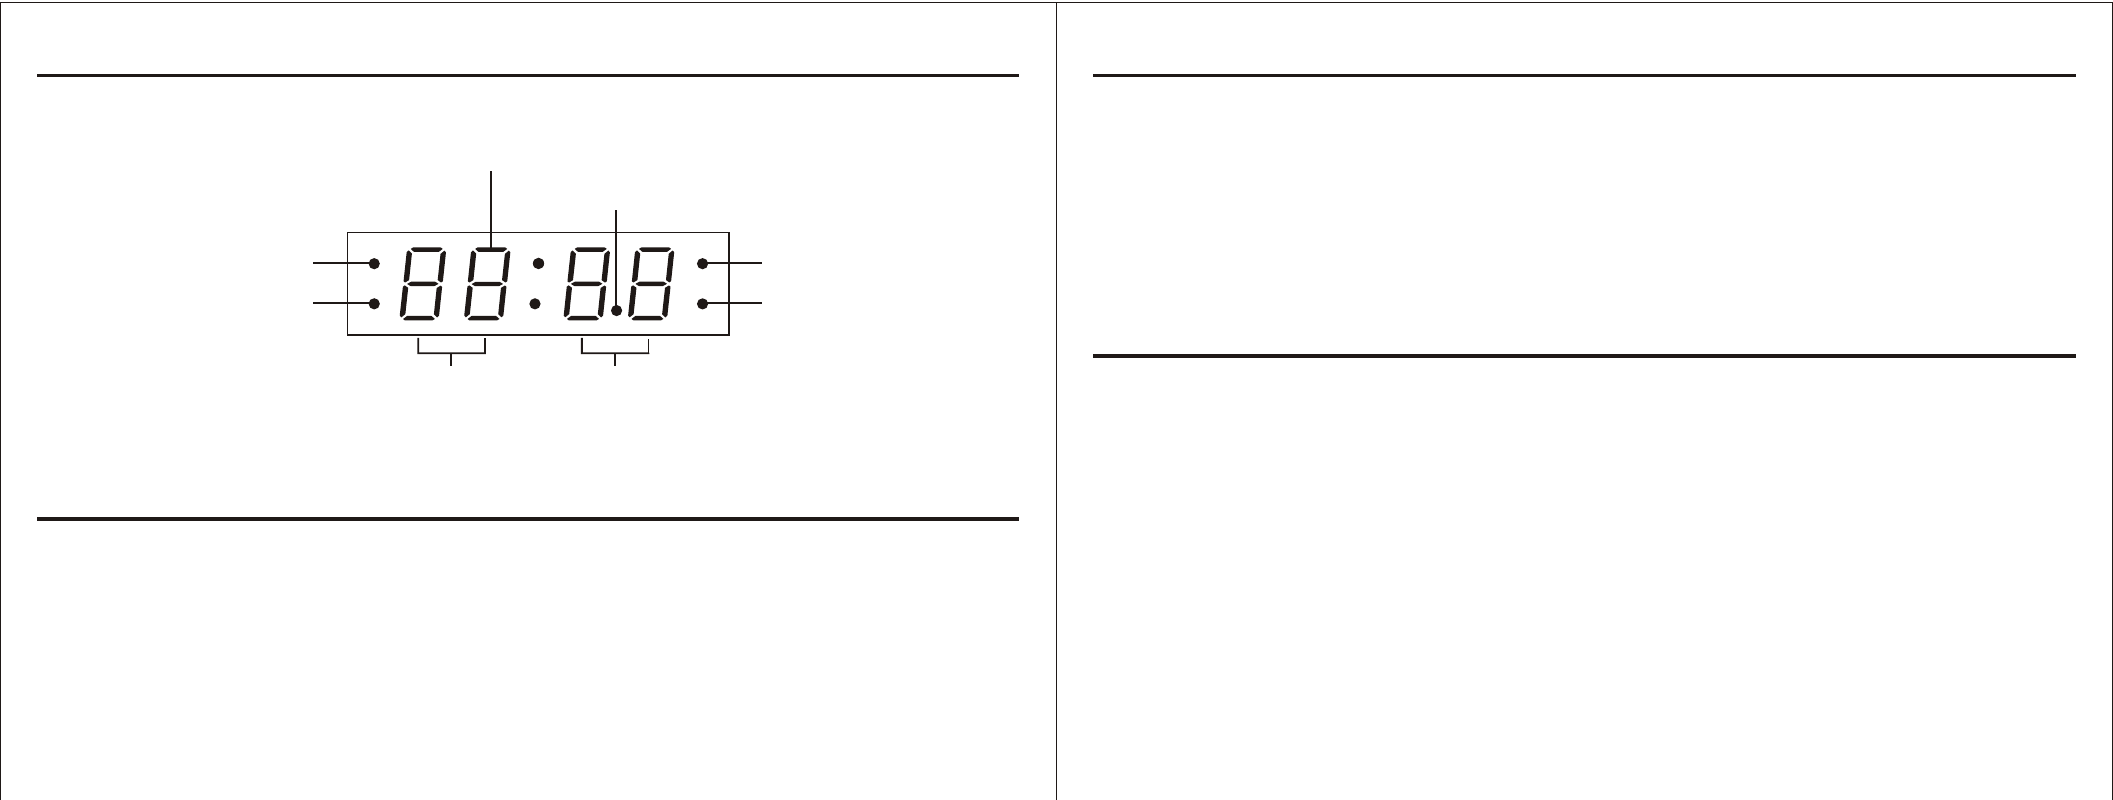
LED Display
Battery Backup Installation
FM Dot Indicator
MINUTE Indicator
HOUR Indicator
FM Band Indicator
MW Band Indicator
Time/Radio Frequency Indicator
Standby Indicator
PM Indicator
Memory Backup
To insert 1.5V x 2, R03S/ AAA or equivalent batteries in the battery compartment at the bottom of the unit.
It is used to backup the memory of the main CPU.
Note: You should replace the battery every six months, or after any extended power outage that could drain
the battery power.
Tuner Information
This system features a normal MW/FM analog tuning system. Unlike a digital tuner. It does not automatically
lock in on the exact frequency of a station. However instead of a dial scale and a moving dial pointer we
have included a digital frequency display to help you tune more accurately. Do not be concerned If you
cannot easily tune the display to the exact frequency of your favourite stations, especially on the MW band.
Slowly rotate the TUNING control until the display approaches the frequency of the desired station and stop
when get the strongest, noise free reception-even if the display is not indicating the exact frequency of
desired station.
Radio Operation
Press the POWER / ALARM RESET button on the unit to switch the unit ON.
1. The LED Clock Display will show the Radio frequency.
2. Press the BAND button to select the MW or FM. (MW/FM LED indicator will appear on the display.)
3. Select the desired wave band range with the TUNING CONTROL knob. The display will show the exact
frequency of desired station. After 10 seconds, the display will go back to Real Time Clock.
Setting Clock Time
Listening to Radio
6
1. When you first plug the unit into the AC outlet, the unit will be in standby mode.
2.
Press & hold the C-ADJ Button more than 2 seconds, the `HOUR` LED indicator will flash and then
press the Time Set `Up` or Time Set `Down` button for hour adjustment.
3.
Press the C-ADJ Button to confirm the Hour set. Then, the `MINUTE` LED indicator will flash and then
press the Time Set `Up` or Time Set `Down` button for minute adjustment.
4.
Press the C-ADJ Button again to confirm the clock time. Then, the `WEEK DAY` LED indicator `d1` will
flash then press the Time Set `Up` or Time Set `Down` button for week day adjustment.(`d1` means
Monday and `d7` means Sunday)
5.
Press the C-ADJ Button to confirm the Weekday set.