4 initial utility installation – PLANET ICA-525 User Manual
Page 12
5. When using the side conduit cabling, it is suggested to cover the cables using metal covers (to
prevent external damage and for waterproof prevention), and wined the waterproof adhesive
type onto the metal cover before installation.
6. Connect the LAN cable to Ethernet’s switch or hub and the DC-Jack to the power source. The
video output to monitor or other video through a 75 Ohms type coaxial cable if you will use
BNC cable.
7. Done
2.4 Initial Utility Installation
This chapter shows how to quick set up your ICA-525. The ICA-525 is with the default settings.
However to help you find the networked camera quickly the windows utility-IP Wizard can search
the cameras in the network that shall help you to configure some basic setting before you started
advanced management and monitoring.
1. Insert the bundled CD into the CD-ROM drive to launch the autorun program. Once completed,
a welcome menu screen will appear. Please click your IP camera model name to next page.
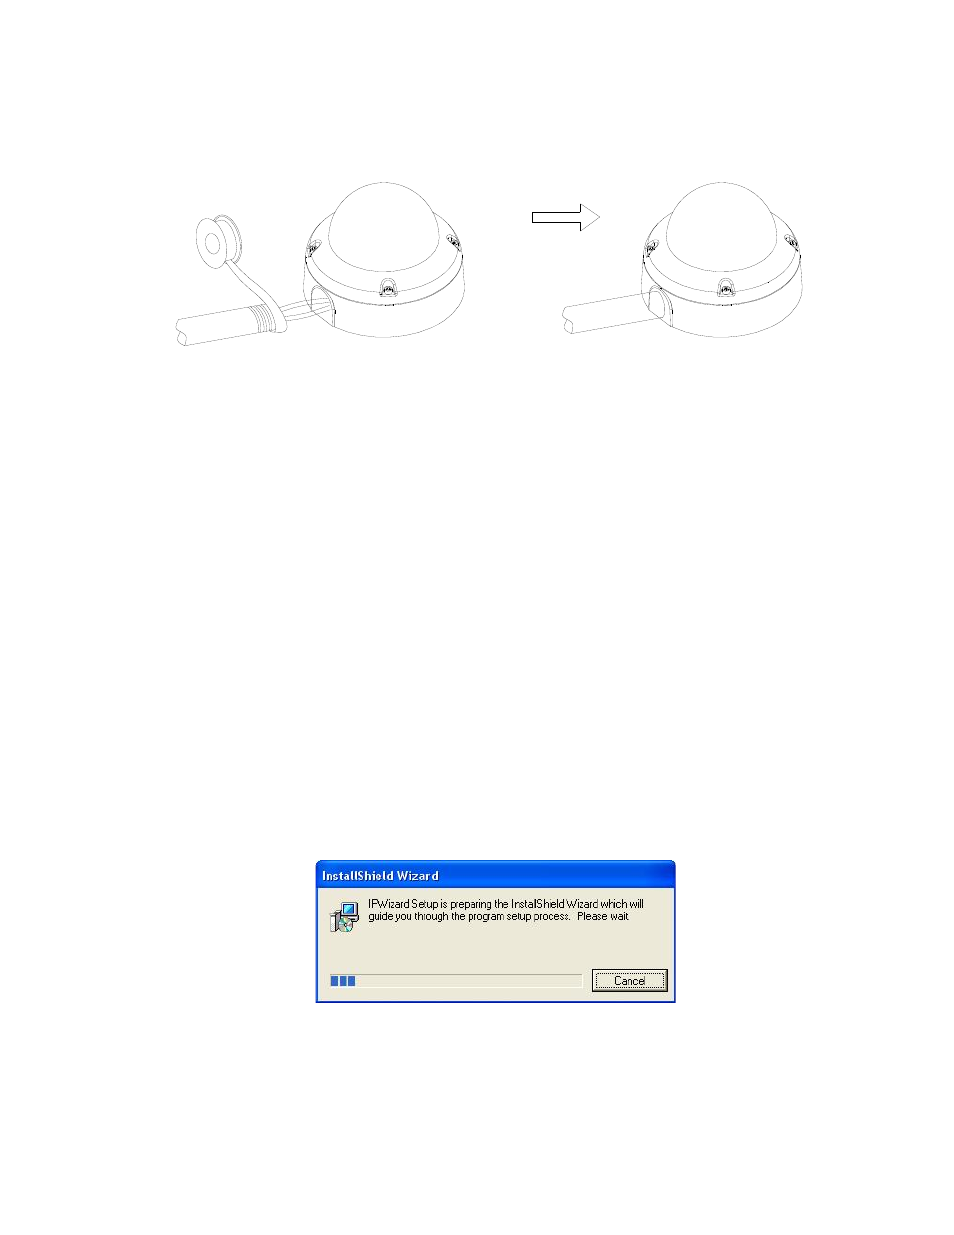
2. Click the “IP Wizard” hyperlink; you will see the InstallShield Wizard dialog box as below.
NOTE: If the welcome screen does not appear, click “Start” at the taskbar. Then, select
“Run” and type “D:\Utility\IPWizard\setup.exe”, assume D is your CD-ROM drive.
11