PLANET FRT-405N User Manual
Web login 5. enter into the web management, Further information, Internet
Note
– 1 –
– 2 –
– 3 –
– 4 –
1. Package Contents
3. Hardware Installation
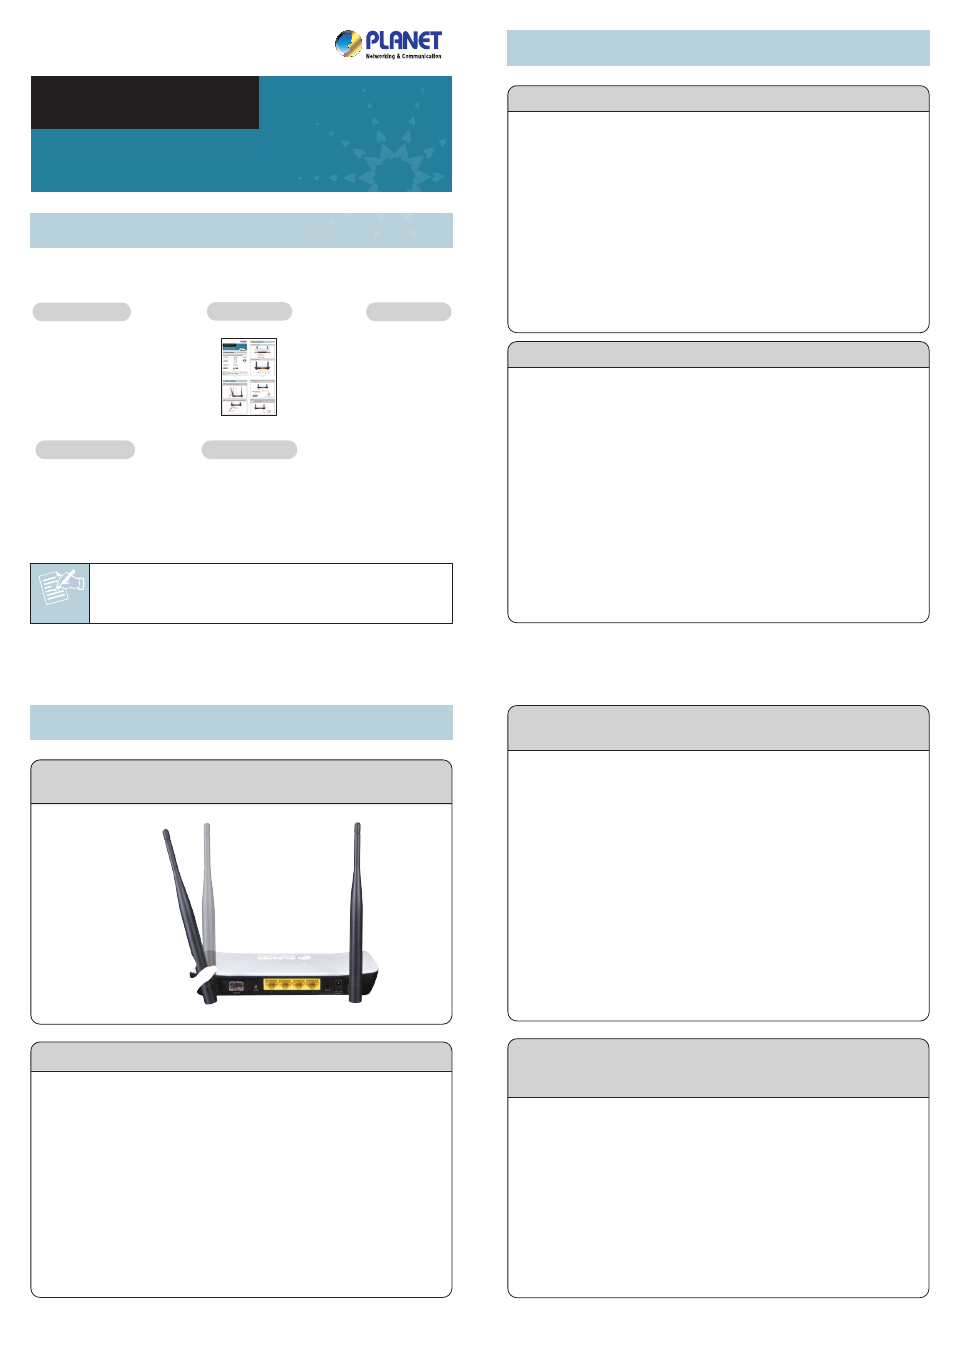
2. Physical Introduction
– 7 –
– 8 –
4. Web Login
5. Enter into the Web Management
– 5 –
– 6 –
Front Panel of FRT-405N
Rear Panel of FRT-405N
The above steps introduce simple installations and configurations
for the FRT-405N. For further configurations of different operation
modes, please refer to the user’s manual on the CD. If you have
further questions, please contact the local dealer or distributor
where you purchased this product.
2010-B53060-000
Thank you for choosing PLANET FRT-405N. Before installing the
AP, please verify the contents inside the package box.
If there is any item missing or damaged, please
contact the seller immediately.
STEP 1: Locate the FRT-405N in an optimum place, and adjust
the antenna for the best coverage.
STEP 4: Connect the Power Adapter to the FRT-405N. Check
whether the PWR LED and LAN LED on the front panel
are on accordingly.
Further Information
STEP 2: Follow the figure below to connect the WAN port.
STEP 3: Follow the figure below to connect the network
devices.
1. Click “Start” button located at the lower-left corner of your
computer
2. Click “Control Panel”
3. Double click “Network and Sharing Center” icon
4. Click “Change Adapter Settings”
5. Double click “Local Area Connection”
6. Select “Internet Protocol Version 4(TCP/IPv4)” and
click “Properties”
7. Select “Obtain an IP Address automatically” and
“Obtain DNS Server Address automatically”, and then
click “OK” button twice to save the configuration.
Default IP Address: 192.168.1.1
Default User Name: admin
Default Password: admin
Default SSID: FRT405N
STEP 1: The Web management allows you to access and
manage the Wireless Router easily. Launch the Web
browser and enter the default IP address
http://192.168.1.1
FRT-405N
Quick Installation Guide
300Mbps 802.11n Wireless
Internet Fiber Router
STEP 2: When the login window pops up, please enter the
User Name and Password. The default User Name
and Password are both “admin”.
Then click OK button to continue.
STEP 3: Now, you can see the Web management UI of the
FRT-405N.
Please go to Wireless Settings page to configure
your wireless network. For security reasons, strongly
recommended to configure the Encryption Method
and Passphrase of your wireless network.
FRT-405N
Quick Guide
CD-ROM
Power Adapter
5dBi Antenna x 2
Application
Point-to-Point Fiber Bridge
Point-to-Multipoint Fiber Router
100Base-FX
SFP Transceiver
100Base-FX
LC Fiber
Power Adapter
100Base-FX Fiber Optical
PC
(DHCP Client or 192.168.1.2)
Internet
Data IPTV
Entertainment
PC
2~60 km
2~60 km
Fiber Wireless
Router
Core Switch
Media Converter
Layer3 Fiber Switch
100
100
100Base-FX Fiber-optic
100
100Base-TX UTP
2.4GHz 802.11n
N
UPLOAD
100Mbps
DOWNLOAD
100Mbps
Gigabit Fiber
Uplink
FRT-405N
Fiber Wireless Router
FRT-405N
Fiber Wireless Router
FRT-405N
Smart Pad
N
N
100
100
WAN
WPS
LAN
Reset
Power
STEP 1: Connect the FRT-405N with your PC over an Ethernet
cable which is plugged into LAN port. Power on the
FRT-405N using the power adapter.
STEP 2: Set your computer to get an IP address from the
Wireless Router:
LAN
WAN
WPS
Power
WLAN
Security