Using the nas server’s printer – PLANET NAS-7100 User Manual
Page 24
Using the NAS Server’s Printer
1. Find out what printer is connected to the printer port on the NAS.
Use Network Neighborhood (or My Network Places) to locate the NAS, as shown in Network
Browse earlier.
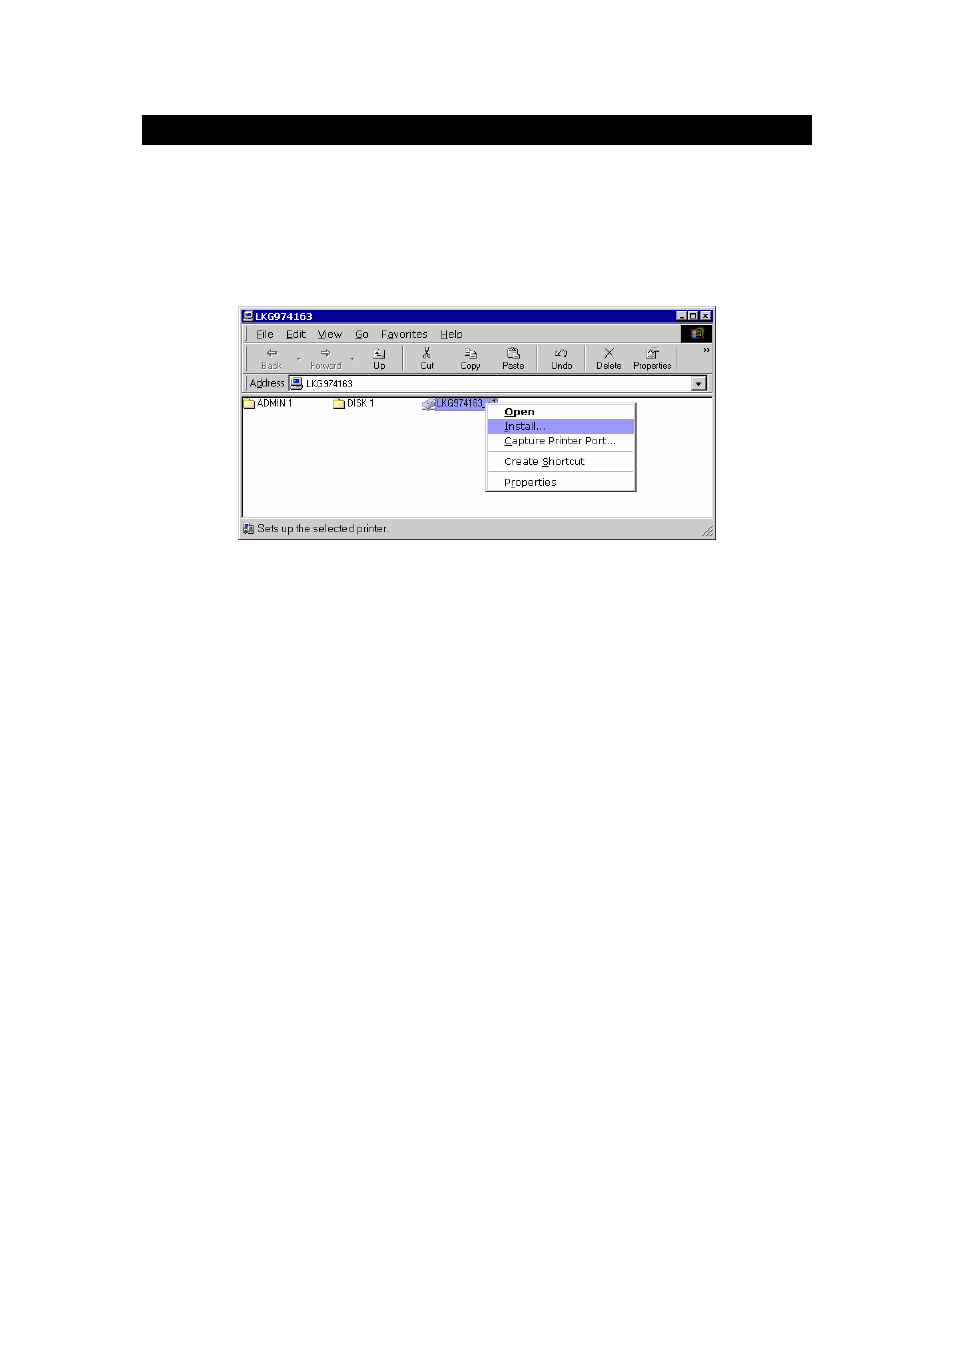
Double-click the NAS icon. A printer icon should be shown.
Install Printer
Right-click the printer icon, and select Install, as shown above. The Add Printer wizard will
start.
Select the Manufacturer and Printer matching the printer connected to the NAS.
Follow the prompts to complete the installation.
If prompted about sharing this printer, do NOT enable sharing.
The new printer will then appear in your Printer list, and can be used from any Windows
application.
• Use
Start - Settings - Printers to list all your printers.
• Double-click the printer to view or delete the documents in the print queue.
• Use
File - Set as Default to make the selected printer the default printer.
• Use
File - Properties to view or modify the properties of the selected printer.
Page 24