Sony All-in-One PXW-Z280 Camera Transport Kit with Accessories User Manual
Page 9
9
2
Adjust the picture size.
Press the ZOOM button to display the Lens Zoom
adjustment window (test pattern). Then adjust the size
of the picture by pressing the
M
/
m
/
<
/
,
buttons.
To make the picture larger, press
M
/
,
.
To make the picture smaller, press
m
/
<
.
3
Adjust the picture position.
Press the SHIFT button to display the Lens Shift
adjustment window (test pattern). Then adjust to the
proper position of the picture by pressing the
M
/
m
/
<
/
,
buttons.
Tips
• Whenever you press the ENTER button, the test pattern
disappears.
• Press the RESET button on the remote control while the Lens Shift
adjustment window is displayed, the horizontal position returns to
the center of the lens (factory default position). The zoom and
focus are not changed.
When adjusting the picture position, do not touch the lens unit,
otherwise your fingers may be pinched by the moving parts.
To adjust the horizontal position
Press
<
/
,
.
The picture projected on the screen moves right or left
from the center of the lens.
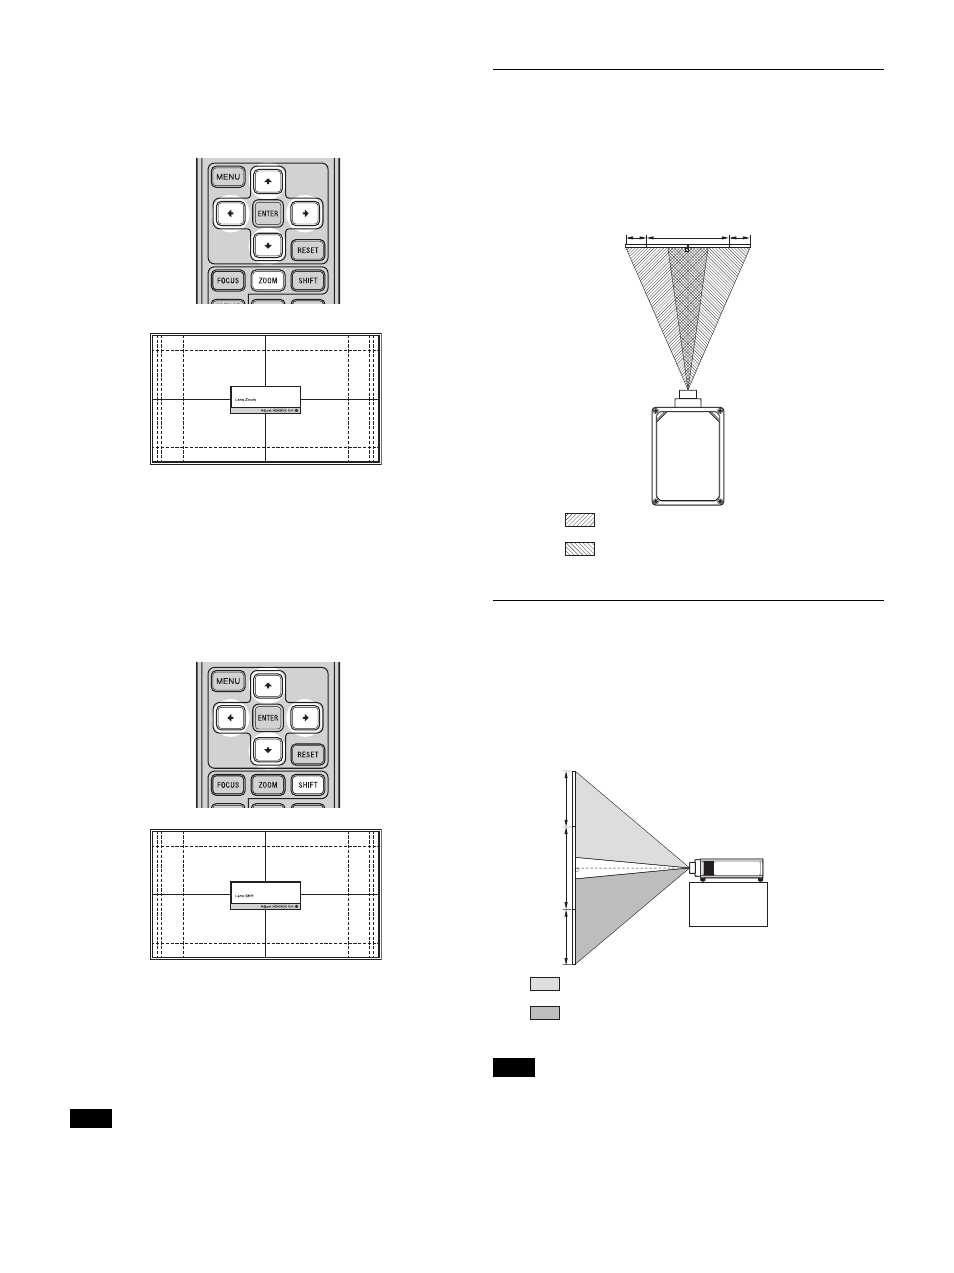
Top view
To adjust the vertical position
Press
M
/
m
.
The picture projected on the screen moves up or down
from the center of the lens.
Side view
The range to move the picture projected on the screen can be
adjusted only within the octagon area illustrated below. The movable
range depends on the lens or the aspect ratio of the projected picture.
For details, see “Projection Distance and Lens Shift Range”
(page 43).
Note
Note
1 screen width
: Picture position when moving the
picture to the left at maximum
: Picture position when moving the
picture to the right at maximum
1 screen
height
: Picture position when moving the
picture upward at maximum
: Picture position when moving the
picture downward at maximum