Rough Country 597.20 User Manual
Page 6
REAR INSTALLATION
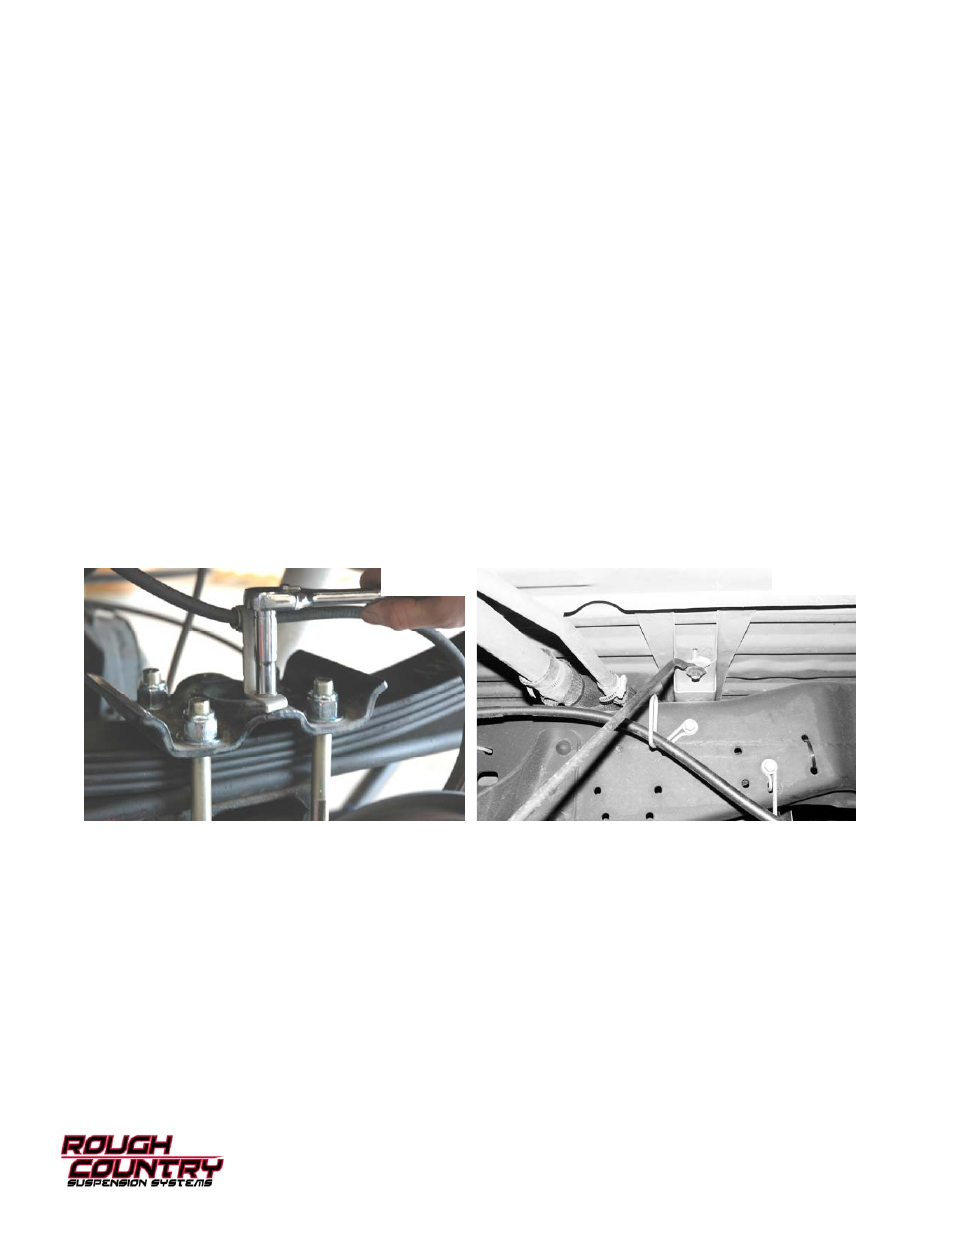
Photo 2
1. Chock front wheels and jack up the rear of the vehicle. Secure with jack stands on the frame rail.
2. Place a floor jack under the rear differential on the rear axle. Using a 18mm wrench for the upper, and 19mm and
15mm wrench for the lower, remove the stock shock absorbers, retain the stock hardware for reuse.
3. Using a 24mm socket, remove the stock u-bolts. Use the floor jack to lower the axle assembly to allow for lifted block
installation. Retain the factory axle block if equipped.
4. Remove the spring eye bolts and nuts and remove the spring
.
If equipped with factory overloads, the top mounted
spacer block and top mounted overload spring must be removed. The top spring plate may need to be drilled out to
accept the nut for the new spring center pin. Make sure before starting that you have access to a drill and a 13/16” to
7/8” drill bit. Have c-clamps in place on either side of each strap before center bolt is removed
5. Unbolt center pin and remove. Un-clamp leaf spring. CAUTION -Take care when releasing the c-clamps since the
springs are under load and will “spring” apart when released.
6. Position add-a-leaf under the next longest leaf of the spring pack. Replace the shorter spring leafs under the helper
leaf and clamp together, being careful to align the center pin holes in the spring leafs. If less lift is desired the leaf
under the new add-a-leaf can be removed
7. Insert the new center pin supplied with the kit through the spring assembly with the head of the center pin in the
same location as the stock pin. Re-compress the pack with the c-clamps, not center pin, to avoid stripping of nut/
bolt threads. Bolt together, being sure to align leafs. Cut off excess threads on the center pin with a hack saw. If
applicable, re-form straps or install new bend straps. If heat is used on the straps, allow them to cool naturally and
thoroughly before removing the c-clamps.
8. Replace spring on vehicle. Torque to 86-110 ft./lbs.
9. Install the Rough Country block in between the factory block /leaf spring and the axle. Jack up the axle and align the
pins in the blocks and axle seat. Secure with new u-bolts and torque evenly to 85 ft/lbs. On Driver side disconnect
the parking brake cable bracket from the spring plate and retain hardware See Photo 1. Take care not to over ex-
tend the brake lines.
10.
Reattach parking brake cable bracket to the spring plate. If more slack is needed remove the cable from the rearmost ca-
ble ring on the frame rail See Photo 2.
11. Locate shock part number 658601 gas shock and assemble poly bushings and sleeve in shock. Using a 18mm
wrench, for the upper, and a 19mm and 15mm wrench for the lower. Install using factory hardware on upper and
lower shock mount
12. Install the tires and wheels.
13. Jack up the rear of the vehicle and remove the jack stands. Lower the vehicle to the floor.
14. With the weight of the vehicle on the axle, torque the u-bolts to 130-150 ft-lbs
.
15. On the leaf spring to front spring hanger torque bolts to 222 ft.lbs. and on rear leaf spring to shackle and shackle to
frame mount torque bolts to 185 ft.lbs
.
16. Check all hardware for proper torque
.
Photo 1