Rough Country 692.20 User Manual
Page 7
15. Lift the Lower Control Arm using the floor jack. As the Control Arm is moving up check clearance be-
tween the Strut Coil plate and the Unibody lip. If needed place the pry bar between them and continue
up. Stop going up once the upper ball joint goes into the spindle enough to start the nut. It may be nec-
essary to pry the upper control arm down to get the upper ball joint into the knuckle. See Figure 14.
17. Tighten the upper ball joint to factory specs.
18. Tighten the strut bolt to spacer and the strut bolt in the lower control arm to factory specs.
19. Install the tie-rod and nut to spindle and torque to factory specs. See Figure 15.
20. Install the CV shaft in to the knuckle and tighten nut to factory specs if vehicle is 4WD. See Figure 16.
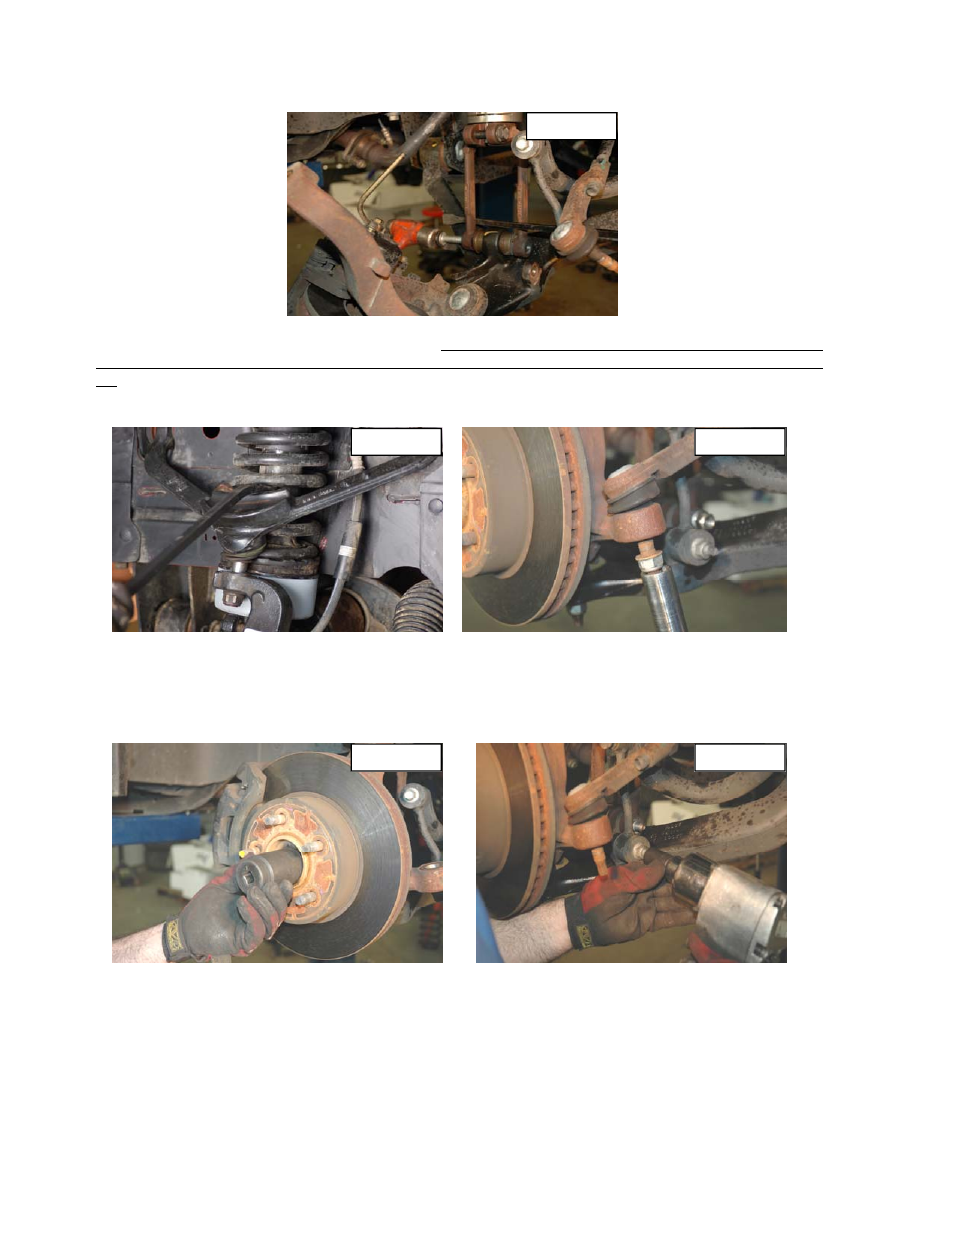
Figure 13
21. Adjust the Lower Control Arm Cam bolts to the location marked in Step 8. Tighten to factory specs.
22. Install the tire and wheel.
23. Repeat all steps on Drivers side of vehicle.
24. With the Liberty still on the jack stands install the sway bar links on both sides using all factory hardware
and torque to factory specs. See Figure 17.
25. Using the floor jack lift the front of the Liberty and remove the jack stands. Lower the Liberty to the
ground. Turn the steering wheel left to right, lock to lock checking for interference of components
Figure 14
Figure 15
Figure 16
Figure 17