TabletKiosk Sahara Slate PC i575/i535 User Manual
Page 5
Calibrating the Screen for Improved Accuracy
If you fi nd that the position of the on-screen pointer isn’t matching the touch of the stylus or
your fi nger properly, you can calibrate the screen for better accuracy.
Calibrating the Active Digitizer and Capacitive Touch Screen
1.
Go to the START menu and tap on “Control
Panel” in the right hand column to open the
Windows Control Panel.
2.
Tap on the “Hardware and Sound” category and
locate the “Tablet PC Settings” sub-category
and then either tap on it or tap on the “Calibrate
the screen for pen or touch input” link.
3.
In the “Display” tab, tap on the “Calibrate...”
button. If a Window appears asking you which
type of screen you to want to calibrate (“Touch
Input” for the touch screen, or “Pen Input” for
the digitizer) choose the appropriate one to
continue to the calibration screen.
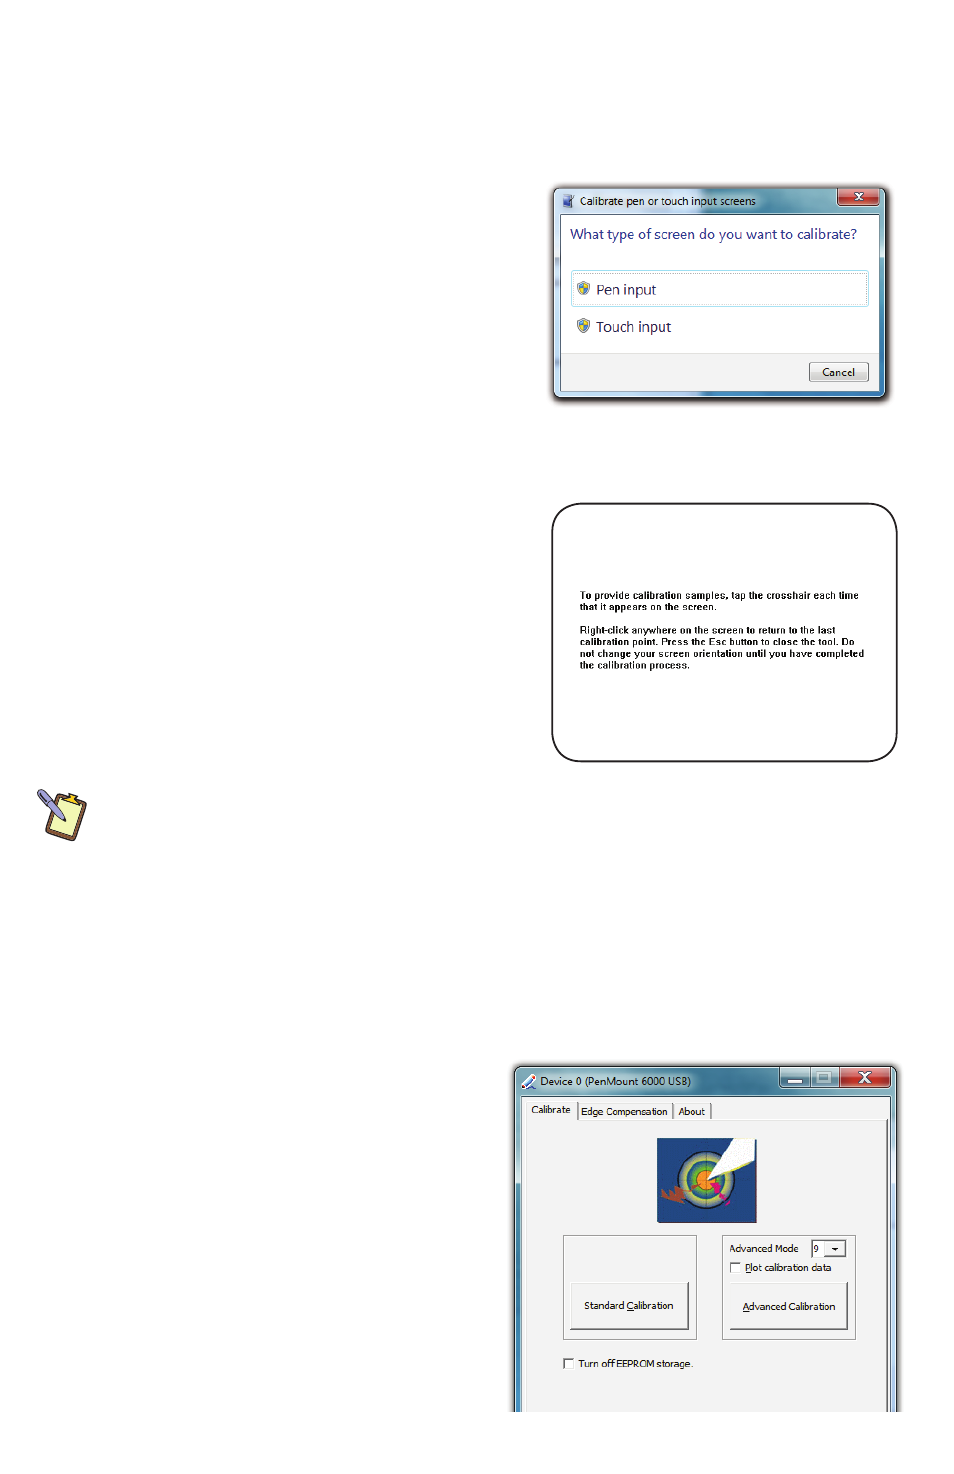
4.
Follow the on-screen instructions to complete
the calibration. The routine for each screen is
very similar. Tap in the center of each cross
when it appears on the screen. When you have
tapped on the last cross, you will be prompted
to save your calibration data. If you are happy
with how you tapped on each cross, save the
data. If not, choose to cancel and then rerun the
calibration routine.
NOTE: If you fi nd that after you calibrate for the fi rst time the screen accuracy is no better or perhaps
worse, choose to calibrate again. After the fi rst calibration for each screen, the routine steps down to
only using 4-target points for calibration. Sometimes, the 4-point calibration can produce better feeling
calibration data for some users.
If at any point you wish to reset your calibration data and return to the Windows default
calibration state, simply tap on the “Reset...” button and choose which screen to reset if asked.
Calibrating the Resistive Touch Screen
The resistive touch screen is calibrated from the PenMount control panel. A short-cut is located
on the Windows desktop.
1.
Open the PenMount control panel and,
in the “Device” tab, tap on the “PenMount
6000 USB” icon and then tap “Confi gure”.
Alternatively, just double-tap on the
“PenMount 6000 USB” icon.
2.
Tap on the “Calibrate” tab and then tap on
either the “Standard Calibration” or the
“Advanced Calibration” button. Most of
the time, a Standard Calibration should
be suffi cient to perform an accurate
calibration. Advanced Calibration allows
you to choose how many touch points will
appear in the Calibration test.
If your Sahara Slate PC i500 has a dual mode
screen, you will see this window asking you to
choose an input panel to calibrate.