TabletKiosk Sahara NetSlate a230T User Manual
Page 6
4. Unlock the cover by placing your fingernail or another
small flat object into the wide oval shaped opening
near the top of the SIM holder and slide it down
toward the bottom of the compartment until you feel
it “click”. Carefully, lift the cover open toward you. It
should swivel like a door.
5. Slip the SIM card face up onto the slot so the clipped
corner of the card matches the clipped corner of the
slot and then close it and slide it back up until you feel
it “click” to lock it into place.
6. You can now replace the cover and secure it with the screws.
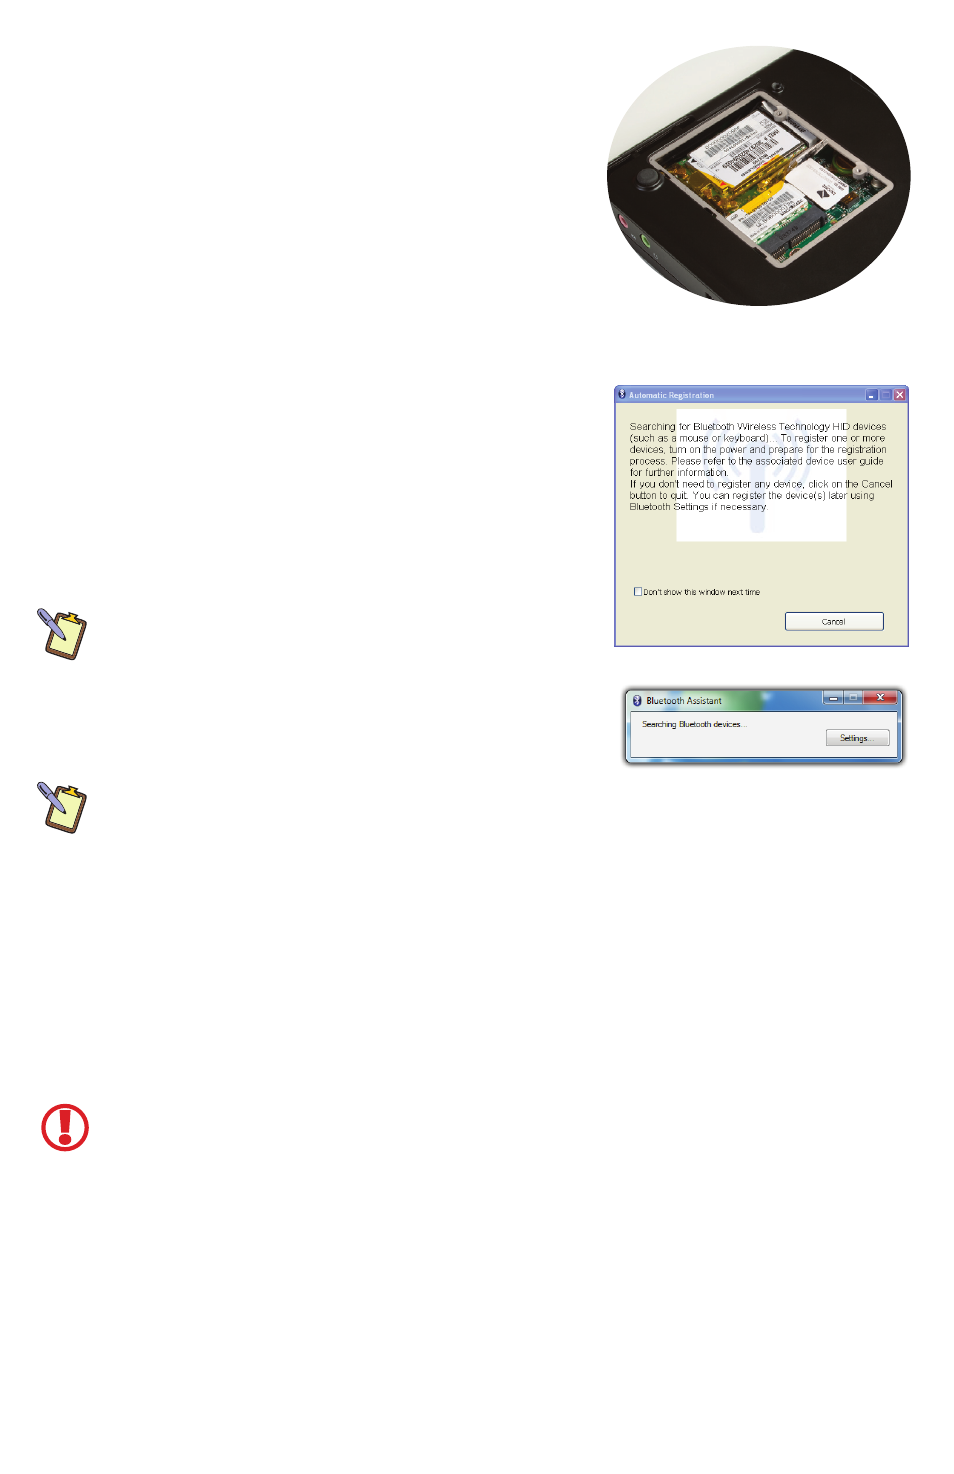
Bluetooth Automatic Device Registration
When you first turn on your Sahara NetSlate, either the
Bluetooth Automatic Registration Wizard (Windows XP) or
the Bluetooth Assistant (Windows 7) will launch. These allow
you to quickly set-up Bluetooth enabled input devices such
as a keyboard or mouse. If you decide to register a device,
the “Add New Connection Wizard” will launch. Follow the
instructions that follow to complete the process.
XP NOTE: Once a device has been registered, you usually
won’t need to register it again. You will still need to pair
it. When you see this window at start-up, just place your
Bluetooth device into pairing mode and it should connect
automatically. If you do not wish to automatically connect a
Bluetooth device at start-up, you can check the “Don’t show
this window next time” box and tap the “Cancel” button.
W7 NOTE: If the Assistant doesn’t launch automatically, you can find it in the START menu under
“All Programs > Bluetooth” along with a few other Bluetooth utilities.
Restoring Your System Using the System Restore Disc
What you will need before you begin:
1. A Windows® 7 Professional, or Windows® XP Professional System Restore DVD for the
Sahara NetSlate a230T.
2. External USB DVD drive with its own power supply (not USB Bus powered)
3. USB keyboard, USB mouse and a USB hub
To Restore Your System:
IMPORTANT: This process is destructive to the data stored on your hard drive. All existing
data will be lost. It is vital you back-up any files on your hard drive to an external storage
device or disk that you wish to keep before you proceed.
Step 1: Set up the required hardware:
Plug the USB mouse and keyboard into the USB hub and plug the hub into one of
the available USB ports on the tablet. Plug the USB cable from the DVD drive into
the remaining USB port of the tablet. Make sure that the Sahara NetSlate a230T
System Restore DVD is in the USB DVD drive and that the drive is powered on.
To Restore Using the Windows 7 Restore Disc:
Step 2: Booting the Sahara NetSlate to the Recovery Application