Measurement procedure, Specification – Xtramus PPM-100 V1.0 User Manual
Page 2
PWR/TEST LED
•
When measurement is started, PWR/TEST LED is
blinking orange.
•
When measurement is finished, PWR/TEST LED keeps
orange.
•
When measurement is finished and it is ready for next test,
PWR/TEST LED keeps green.
WATT/VDC LED
•
When WATT/VDC LED keeps green, LED Digits Display
shows the power in Watt.
•
When WATT/VDC LED keeps orange, LED Digits Display
shows the power in Voltage.
•
When WATT/VDC LED is off and Normal/Alarm LED is
green, then the LED Digits Display shows the value of
temperature.
OK/NG LED
•
When the LED keeps green, it means the measurement is
successful.
•
When the OK/NG LED keeps orange, the measurement is
failed and the Voltage is too low. (under 24V).
•
When the OK/NG LED is blinking orange, the
measurement is failed and the Current is too high (over
2A).
•
When OK/NG LED is off and Normal/Alarm LED keeps
orange, it means the measurement is failed and the
temperature is overheated (over 100°C).
Normal/Alarm LED
•
When Normal/Alarm LED keeps green, the LED Digits
Display shows the value of temperature.
•
When Normal/Alarm LED keeps orange, it means that the
temperature is overheated (over 100°C).
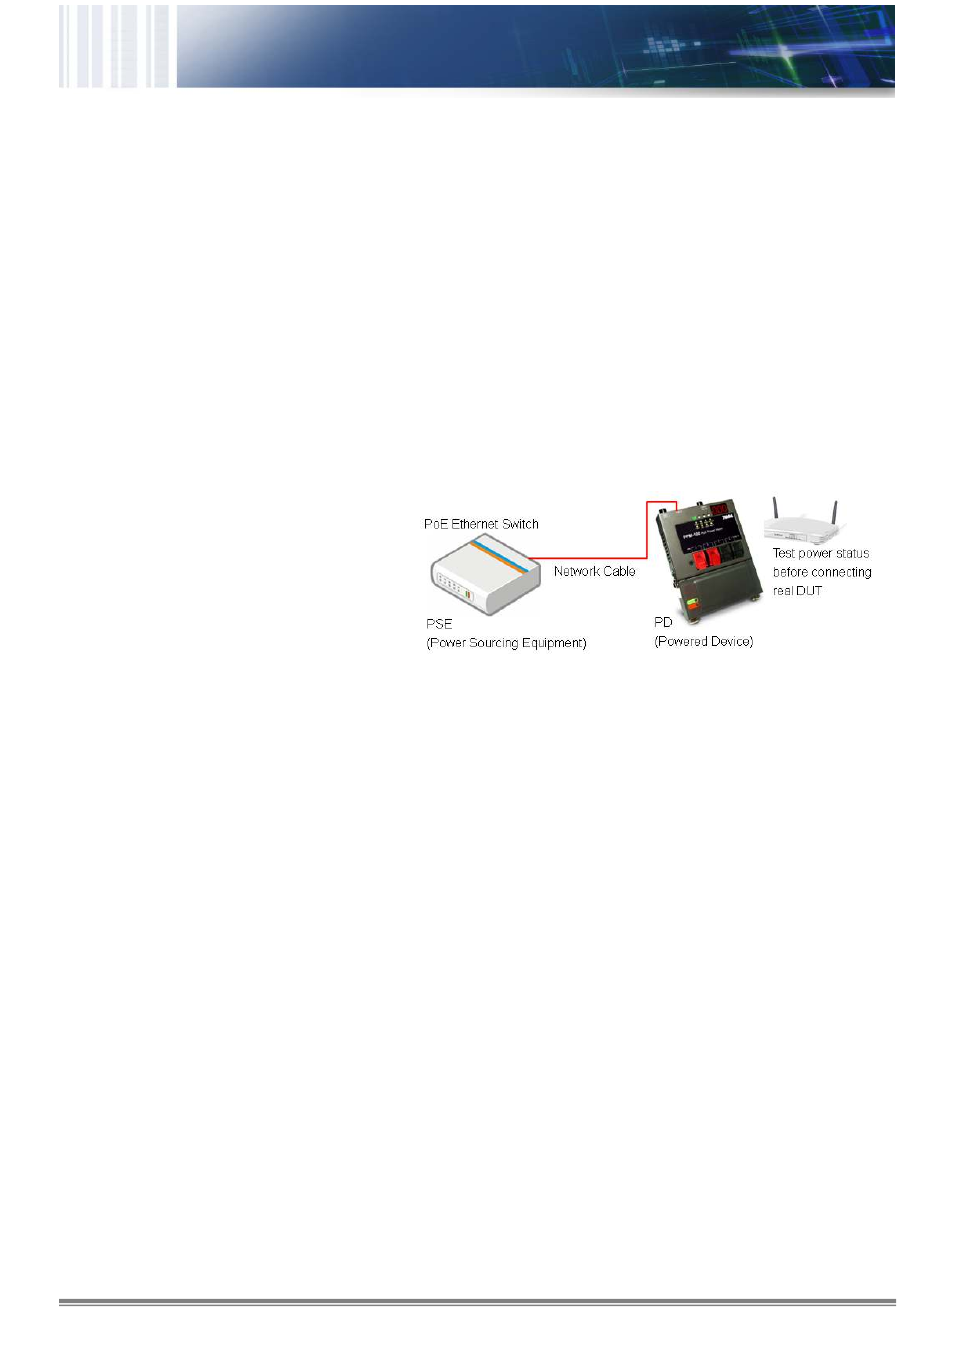
Measurement Procedure
Hardware connection
Please screw up the battery pack and connect the
cable as the illustration.
User also can clips the network cable wire to Power
Probing Terminal directly in Mode A (Power via Pin 1,
2, 3, 6) or Mode B (Power via Pin 4, 5, 7, 8) by
IEEE802.3af standard.
Note: Network cable can not be connected to UTP port
and Power Probing Terminal simultaneously.
Operation Procedure
To measure power status and maximum power from POE, user should configure the maximum power in Watt for the test. If the
power from POE switch is beyond the maximum power that user configures, then the test is successful, otherwise, it is failed.
Push and hold Start/Set(-) Button for 3 seconds to enter the configuration state of power consumption. Press the Start/Set(-)
Button to decrease power or press Display/Set(+) Button to increase power. Select the power state in Watt and then push and
hold Start/Set(-) Button for 3 seconds to exit the configuration state.
•
Press Start/Set(-) Button to start or stop measurement. If temperature is over 50°C, test won't start. Cool it for normal start.
•
Press Display/Set(+) Button to show the real-time value or measurement result.
Show value of measurement result
The PWR / TEST LED is orange after test. Please keep pressing the button to switch around Watt, Voltage and
Temperature according to another WATT / VDC LED indication. Watch the LED Digits Display to know the value of Watt,
Voltage and Temperature.
Watch the OK/NG LED to show the result (pass, failed) or other status of the measurement.
Show real-time value
Stop the test by pressing Start/Set(-) Button, and then PWR / TEST LED is green.
Press Display/Set(+) Button to view real-time value as the measure above.
•
Alarm notification to user
When Normal/Alarm LED keeps orange, it means that the temperature is overheated (over 100°C). Please stop the
measurement and put this device in cool environment for a while until next measurement.
Specification
Detection Range:
•
Watt: 0~96W
•
Voltage: 24~60V (Over 40V is
required when test is started.)
•
Current: 0~2A
Power:
•
External Battery Pack
•
Provide 7 hours of standby time, shorter if
operation keeps going.
Overload Protection:
Operation Temp:
Humility:
Polyswitch over current protection
-20°C ~50°C
0% ~ 85% RH
Battery
Pack:
•
Li-Ion, 2,400 mAh, 3.7 V,
•
Charged by USB cable
•
Charge Time: Standard: 3~4 hours; Rapid :
2.5hours