Installation step 2 – Blu Bathworks TEU131 User Manual
Page 4
2013-11
1 866 907 0122 blubathworks.com
®
4
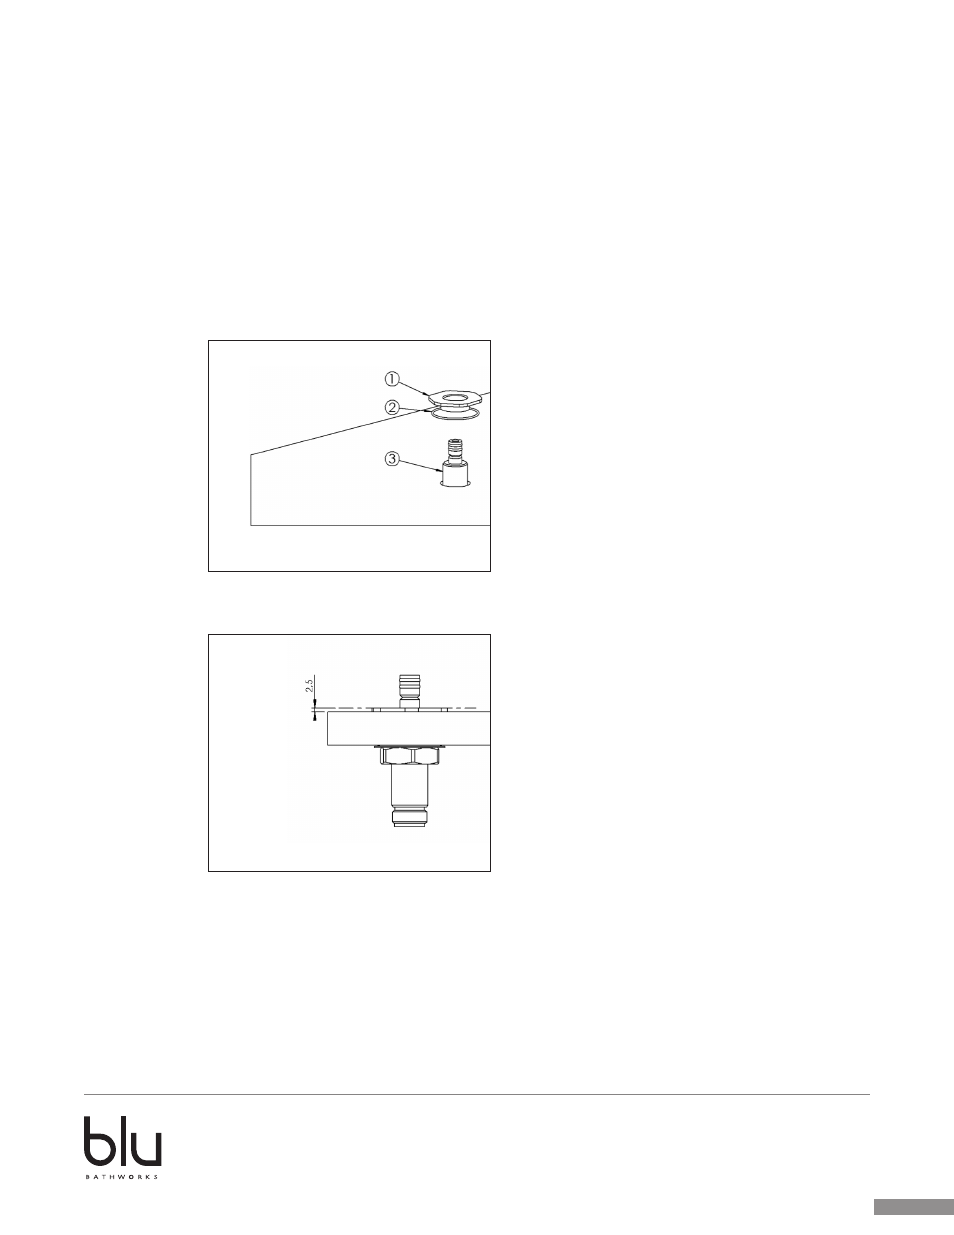
INSTALLATION STEP 2
•
Position the O-ring (2) in its site on the nut (1).
•
Screw the nut (1), as per drawing (A), on the threaded rod(3).
•
Place the O-ring (4) on its site on the nut (5).
•
Screw the nut (5), as shown in the drawing (A), on the mixer body
(6).
•
Once the correct position of the rings is reached, tighten the nuts
located under the wash basin mixer to fix the rod and the mixer
body.
•
(A)
INSTALLATION STEP 3
•
Place the two small cover plates (1)
•
Place the O-ring (2) and screw the cap (3) to secure the cover plate
of the mixer body.
INSTALLATION STEP 2
•
Position the O-ring (2) in its site on the nut (1).
•
Screw the nut (1), as per drawing (A), on the threaded rod (3).
•
Once the correct position of the rings is reached, tighten the nuts located under the basin
spout to fix the rod.
A.