Flowserve 191 000 Series User Manual
Page 3
3
11.00
Flow Control Division
Kammer Control Valves
2.5
If possible, open and close valve and check for maxi-
mum stroke and smooth movement of the plug stem.
Irregular movement of the plug stem may indicate
internal defects.
Note: With graphite packing, irregular movement of
the plug stem is normal.
IMPORTANT: Keep hands, hair, clothing, etc. away
from all moving parts. Failure to do so can lead to
serious injury.
2.7
Check all accessories for firm seating.
2.8
If possible, close supply pressure and check the fail-
safe position.
2.9
Check stem boot for wear.
2.10
Check actuator for leaks. To do this, spray housing,
air connections and plug stem guide with leak spray
and note any bubble formation.
2.11
Clean plug stem.
2.12
Check air filter, if present, and if necessary replace
insert.
3
DISASSEMBLE AND ASSEMBLE VALVE
General Information
We recommend separating the actuator from the
valve before commencing repair work.
However, many maintenance and adjusting opera-
tions can be carried out with the valve installed.
Attention: Never turn plug or perform any service
on the valve while the plug is in the seat ring. Do-
ing so may cause irreparable damage to the trim
set. To ensure against this, always hold the plug
out of the seat while working on the valve assem-
bly.
3.1
Disassemble valve
3.1.1
Disconnect actuator from valve body
3.1.2
Loosen and remove the clamp.
3.1.3
Carefully remove the bonnet complete with plug and
packing kit..
3.1.4
Carefully remove the plug from the bonnet.
3.1.5
Unscrew the packing follower and extract the pack-
ing kit from the top of the bonnet. Check the wiper
ring and O-Rings for damage.
3.1.6
Remove the body/bonnet gasket.
3.1.7
Clean and inspect all parts.
3.2
Assemble valve
Attention: All worn or damaged parts must be re-
placed. Reusable parts must be clean. All consum-
able items such as seals, O-Rings and gaskets must
always be renewed.
3.2.1
Carefully enter the plug into the bonnet.
3.2.2
Replace body/bonnet gasket.
3.2.3
Carefully place the bonnet/plug assembly vertically
onto the body ensuring the body/bonnet gasket is
correctly seated.
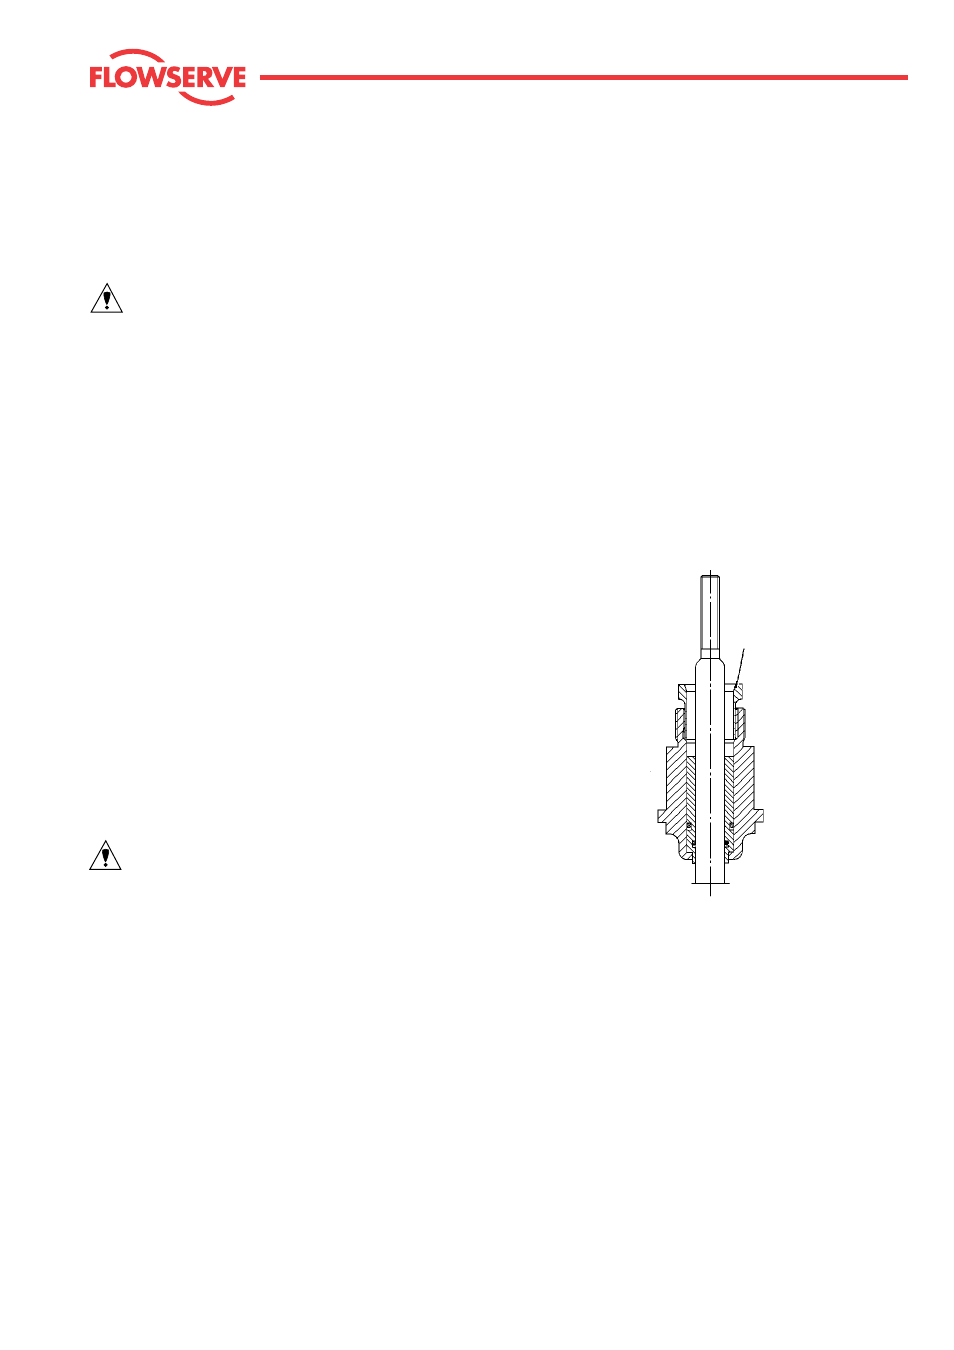
3.2.4
Insert the guide bush with O-Rings into the bonnet
using an assembly bushing (see Fig. 2) and tighten
down the packing follower.
3.2.5
Place the clamp around the body an tighten the wing-
nut.
Assembly bushing
Fig. 2 Assembly bushing