LD Systems CONTRACTOR CWMS 42 B 100 User Manual
Page 11
11
2
1
WALL BRACKET / WANDHALTERUNG / FIXATION MURALE / MONTAJE EN PARED / MOCOWANIE ŚCIENNE / SUPPORTO DA MURO
EN
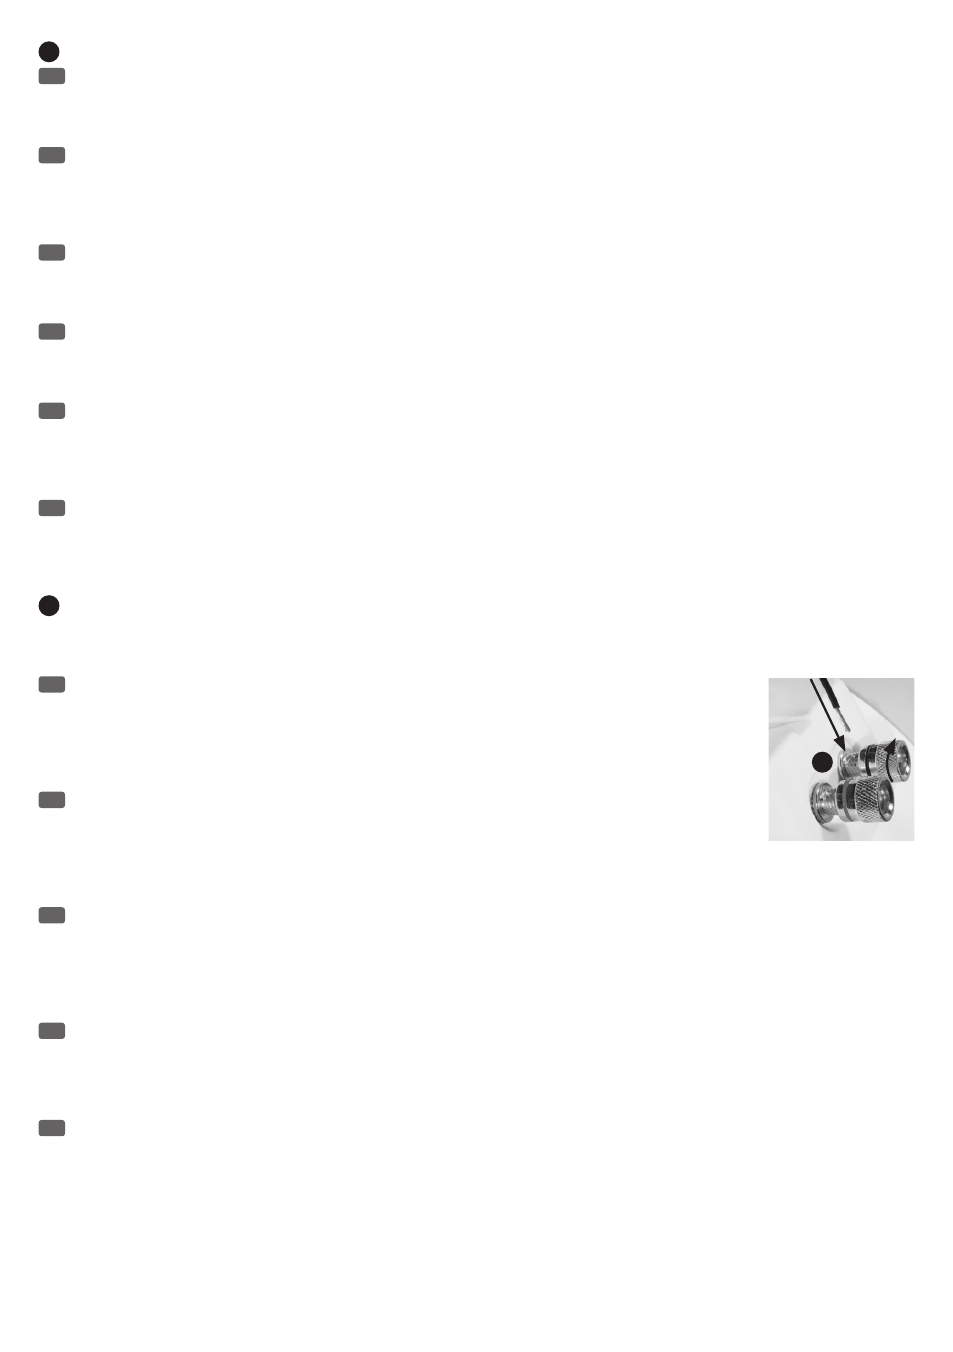
The speakers can be mounted using the wall bracket either horizontally or vertically. The mount features multiple suspension points, and is
thus universally usable. Remove the holder from the speaker by releasing the two thumbscrews (figure A) on the top and bottom. Mount the wall
bracket onto a suitable place on the wall or ceiling using suitable mounting hardware, and ensure a secure hold. Now mount the speaker using the
two thumbscrews onto the wall bracket and adjust the angle as desired.
DE
Der Lautsprecher kann mit Hilfe der Wandhalterung horizontal oder vertikal montiert werden. Die Halterung verfügt über mehrere Aufhänge-
punkte, ist somit universell einsetzbar. Entfernen Sie die Halterung vom Lautsprecher, indem Sie die beiden Flügelschrauben (Abbildung A) auf der
Ober- und Unterseite lösen. Befestigen Sie die Wandhalterung an einer geeigneten Stelle der Wand, oder Decke mit geeignetem Befestigungsmaterial
und achten auf sicheren Halt. Montieren Sie nun den Lautsprecher mit Hilfe der beiden Flügelschrauben an der Wandhalterung und stellen den
Abstrahlwinkel wie gewünscht ein.
FR
L'enceinte peut se monter à l'horizontale ou à la verticale sur sa fixation murale. La fixation possède plusieurs points de suspension, pour une
polyvalence accrue. Séparez la fixation de l'enceinte, en desserrant les deux vis à papillon en haut et en bas (Figure A). Vissez la fixation murale à
l'emplacement désiré du mur, ou au plafond, avec le matériel de fixation correspondant, et vérifiez la bonne tenue en place. Montez alors l'enceinte
sur sa fixation murale, avec les deux vis papillon, et orientez-la comme désiré.
ES
Los altavoces se pueden montar horizontal o verticalmente por medio del soporte de pared. Al disponer de varios puntos de suspensión, el
soporte se puede utilizar en diversas aplicaciones. Retire el soporte del altavoz, aflojando los dos tornillos de mariposa (Fig. A) situados en la parte
superior e inferior. Fije el soporte en el punto elegido en la pared o en el techo, utilizando el material de fijación adecuado, y asegúrese de que quede
bien sujeto. A continuación, monte el altavoz utilizando los dos tornillos de mariposa del soporte de pared y ajuste la inclinación.
PL
Za pomocą mocowania ściennego można zamontować głośnik poziomo lub pionowo. Uchwyt posiada kilka punktów zawieszenia, co umożliwia
uniwersalne zastosowanie. Odczepić uchwyt od głośnika poprzez poluzowanie obu śrub skrzydełkowych (rysunek A) na górze i na dole głośnika.
Uchwyt ścienny należy przymocować w odpowiednim miejscu na ścianie lub suficie za pomocą odpowiednich elementów mocujących, zapewniając
jego stabilną pozycję. Następnie zamontować głośnik w uchwycie ściennym za pomocą obu śrub skrzydełkowych i ustawić kąt emisji dźwięku
zgodnie z potrzebami.
IT
L'altoparlante può essere montato in orizzontale o in verticale con l'ausilio del supporto da muro. Il supporto è provvisto di diversi punti di
sospensione ed è pertanto universale. Per togliere il supporto dall'altoparlante allentare le due viti ad alette (Figura A) sul lato superiore e inferiore.
Applicare il supporto alla parete, o al soffitto, con materiale di fissaggio idoneo, scegliendo il punto adatto e verificando che il fissaggio sia ben saldo.
Ora montare l'altoparlante al supporto utilizzando le due viti ad alette e regolare l'angolo di dispersione.
2
SCREW TERMINALS FOR SPEAKER CABLES (8 OHM SPEAKERS) / SCHRAUBANSCHLÜSSE FÜR LAUTSPRECHERKABEL (8 OHM
LAUTSPRECHER) / BORNIERS À VIS POUR CÂBLE HAUT-PARLEUR (ENCEINTE 8 OHMS) / CONECTOR ROSCADO DE ALTAVOZ
(ALTAVOZ DE 8 OHMIOS) / PRZYŁĄCZA ŚRUBOWE DO KABLA GŁOŚNIKA (GŁOŚNIK 8 Ω) / ATTACCHI FILETTATI PER CAVI ALTOPARLANTE
(ALTOPARLANTI DA 8 OHM)
EN
Connect the positive pole (+) of the speaker cable coming from the amplifier to the red screw terminal (+), and the
negative pole (-) of the speaker cable coming from the amplifier to the black screw terminal (-). When connecting multiple
speakers in parallel to a power amplifier, please be sure to have the same polarity, minimum impedance (power amplifier) and
total load (speakers). For example: 2 speakers with 30 W of power and an impedance of 8 ohms each, when connected in
parallel produce a total power of 60 W and a total impedance of 4 ohms. Therefore, a channel of the power amplifier with a
power of at least 60 W at 4 ohms is required and must therefore also be stable at 4 ohms (see figure below).
DE
Verbinden Sie den Pluspol (+) des vom Verstäker kommenden Lautsprecherkabels mit dem roten Schraubanschluss
(+) und den Minuspol (-) des vom Verstärker kommenden Lautsprecherkabels mit dem schwarzen Schraubanschluss (-).
Achten Sie beim parallelen Anschluss mehrerer Lautsprecher an einem Endstufenkanal auf gleiche Polung, Mindestimpe-
danz (Endstufe) und Gesamtbelastbarkeit (Lautsprecher). Beispiel: 2 Lautsprecher mit je 30W Belastbarkeit und 8 Ohm
Impedanz parallel geschaltet ergeben eine Gesamtbelastbarkeit von 60W und eine Gesamtimpedanz von 4 Ohm. Ein Kanal der verwendeten Endstufe
muss also eine Leistung von mindestens 60W an 4 Ohm haben und demnach auch 4 Ohm stabil sein (siehe Abbildung unten).
FR
Connectez le pôle Plus (+) du câble haut-parleur provenant de l'amplificateur au bornier rouge (+) et le pôle Moins (-) du câble haut-parleur
provenant de l'amplificateur au bornier noir (-) de l'enceinte. En cas de branchement en parallèle de plusieurs enceintes sur un même canal
d'amplification, attention à bien respecter les polarités, l'impédance de charge minimale (côté amplificateur) et la puissance maximale admissible
(côté enceinte) Exemple : 2 enceintes, d'une puissance admissible de 30 Watts et d'une impédance de 8 Ohms, sont connectées en parallèle : leur
puissance admissible globale passe alors à 60 Watts et leur impédance résultante à 4 Ohms. Par conséquent, le canal d'amplification correspondant
doit lui aussi pouvoir fournir une puissance de 60 Watts sur 4 Ohms, et rester stable sur cette charge (voir Figure ci dessous).
ES
Conecte el conductor positivo (+) del cable de altavoz procedente del amplificador al conector roscado rojo (+) y el conductor negativo (−) del cable
de altavoz procedente del amplificador al conector roscado negro (−). Si se conectan varios altavoces en paralelo a un canal del amplificador, preste
atención a la polaridad, la impedancia mínima (amplificador) y la carga total (altavoces). Por ejemplo: si tenemos 2 altavoces, cada uno de 30 W de
potencia nominal y 8 ohmios de impedancia, al conectarlos en paralelo darán 60 W y presentarán una impedancia de 4 ohmios. Por lo tanto, el canal del
amplificador deberá tener una potencia mínima de 60 W sobre 4 ohmios, así que debe estar diseñado para 4 ohmios (ver siguiente figura).
PL
Biegun dodatni (+) kabla głośnika wychodzącego ze wzmacniacza należy podłączyć do czerwonego przyłącza śrubowego (+), a biegun ujemny
(-) kabla głośnika wychodzącego ze wzmacniacza do czarnego przyłącza śrubowego (-). Przy równoległym podłączaniu kilku głośników do kanału
końcówki mocy należy pamiętać o tym samym biegunie, oporze minimalnym (końcówka mocy) i obciążeniu łącznym (głośnik). Przykład: podłączone
równolegle 2 głośniki o obciążeniu 30 W i oporze 8 Ω każdy dają łączne obciążenie 60 W i łączny opór 4 Ω. Jeden kanał użytej końcówki mocy musi
mieć zatem moc co najmniej 60 W na 4 Ω i tym samym oferować stabilność dla 4 Ω (patrz rys. poniżej).