Operation – Legrand MKFOB User Manual
Page 5
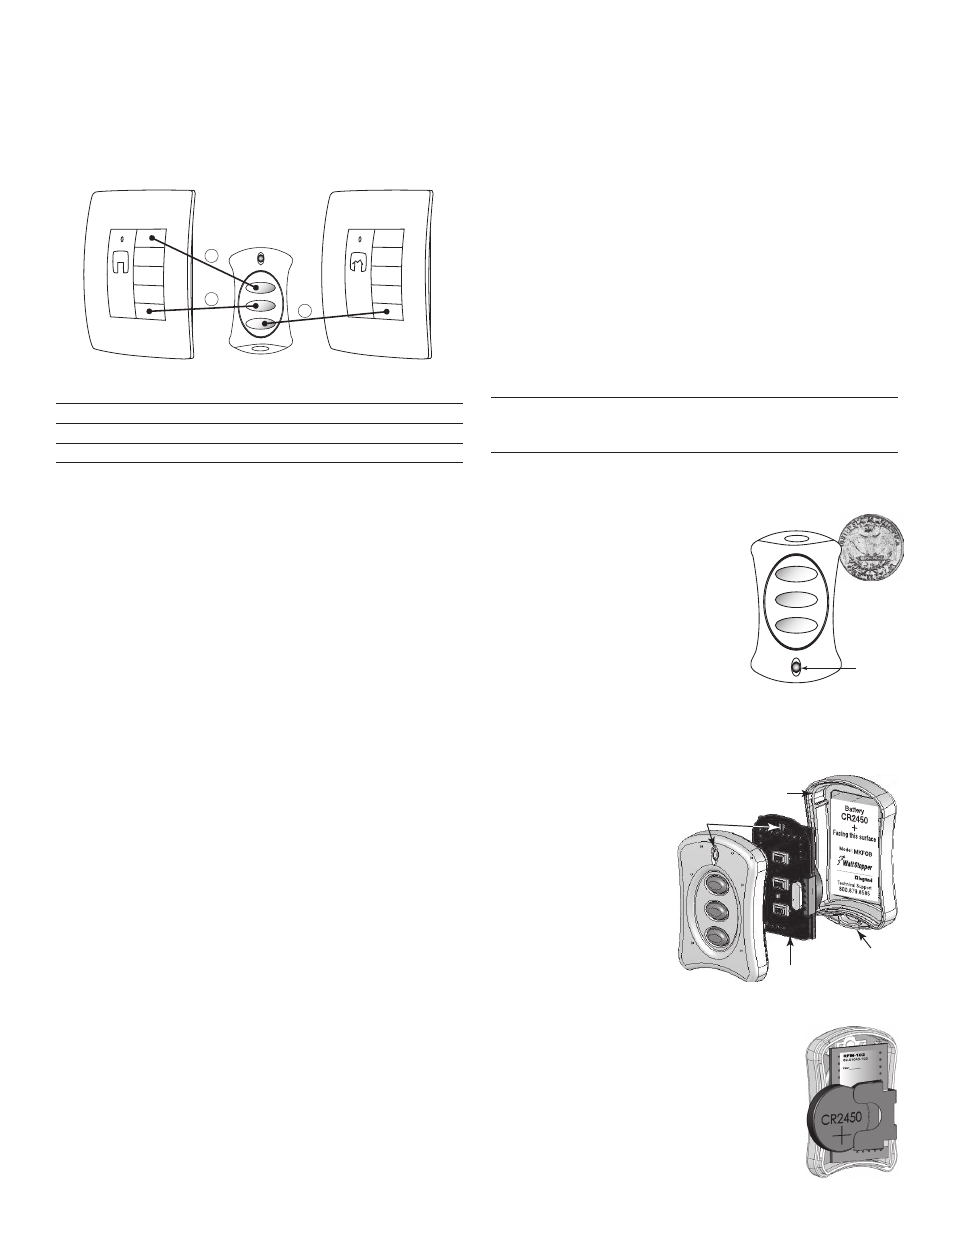
Operating Mode-3
In Mode-3, the MKFOB is bound to an individual room to allow the
device to record and recall both Room and House scenes. This is
done so that multiple key fobs can be used in the wireless system
to control different areas within the home to perform localized
tasks.
Room
Scene
5
1
MKFOB
Mode-3
House
Scene
5
MODE-3
Button
Recall
1
Room Scene 1
2
Room Scene 5
3
House Scene 5
First, set the MKFOB to Mode-3.
1. Start binding from the MKFOB: Simultaneously press and
hold button 1 and 2 until the LED starts flashing yellow
(approximately 2 seconds).
2. Press and hold MKFOB button 3 until the LED changes to
green then starts flashing yellow again (approximately 2
seconds).
3. End the binding from the MKFOB: Simultaneously press and
hold button 1 and 2 until the LED stops flashing yellow and
turns green (approximately 2 seconds).
Next, bind the MKFOB to the desired Room.
1. Go to the room controller device and initiate binding by
pressing the binding activation keys until its LED flashes
yellow (about 2 seconds). Binding is typically initiated by
simultaneously pressing and holding the top and bottom of a
paddle-operated device.
2. Press and release any button on the MKFOB to wake it up
and lock onto the binding operation.
If its LED flashes yellow, it is already bound to the room. You
can skip to step 3.
If it flashes green, it is not yet bound to the room.
Simultaneously press MKFOB buttons 1 and 2 until the LED
turns yellow (about 2 seconds) indicating that the MKFOB is
bound to the room.
3. Return to the same device used to initiate the binding and
end the binding by pressing the binding activation keys until
the device LED changes to solid green (about 2 seconds).
When the MKFOB receives a close binding message (or no
binding message is heard for 4.5 seconds) the MKFOB goes
to sleep mode and the LED turns off.
OPERATION
When a MKFOB is added to a system its scene buttons execute
the same scenes as other house or room level scene controllers
to which it is bound. (Refer to the Operating Mode charts for
specific scenes recalled depending upon mode selected). To
revise a scene, record the scene from the room or house level
device to which the MKFOB is bound.
Lock Key Fob
Locking the MKFOB prevents it from being inadvertently reset to
factory defaults. Lock the key fob after scene configuration.
To Lock: Start a binding from the MKFOB (simultaneously press
and hold button 1 and 2 until the LED starts flashing yellow).
Press and hold buttons 1 and 3 until the LED blinks red.
Press and hold button 1 and 2 to terminate the process.
To Unlock: Start a binding from the MKFOB (simultaneously press
and hold button 1 and 2 until the LED starts flashing yellow).
Press and hold buttons 2 and 3 until the LED blinks green.
Press and hold button 1 and 2 to terminate the process.
To prevent inadvertent scene reprogramming due to
accidental pressing of a MKFOB button, lock the house
configuration from a house level scene controller.
Battery Usage
To ensure that the battery is not unnecessarily discharged, the
MKFOB goes to sleep when it is not
sending messages. When it wakes to send
a message, it immediately goes back
into the sleep mode once the message
transmission has been confirmed and no
other button activity is present.
Installing a New Battery
To install the battery, you must open
the MKFOB housing. While the unit is
designed to withstand handling, there is
a circuit board inside, so you should avoid
opening the housing in areas prone to excessive static electricity.
Touch a grounded surface to discharge excessive static electricity
from your body before touching the printed circuit board.
1. Open the MKFOB
housing by inserting
the edge of a coin into
the notch on the corner
of the unit, near the
key-chain loop. Twist
the coin to pop open the
housing.
2. Remove the back
housing; on it is the
product identification
label with battery
instructions. The circuit
board and battery
remains in the front
housing.
3. Remove the old battery by pushing it out of
the metal clip that holds it in place.
4. Install the new CR2450 3Volt battery with the
positive (+) plane against the metal clip.
5. Reassemble the unit then snap the housing
together. Test the buttons. Make sure you
get the appropriate soft click when you press
each button.
3V
LED
LED
Key-chain
Loop
Printed Circuit
Board (front)
Back Housing
inside chamber