Cloning – Alinco DJ-C7 User Manual
Page 27
27
7
Cloning
7.1 Cloning
With the Cloning function, it is possible to connect two
transceivers by a cable, and copy all settings from one unit
(called the Master) to the other (called the Slave).
This function transfers all the settings of the Master including
memory channel data.
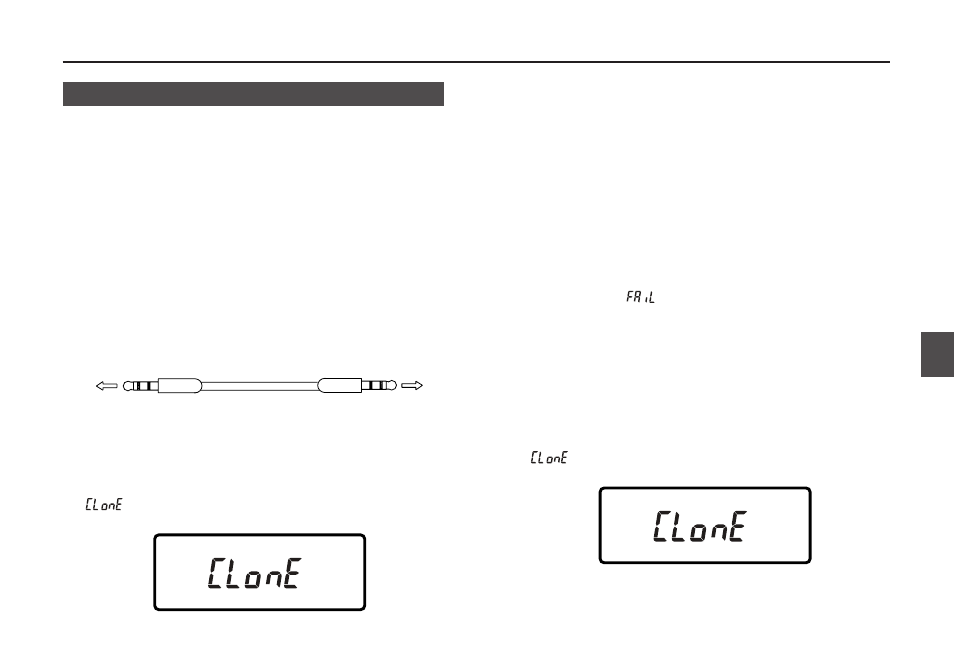
■Connecting the Transceiver
• Connect both of the speaker jacks on the sending transceiver
(Master side) and the receiving transceiver (Slave side) with a
ø 2.5 stereo mini-plug cord as shown in the below illustration.
• Be sure that both transceivers are switched OFF before
connecting them.
■Receiving the Master Data
Here are the operations of the Slave side.
1. While holding the MONI key down, turn the power ON.
"
" is displayed on the LCD, and the Slave enters the
Clone mode.
2. Wait for a while until the master data is transferred
completely.
For more information on sending the master data, please refer
to the next section.
3. Turn the power OFF on the Slave.
• The stereo mini-plug cord should be direct-coupled to avoid
internal resistance.
• Even while the DJ-C7 transfers data, the operation can be
suspended with any key operations. To restart transferring,
press the PTT key.
• Do not disconnect the cable while cloning. When the cord is
disconnected, "
" is displayed on the Master's LCD, and
the DJ-C7 suspends transferring.
• All data in the slave side will be overwritten if cloning is
executed. Be careful with current data on the Slave before
cloning.
■Transmitting Data from the Master Transceiver
Here are the operations of the Master side.
1. While holding the MONI key down, turn the power ON.
"
" is displayed on the LCD, and the Master enters the
Clone mode.
Master
To SP/MIC connector
on the transceiver
Slave
To SP/MIC connector
on the transceiver
7. Cloning