Pool set-up – Aqua Leisure Simple-Set Pool User Manual
Page 6
P.6
2. POOL SET-UP
A.
If time permits, completely unroll your pool and expose it to direct sunlight for an hour
or more. This will make the pool material more flexible during set-up.
B.
If your pool system contains a ground cloth, carefully unfold it and spread out as evenly
as possible over set-up area.
WARNING:
Use of a ground cloth is REQUIRED when the pool is set up on concrete. (If a
ground cloth is not a standard feature in your pool system, you may purchase one as an
accessory. Please check with your local retailer for availability.)
C.
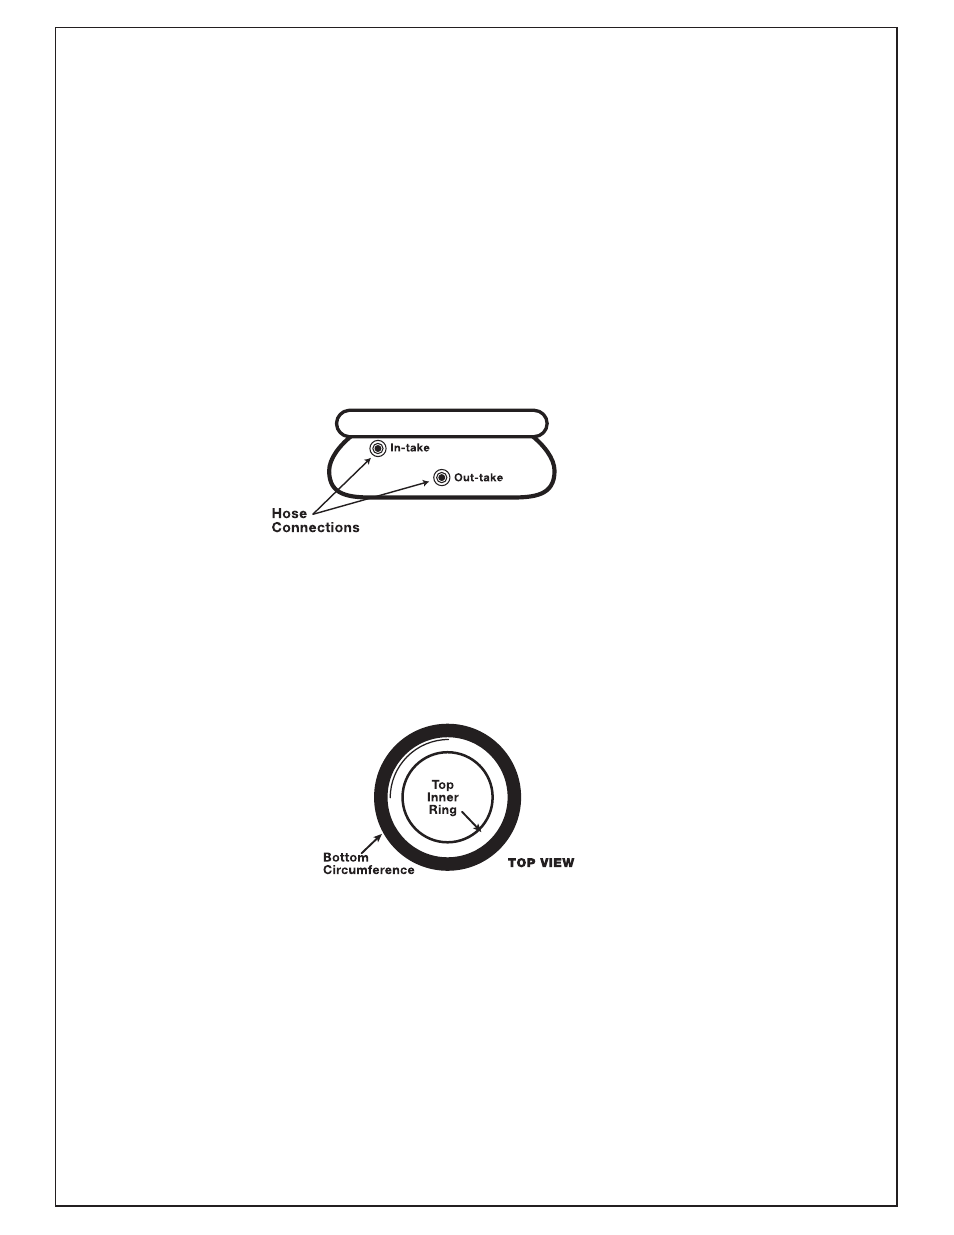
Place the pool over the ground cloth (if applicable) so that the hose fixtures on the pool
point towards the GFCI outlet you will use to power your filter pump. CAUTION:
NEVER DRAG THE POOL AS THIS WILL DAMAGE IT.
D.
Carefully unfold the pool, if you have not already done so, spread out the sides and the
floor of the pool to make them as smooth as possible.
E.
Inflate the top ring using either a manual air pump or an electric pump on a low pressure
setting. Keep the ring centered in the middle of the pool. VERY IMPORTANT: The top
ring should only be filled to 85% of capacity (The ring will form a prefect circle and will
be moderately firm to the touch with a squeeze of your hand). DO NOT over-inflate as
this may damage the ring or cause it to burst.
F.
Close and secure the three openings in the pool (the drain valve and the two fixtures for
attaching filter pump hoses.) First, make sure that the outer drain plug is inserted into the
drain valve and that the outer drain cap is screwed on tightly.* Then locate the attached
caps inside the pool, and firmly press them into the wall until they snap closed over their
openings. Note: Make sure to keep the “bullet” shaped plastic drain adapter (located in
the patch kit) in a safe location in order to drain your pool at the end of the swim season.
*If your pool system came with 2 strainer and plunger valve assemblies (Model # P2000),
please refer to pages 8 and 9 of this manual for instructions on installing them at this time.