Milling direction for edges plunge cutting, Pivot handle (see fig. f), Using the rip fence (see fig. g) – Parkside PSFS 250 A1 User Manual
Page 10: Cutting circles (see fig. h)
10 GB
Operation
Operation / Maintenance and Cleaning / Service / Warranty / Disposal
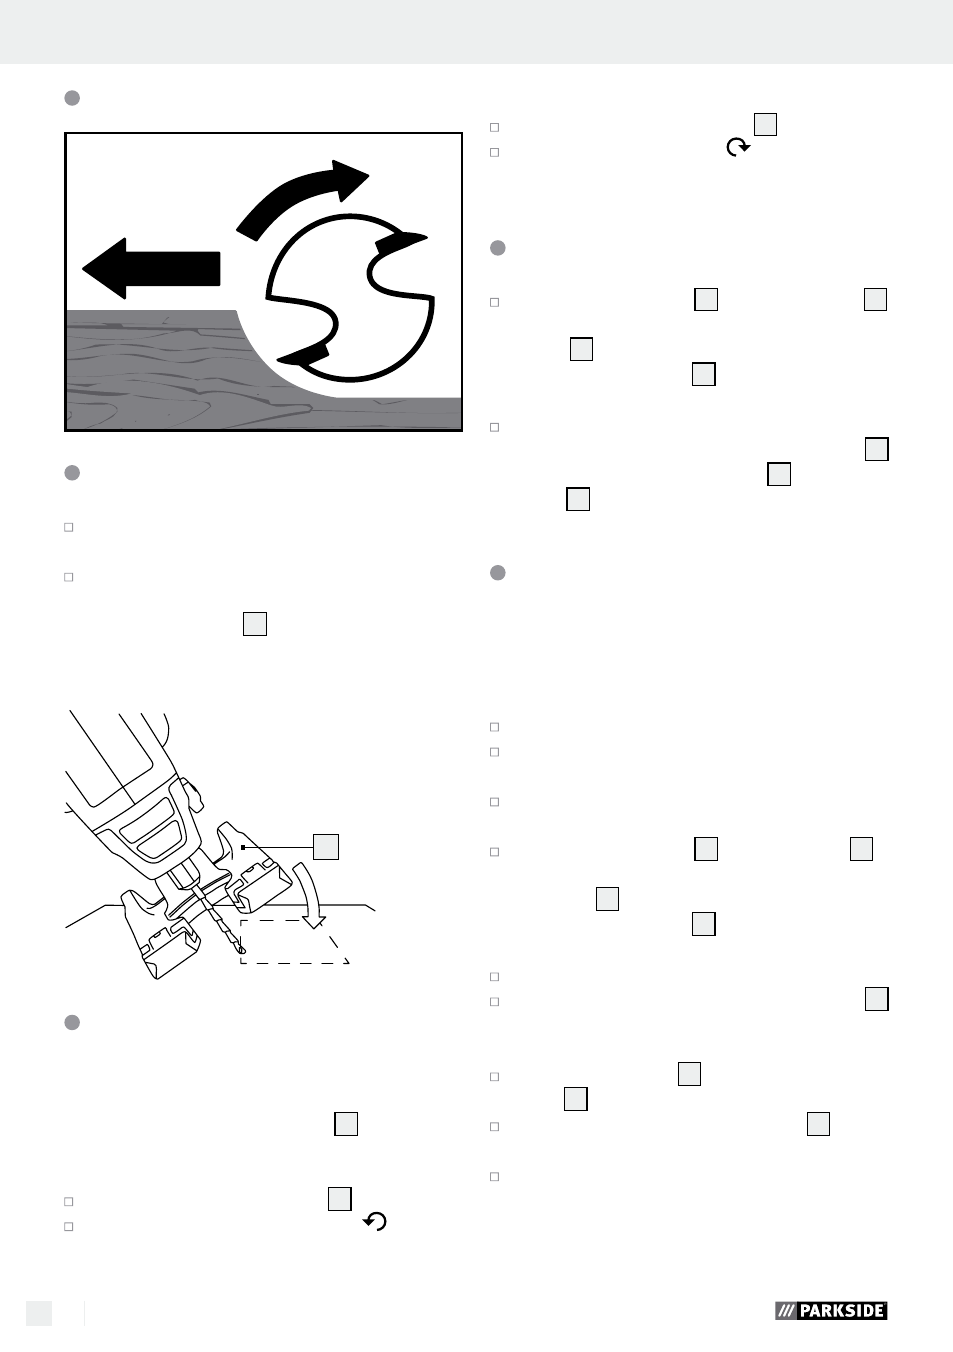
Milling direction for edges
Plunge cutting
Insert the bit into the work piece at an angle
of 45°.
Slowly straighten the bit to an angle of 90° to
begin the cut.
Note: The base plate
7
must be flush with the
material surface.
7
Pivot handle (see Fig. F)
Note: Turning the grip during the start up opera-
tions is forbidden. Remove the plug from the socket
and make sure that the swivel lock
13
is engaged.
Pivot to horizontal
Press and hold the bevel stop
13
.
Turn the handle counter-clockwise
from ver-
tical to horizontal until the bevel stop locks in.
Pivot to vertical
Press and hold the bevel stop
13
.
Turn the handle clockwise
from horizontal
to vertical until the bevel stop locks in.
Using the rip fence (see Fig. G)
Loosen the wing bolts
9
on the base plate
7
and slide the guide bar for the circle- / rip
fence
15
through the two openings in the bot-
tom of the base plate
7
, with the rip fence
facing down.
Position the tool the desired distance from the
edge of the work piece. Tighten the wing bolts
9
to secure the circle- / ripe fence
15
to the foot
plate
7
.
Cutting circles (see Fig. H)
Note: The position of the guide hole depends on the
desired result, either inside or outside of the edge
of the circle: inside for holes, outside for discs. The
radius can be set from ca. 5 to 16 cm.
Make a circle on the work piece.
Mark the centre and drill a hole into the hole
(plunge cut).
Drill a guide hole on the edge of the circle
(plunge cut) (guide hole diameter 3 mm).
Loosen the wing bolts
9
in the foot plate
7
and slide the guide rod for the circle- / rip
fence set
15
through the two holes in the bot-
tom of the base plate
7
, with the centring tip
facing down.
Insert the centring tip in the middle of the circle.
Adjust the distance of the circle- / rip fence set
15
so as to plunge the bit into the guide hole at
the edge of the circle.
Lock the base plate
7
by tightening the wing
bolts
9
.
Press and hold the ON / OFF switch
4
to
power on the unit.
Slowly push the unit forward.