Adjusting the brilliance of a tone, Adding reverb to the tone – Casio AP-650M User Manual
Page 11
English
Using Built-in Tones
E-9
1.
Press the
cs
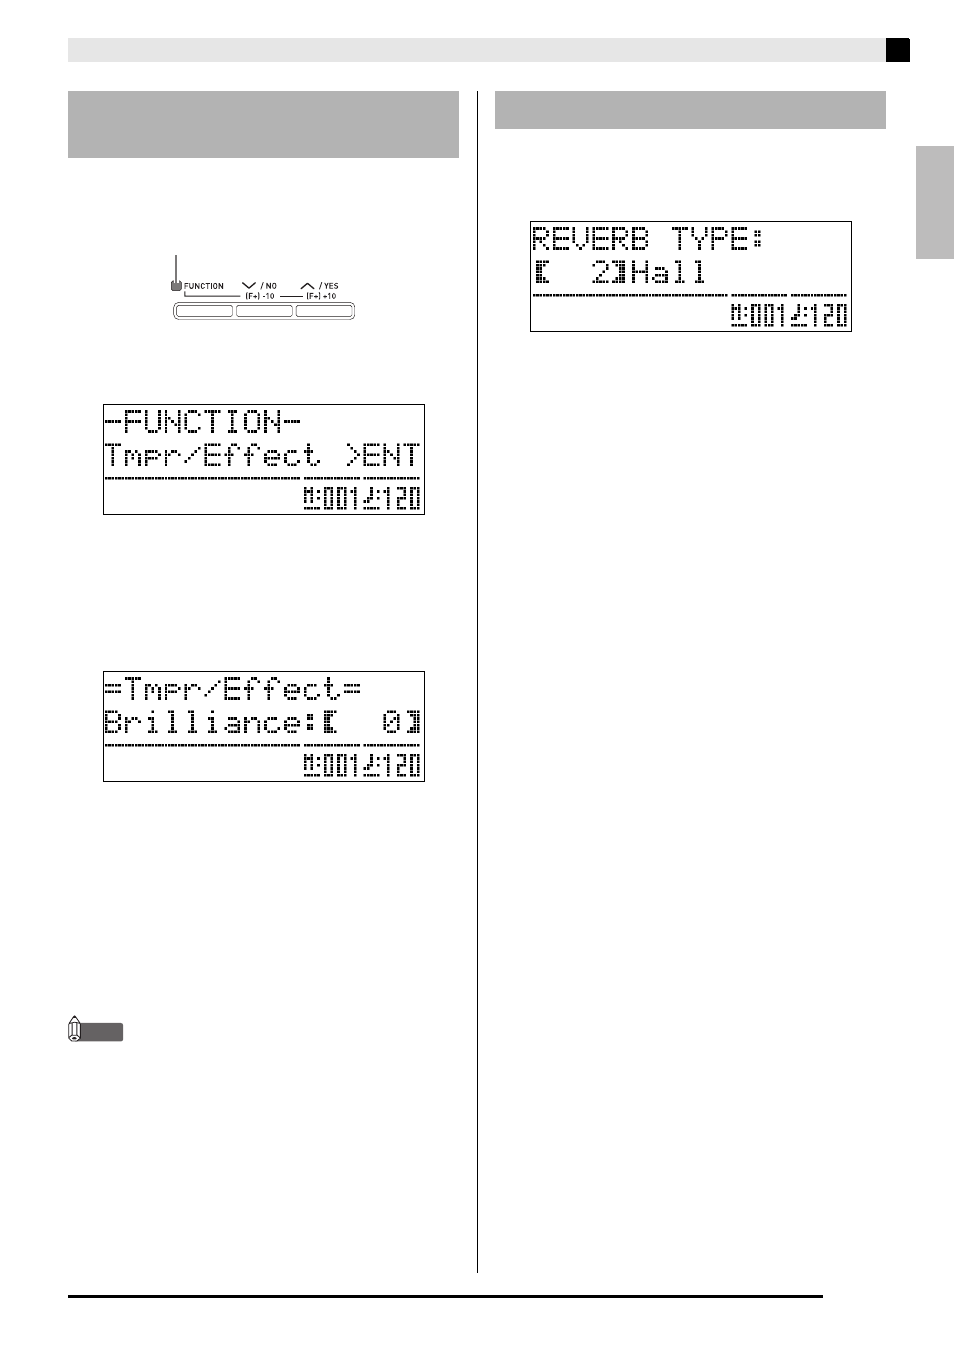
(FUNCTION) button.
The FUNCTION lamp will light and the function screen
will appear on the display.
2.
Use the
do
(i) and
dn
(u) buttons to select
the Tmpr/Effect screen.
3.
Press the
dp
(ENTER) button.
This will display a screen for selecting settings in the
Tmpr/Effect group.
4.
Use the
do
(i) or
dn
(u) button to select
the brilliance screen shown below.
5.
Use the
ct
(w, q) buttons to adjust the
brilliance of the currently selected tone. You
can adjust brilliance in the range of –3 to 0 to 3.
6.
Press the
cs
(FUNCTION) button.
This will exit the brilliance screen and cause the
FUNCTION lamp to go out.
NOTE
•
See “Other Settings” (page E-41) for details about
using the
cs
(FUNCTION)
button.
1.
While holding down the
cs
(FUNCTION)
button, press the
dk
(REVERB) button.
This will display a reverb type selection screen.
2.
Use the
ct
(w, q) buttons to select the
reverb type you want.
•
The following shows the five available reverb type
settings.
0: OFF (no reverb)
1: Room
2: Hall
3: Large Hall
4: Stadium
3.
Press the
cs
(FUNCTION) button.
This exits the reverb type selection screen.
Adjusting the Brilliance of a
Tone
w : Mellower and softer
q : Brighter and harder
Lit
Adding Reverb to the Tone