Fig.1, Assembly, Operation – Sealey MC365 User Manual
Page 2: Maintenance
5. ASSEMBLY
R
WARNING! Keep your hands away from moving parts.
Numbers in brackets refer to item numbers in the parts diagram.
5.1.
Attach lead plate (31) to end of platform (32) using bolts (30).
5.2.
Fit the front wheel vice assembly (35, 47) to the front of the platform (32) using bolts (33),
washers (34) and nuts (38).
5.3.
Insert the lift foot pedal (7) into the pump piston spindle and insert the release foot pedal (10) into the release valve spindle (18).
5.4.
Attach baffle plate (39) using bolts (33), washers (34) and nuts (38).
5.5.
BEFORE FIRST USE
5.5.1.
Leave the pump for one hour, to allow the oil to settle, before purging the system.
Note:
Failure to allow sufficient time for the oil to settle could result in air remaining in the oil. In this event, the pump will not purge
completely first time and a second purge will be required.
5.5.2.
Purge the hydraulic circuit to eliminate any air in the system, by fully pressing the release valve pedal (10) and pumping the lift
pedal (7) 15 to 20 times.
5.5.3.
Test the lift, unladen, by raising it to full height and then lowering it. Depress release valve pedal (10) slowly to control the rate of
descent.
6. OPERATION
R
WARNING! Ensure that you read, understand and apply the safety instructions before use.
R
WARNING! DO NOT attempt to overload the lift. The hydraulic pump is equipped with safety valve which will prevent an excessive
load from being lifted.
6.1.
Position the lift in a suitable area, checking that the surface on which the lift will stand is solid and flat (preferably concrete).
6.2.
Check that the lift is fully lowered and that the vice jaws are open.
6.3.
Wheel the bike up the lead plate (31) and onto the platform so that the front of the wheel is just beyond the vice. Support bike on
the centre stand.
Note:
There is a choice of mounting holes for the vice to cater for various sizes of bike.
6.4.
Clamp front wheel in vice to prevent any movement of the bike.
6.5.
Ensure the bike is securely strapped to the platform.
6.6.
Raise the lift by pumping the lift foot pedal (7).
6.7.
When the lift is fully raised pass the locking bar (48) through the holes in the underside of the main platform (32) so that the lift
cannot be inadvertently lowered.
6.8.
When work is complete, check under the lift to ensure that there are no obstructions and that it is safe to lower the unit.
6.9.
Remove the locking bar and then SLOWLY press the release valve pedal (10) to GENTLY lower the lift.
V
IMPORTANT!: The speed of lowering is controlled by the release valve. The more the valve is opened the more rapidly the lift
descends. Ensure the descent is slow and controlled.
6.10.
When the lift is fully lowered, unstrap the bike, open the vice jaws and remove the bike from the lift.
7. MAINTENANCE
7.1.
When the lift is not in use, it must be stowed in the lowest position to minimise ram and piston corrosion.
7.2.
Keep the lift clean and wipe off any oil or grease. Lubricate all moving parts..
7.3.
Before each use check all parts. If any part of the lift is damaged or suspect remove lift from service and take necessary action to
repair.
DO NOT use the lift if it is believed to have been subjected to abnormal load or shock. Inspect and take appropriate action.
7.4.
Periodically check the ram and piston for signs of corrosion. Clean exposed areas with a clean oiled cloth.
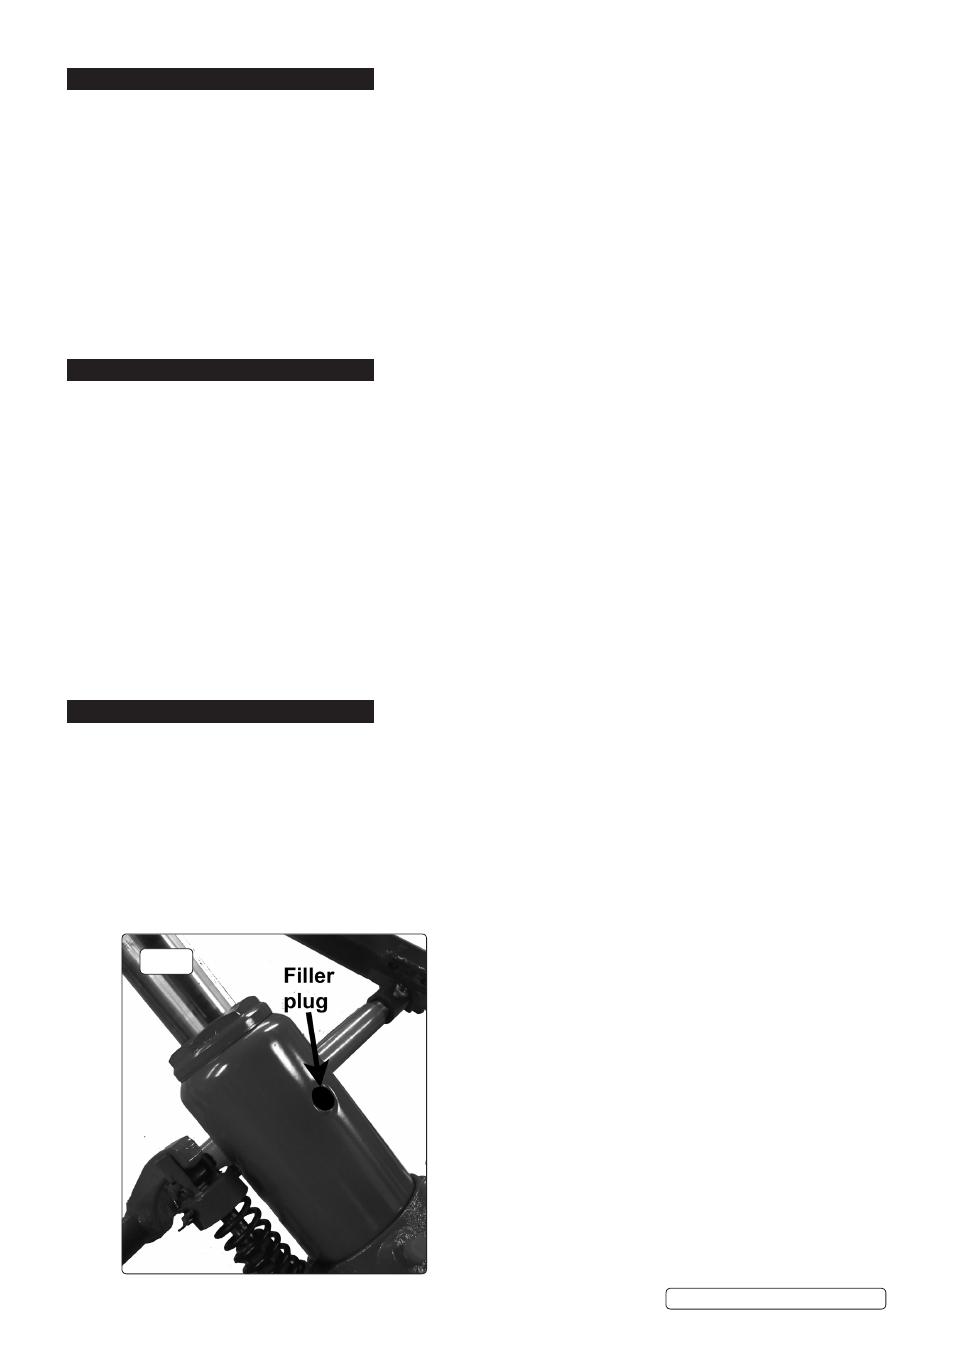
7.5.
The hydraulic oil level is checked as follows:
1) Remove hydraulic unit from lift and stand upright.
2) Remove plug (fig.1). Correct oil level is up to plug aperture - add hydraulic oil as necessary.
R
WARNING! Only a good quality hydraulic oil, such as SEALEY HYDRAULIC OIL, must be used. DO NOT use brake fluid.
V
IMPORTANT! Only fully qualified personnel should attempt maintenance or repair. Contact your authorised dealer.
fig.1
MC365.V2 | Issue 3(I) 08/05/15
Original Language Version
© Jack Sealey Limited