Datavideo PTR-10 MK II Robotic Head & RMC-180 MK II Pan/Tilt Controller Kit User Manual
Page 10
10
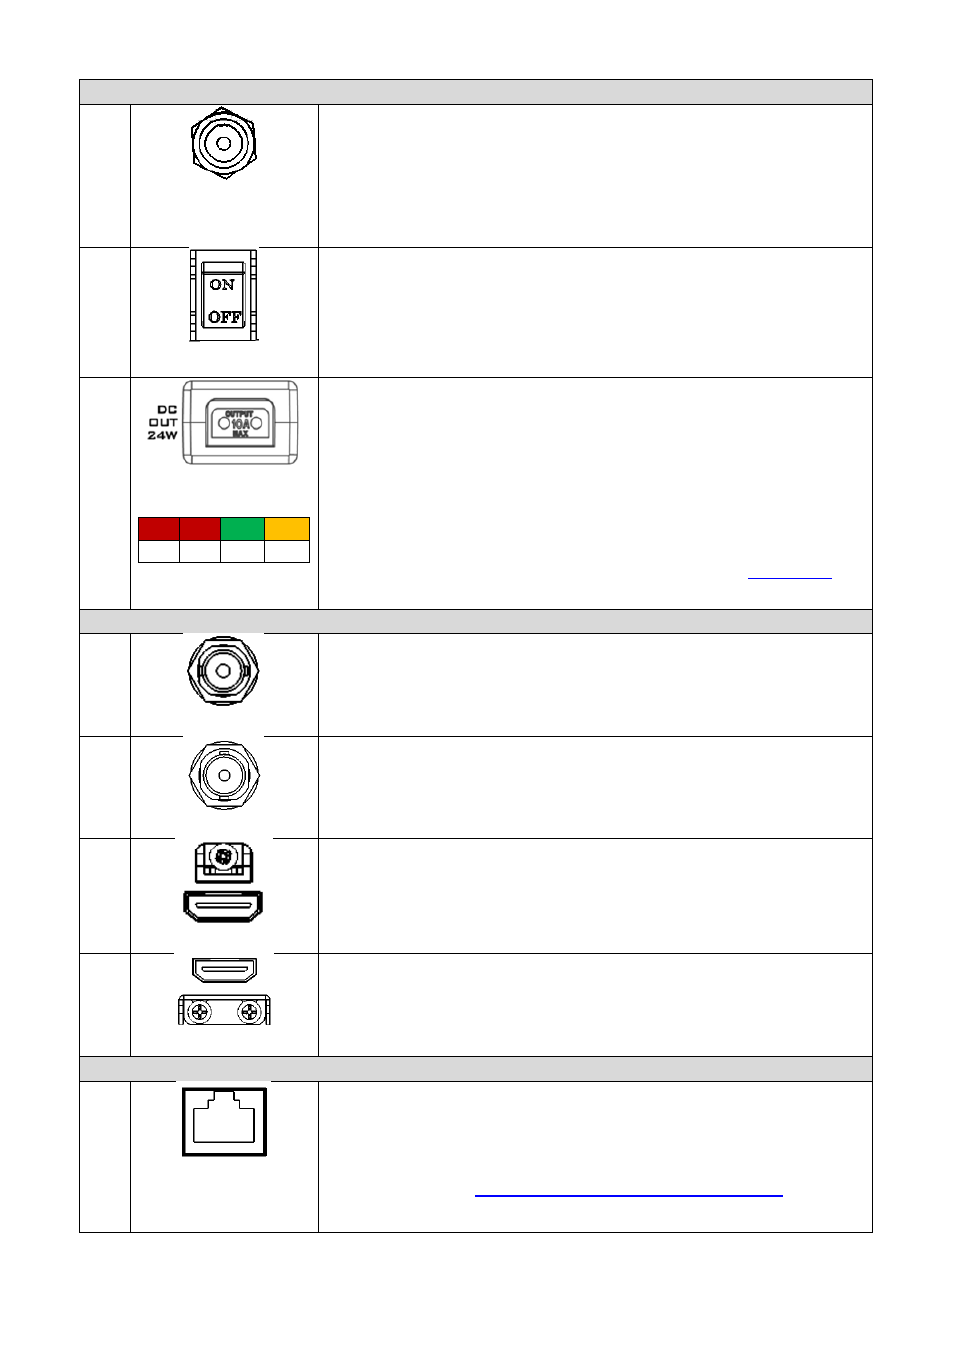
Power
1
DC 12V/5A IN
DC in socket connects the supplied 12V/5A PSU. The connection can
be secured by screwing the outer fastening ring of the DC In plug to
the socket.
2
Power Switch
Device power ON/OFF
3
D-tap DC OUT 24W
The D-tap connector supplies DC power to the camera.
Note:
A
D-tap-to-DC5.5
cable accompanying the PTR-10 MARK II is
designed for supplying power to Datavideo’s block cameras.
12V 10V 8.4V 7.4V
LED Indicators
The LED indicators represent different output voltages that the DC
OUT D-tap connector is delivering. See the section on
for
selection of output voltage.
Video
4
SDI IN
Video IN from the mounted camera
5
SDI OUT
Delivers camera video to external devices such as a video switcher.
6
HDMI IN
Video IN from the mounted camera
7
HDMI OUT
Delivers camera video to external devices such as a video switcher.
The OSD menu will overlay on HDMI video output of this port.
Control
8
RS-422 IN
Connects any VISCA controller utilizing RS-422 interface such as
Datavideo’s RMC-180 and RMC-300A controller.
See the section on
RS-422 VISCA Communication Protocol
for
detailed descriptions and example system setup.