Crimson JKR3 User Manual
Page 7
7
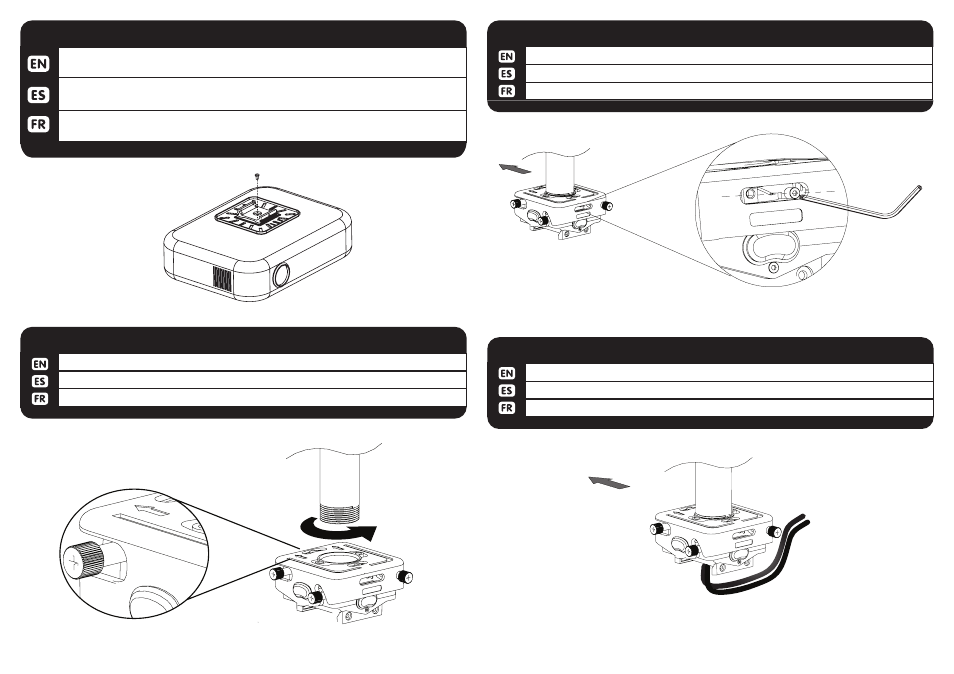
Some projectors have only one attachment point. In this case, attach directly to the
universal plate.
Algunos proyectores tienen un solo punto de conexión. En este caso, se conectan
directamente a la placa universal.
Certains projecteurs ont un seul point d’attache. Dans ce cas, se fixent directement
sur la plaque universelle.
3-5
PREPARE PROJECTOR FOR MOUNTING
(E-H)
4-1
INSTALL PROJECTOR BODY (EXTENSION PIPE)
Thread the JR3 body (X) on the extension with the arrows pointing to the screen.
Enhebrado del JR3 cuerpo (X) en la extensión con las flechas apuntando a la pantalla.
Enfilez le corps JR3 sur (X) l’extension avec les flèches pointant à l’écran.
Extension
pipe
Arrow points to screen
Screen
4-2
INSTALL PROJECTOR BODY (EXTENSION PIPE)
Tighten the locking set screw.
Apriete el tornillo de bloqueo.
Serrer la vis de blocage.
4-3
INSTALL PROJECTOR BODY (EXTENSION PIPE)
Run the wiring through the pipe and through the JR3 body.
Ejecute el cable a través del tubo ya través del cuerpo JR3.
Exécuter le câblage à travers le tube et à travers le corps JR3.
Screen
JKR311824-0001