Log clips interactively – Adobe Premiere Pro CS3 User Manual
Page 71
ADOBE PREMIERE PRO CS3
User Guide
65
4
In the Setup area of the Logging pane, choose your media type from the Capture pop-up menu.
5
If you want to capture some frames extending beyond the In and Out points of each clip, enter the number of
frames for these handles in the Handles setting of the Capture section.
6
Click the Log Clip button in the Timecode area of the Logging pane to log the clip you identified. Name the clip
when prompted. Adobe Premiere Pro logs the clip by placing an offline file for it in the Project panel.
7
Repeat steps 2 through 6 to log each shot you want to batch capture.
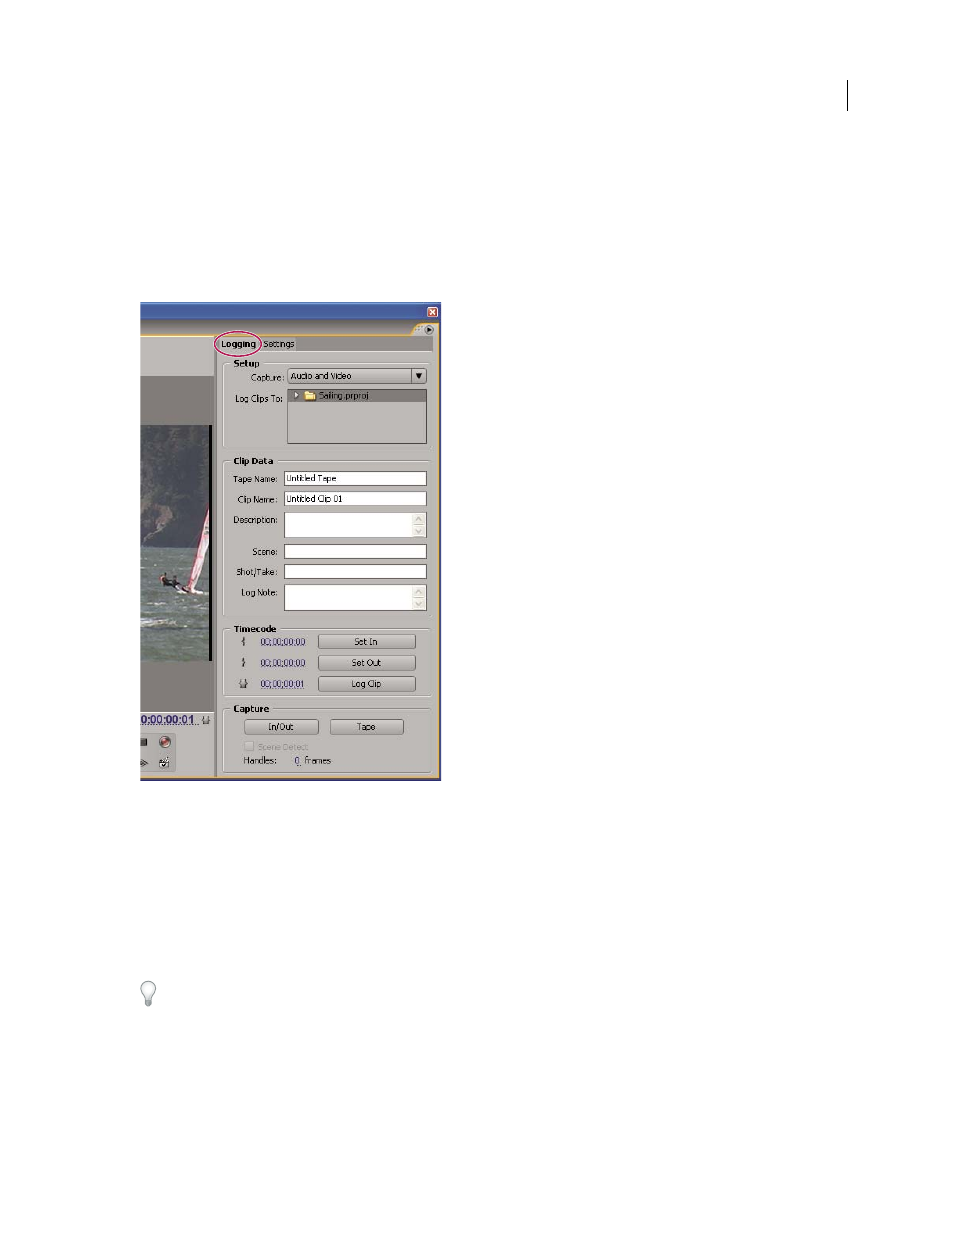
Capture panel with Logging active
Log clips interactively
1
Make sure that your device is connected and in VTR or VCR (not Camera) mode, and then choose File
>
Capture.
2
In the Logging pane, enter the settings you want to use as the defaults for Setup and Clip Data.
3
Play the tape. Click Set In or Set Out at any time, even as the tape plays. Repeat as necessary.
4
When you are satisfied with the In and Out points, click Log Clip, verify the clip data, and click
OK.
You can make slight timecode adjustments by using the plus sign (+) or minus sign (–). For example, to add five
frames to the end of the Out point, select the entire Out point timecode, type
+5, and press Enter/Return.
April 1, 2008