Hardware overview 1.1 front panel, 2 rear panel – AGI Security SYS-4HNVR304 Quick Guide User Manual
Page 6
HARDWARE OVERVIEW
1
1. HARDWARE OVERVIEW
1.1 Front Panel
Note: The functions on the front panel and rear panel may vary, depending on the mode you have.
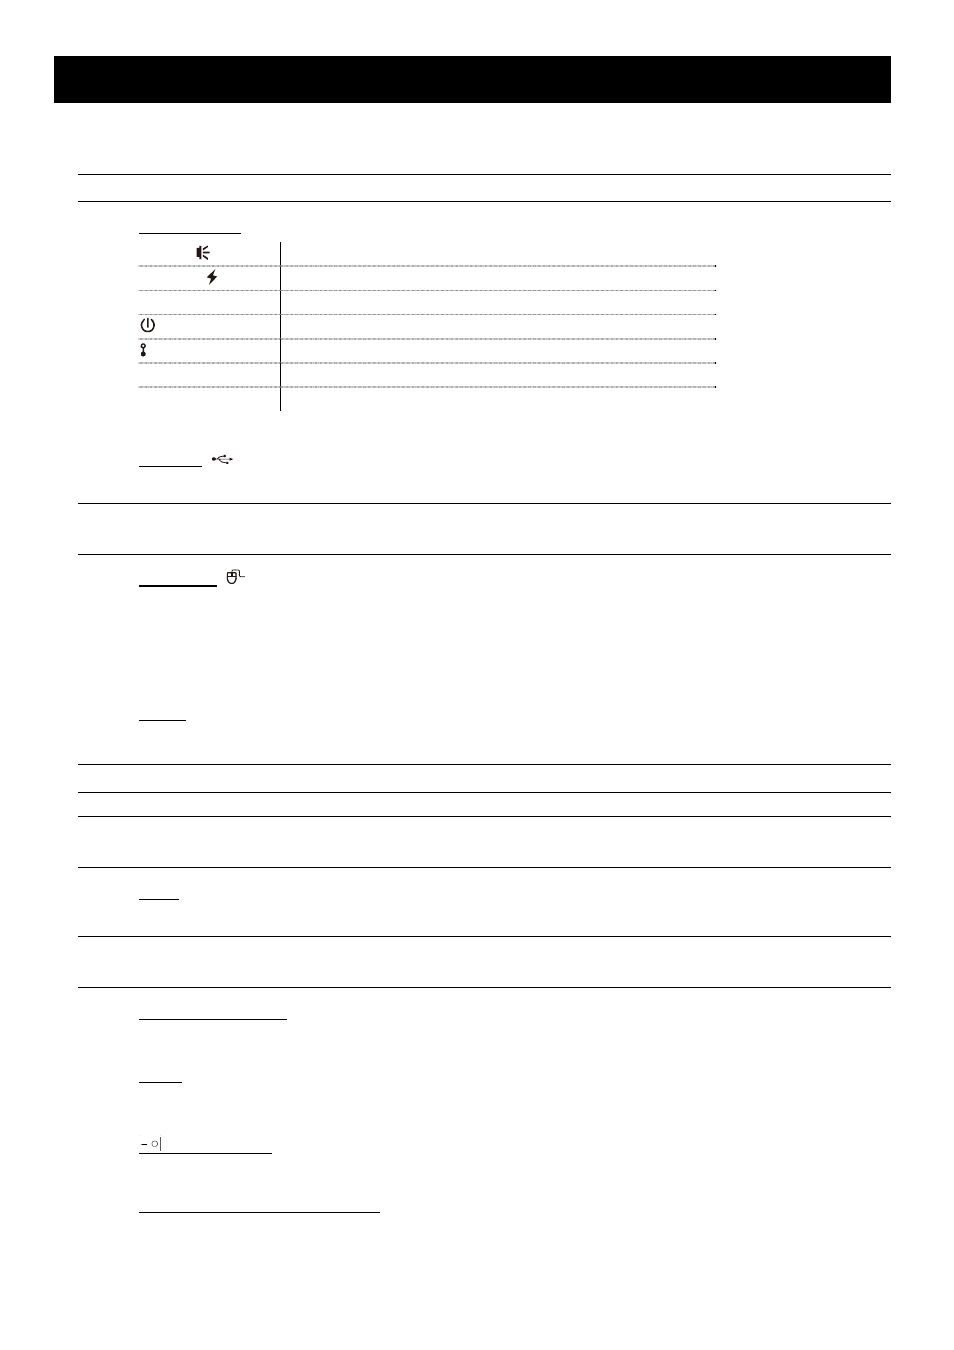
1) LED indicators
Alarm or
An alarm event occurs.
Internet or
The device is connected to Internet.
e-SATA
An external disk array is connected.
*
This device is power-supplied.
*
The device is connected to LAN.
Record*
Recording is on.
HDD*
Hard disks are installed in the device and connected well.
* For Selected models only
2) USB port (
)
Insert a compatible USB flash drive for video backup.
Note: For the compatible list of USB flash drives, please refer to “APPENDIX 1 COMPATIBLE USB FLASH
DRIVE LIST” at page 9.
3) Mouse port (
)
Insert a mouse for function operation.
1.2 Rear Panel
1) eSATA
This port is used to connect a storage device supporting eSATA interface; for instance, a disk array.
Note: Please purchase a disk array supporting Linux system to ensure your device works properly.
Note: If the disk array is not connected or detected well, check the mode of your disk array, or do a
reset default on your disk array and try again.
2) HDMI
This port is used to connect the monitor, which supports HDMI interface.
Note: Direct connection to the monitor, which supports VGA or composite interface, is not supported.
Please prepare a converter in advance.
3) WAN (or INTERNET)
This port is used to connect your device to Internet.
4) DC IN
Connect the device to power with the regulated adapter.
5)
(Power switch)
Switch to “–” to turn on the power, and “” to turn off the power.
6) AUDIO OUT
(for selected models only)
Connect to a speaker.