Selecting the stitch, Adjusting the stitch length and width – Baby Lock Grace (Previous Model) (BL40A) Quick Reference Guide User Manual
Page 13
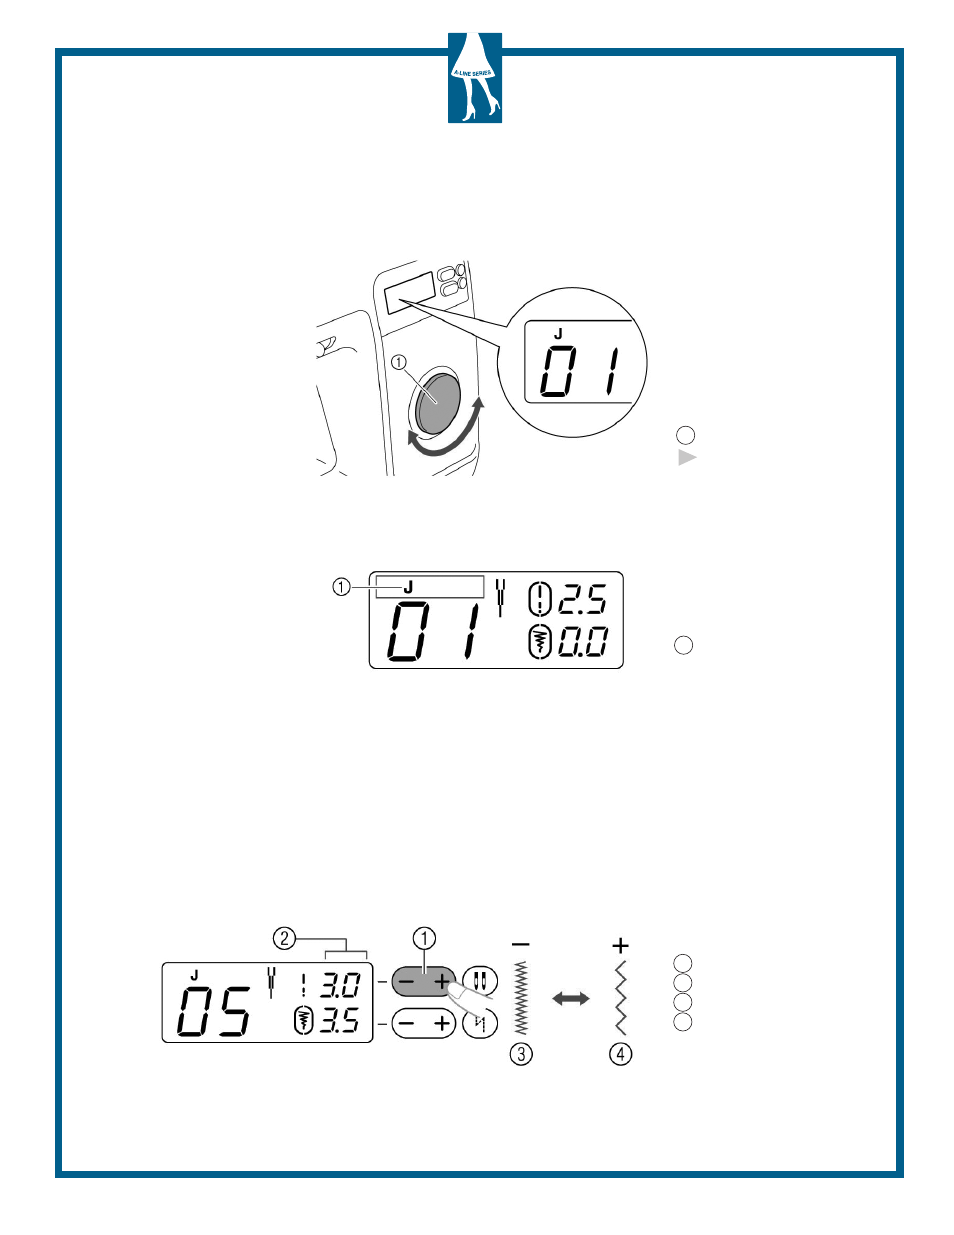
Selecting the Stitch
11
1. Turn the pattern selection dial to select the stitch to be sewn. Turn the dial to the right to
increase the number, or turn the dial to the left to decrease the number.
2. Attach the presser foot indicated in the LCD screen. The presser foot to be used is indicated by the
letter (J, A, etc.) that appears above the stitch number.
3. If necessary, adjust the stitch width and stitch length.
AdjUSTing THe STiTcH LengTH And WidTH
4. Turn the pattern selection dial until your desired stitch appears on the LCD screen.
5. Press “+” or “–” on the top row, which are the stitch length keys for adjusting the stitch length.
1 Presser foot type
1 Pattern selection dial
The stitch appears in the
LCD screen
1 Stitch length key
2 Stitch length
3 Fine
4 Coarse