Initial use, Operation – Beurer WL 30 User Manual
Page 12
12
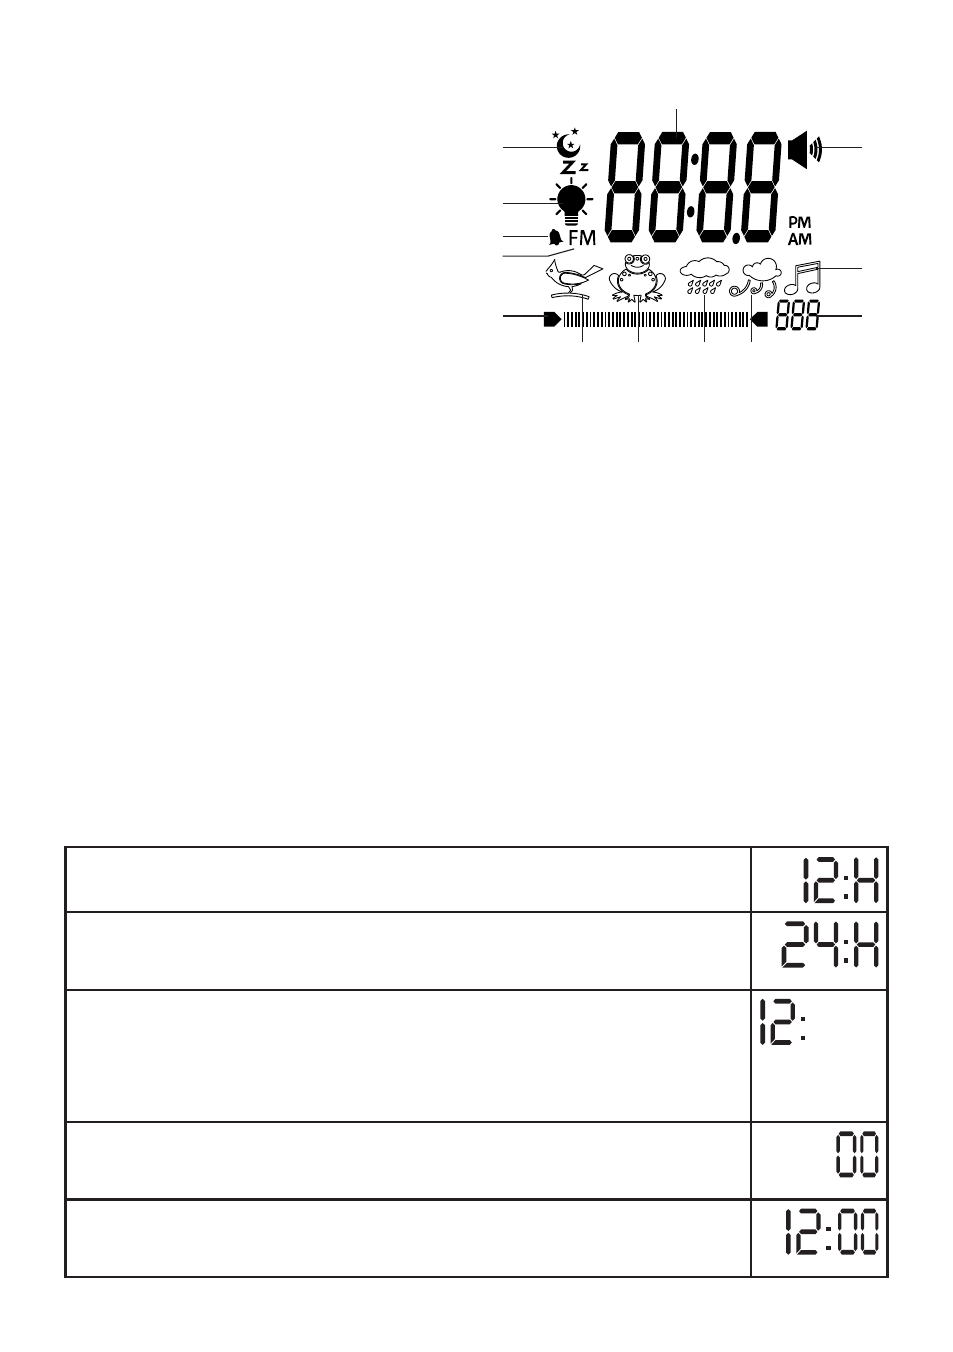
Display description
1. Time/alarm time or radio frequency
2. “Beep” alarm
3. Radio symbol
4. “Wind” sound
5. “Rain shower” sound
6. “Frog croak” sound
7. “Birdsong” sound
8. Volume or light intensity setting
9. Volume or light intensity display
10. Radio frequency symbol
11. Alarm symbol
12. Light symbol
13. Moon symbol
5. Initial use
• Remove the packaging material.
• Check that all parts listed are present.
• Check the device, mains plug and cable for damage.
• Place the device on a firm, even surface.
• Plug the power supply connector into the power supply socket on the underside of the device.
• Insert the mains plug into a suitable socket. The time will start to flash and you can set the hour format.
• Position the device approx. 40 cm from your head.
• Remove the battery compartment cover on the rear of the device and insert the batteries according to the
correct polarity. The batteries supply power to the device in the event of a power failure. The batteries are
not intended to be used as a permanent power supply.
6. Operation
setting the time
• Press the time control button.
The 12-hour format will flash.
You can now choose between 12 and 24-hour format.
• To select the hour format, move the time control button up or down. Confirm the
hour format by pressing the time control button.
The hour setting will flash on the display.
• To set the hour, move the time control button up or down.
Confirm the hour by pressing the time control button.
tip: to navigate through the hours or minutes more quickly, press and hold the con-
trol button up or down.
The minute setting will flash on the display.
• To set the minute, move the time control button up or down. Confirm the minute
by pressing the time control button.
The time is now set.
2
3
8
9
10
11
12
13
1
4
5
6
7