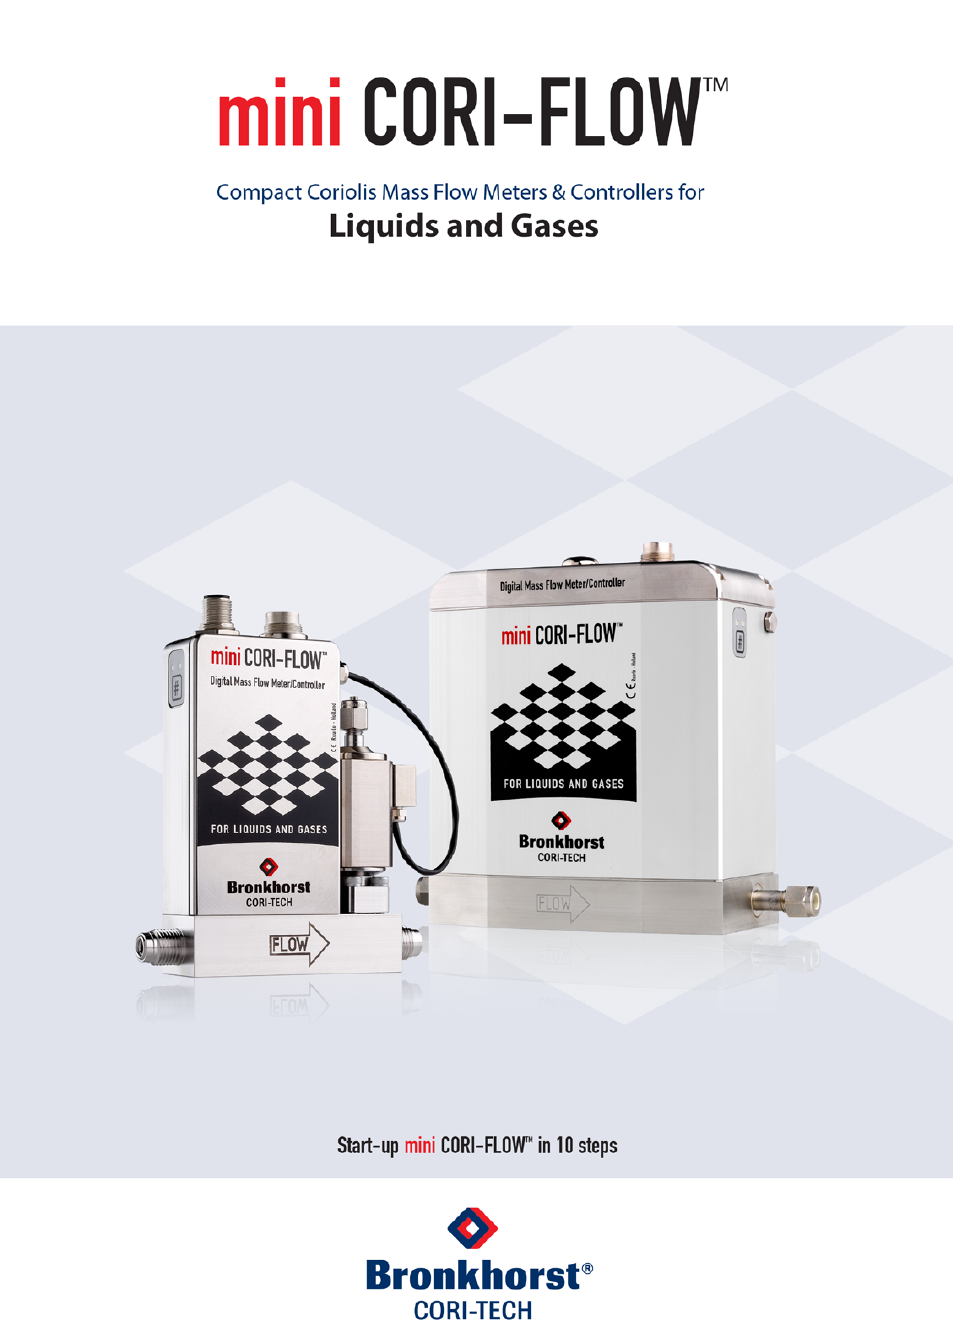
Bronkhorst Mini CORI-FLOW Quick Start User Manual
Quick installation guide
Start Auto-Zero
With no flow, use the push-button switch (#) on
the mini CORI-FLOW™ to start the zero adjustment
procedure (LEDs first will go off). (1), (2) and (3):
Press the push-button (#) and hold it for 8..12
seconds (each 4 seconds the LED-indication will
change). (4): Release the push-button (#) when the
green LED is on.
Zeroing procedure
The zeroing procedure will start now and the green
LED will blink fast. The procedure will take at least
45 sec. When the signal is not stable the procedure
will take longer (max. 6 retries will be performed).
The red LED will blink when signal is unstable/
noisy. Make sure that there is no flow through the
mini CORI-FLOW™ when performing the zeroing
procedure and avoid vibrations !
45 sec.
Ready
When indication is showing 0% signal and the
green indication LED is continuously on, then zero
has been performed well. Instrument is in normal
operation mode now and ready for use.
Measurement check
For a controller: send a setpoint to the mini CORI-FLOW™ and check the measured value.
Make sure the mini CORI-FLOW™ indicates 0% at zero flow.
Your mini CORI-FLOW™ is now ready for operation.
Doc nr.: 9.17.052F Date: 13-02-2015
Quick Installation Guide