Kits, Wheel adjustment – BUG-O Systems Speed Weaver II User Manual
Page 13
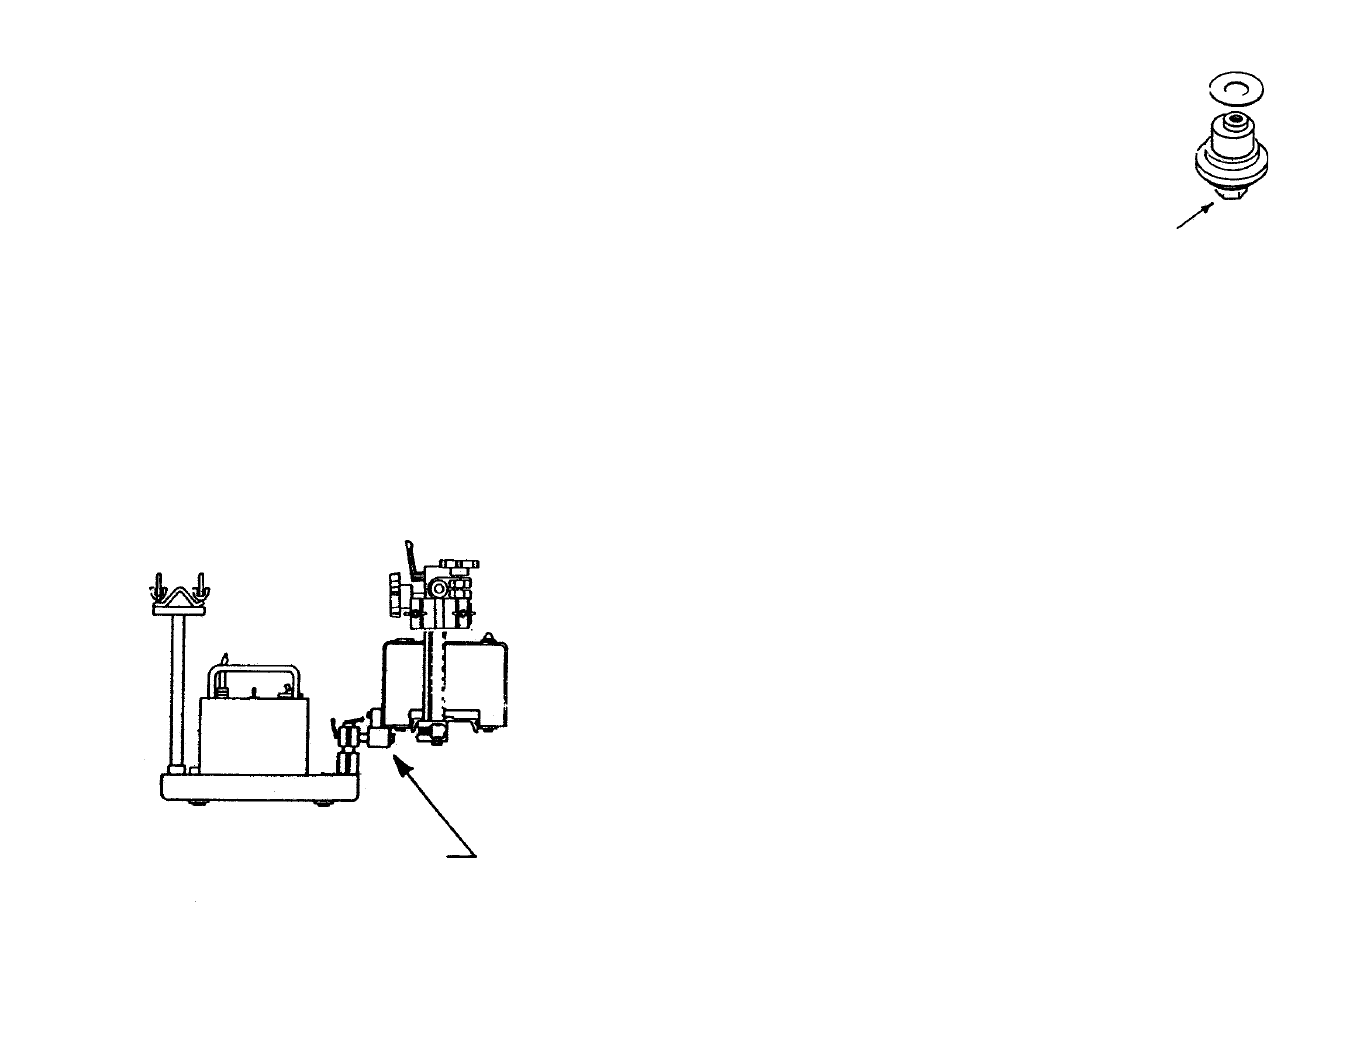
7
WHEEL ADJUSTMENT
The gauge of the wheels is adjusted to the supplied rail
before being shipped. The wheels on the forward side of
the Weaver are externally adjustable - they have stain-
less shim washers under them. If it is ever necessary to
readjust them, rotate the Hex Head Bolt
(K) with a 1/2"
wrench until the wheels are snug in the rail groove but
can still be forced to slip with finger pressure.
CROSS-RAIL INSERTION:
To insert the rail, turn the mode selector switch to any of the three weave
positions, with the power off. Plug in the Weaver power cord.
Insert the rail from the right, guiding the rail into each pair of wheels succes-
sively, until the rack meshes with the drive pinion, then throw the power switch
on. The rail will start oscillating automatically.
WELD CONTACTS:
For weld contact control, remove the trigger-switch leads from the welding
gun and connect them to the “amphenol” plug provided, that mates with the
connector on the Weaver panel.
OPERATION:
1. Setup the rail on the work, parallel to, and at a suitable distance from the
weld joint, using magnet bars, vacuum cups, or other fastening means.
2. De-clutch the drive on the BUG-O carriage and slide it along the rail
to the desired location with the Weaver mounted on it. Engage the drive
clutch.
3. Rack the welding gun into position, set the nozzle angle and clamp in
place. Run the welding cable through the cable anchor and clamp
in place.
4. Set the weave speed and dwell left and right by the control knobs on
the panel, set the weave amplitude on the dial counter, and rotate the
MODE selector switch to the weave position for the welding mode desired.
5. Set the speed and direction of travel of the tractor drive, and plug the
BUG-O power cord into the Weaver outlet.
6. Plug the Weaver cord into the power outlet and throw the power switch
on. After checking all settings and operations, push the weld contact switch
to the “On” position to start welding.
The machine will now travel down the track weaving a perfectly uniform
weld precisely to the parameters set until shut off.
K
14
BUG-1916
DC SPEED WEAVING KIT
(120/50-60/1)
Includes:
1 BUG-0343
BUG-O DC-IV
1.5-30 ipm (38-762 mm/min)
Includes:
1 BUG-9444
Tool Kit
1 BUG-5300
Speed Weaver II
1 BUG-5195
Weaver Swivel Mount
1 BUG-2975
Cable Mounting Assembly
1 ARR-1080
H.D. Rigid Rail 93-1/2" (2.37 m)
1 ARR-1085
H.D. Rigid Rail 46-1/2" (1.18 m)
5 ARM-2325
Magnet Bar, Swivel w/Release
BUG-1917
Same as above, except with
240 VAC BUG-O DC-IV BUG-0443
and Speed Weaver II BUG-5302
BUG-1918
Same as above, except with
42 VAC BUG-O DC-IV BUG-0543
and Speed Weaver II BUG-5304
KITS
BUG-5195
Weaver Swivel Mount